

DIY Leather Yule Log Bag – Hand-stitched with a Saddle Stitch – Advanced Leathercraft
A few months ago, I stumbled upon these two videos while looking for a design for an aunt. Since then, I’ve been dreaming of a round bag.
The drawings are numerous because I have no idea how I’m going to assemble the bag, how I plan to make the straps, whether I’ll use snap buttons or magnets, or if I’ll add metal feet. Up until the last minute, I wasn’t sure about the dimensions either.
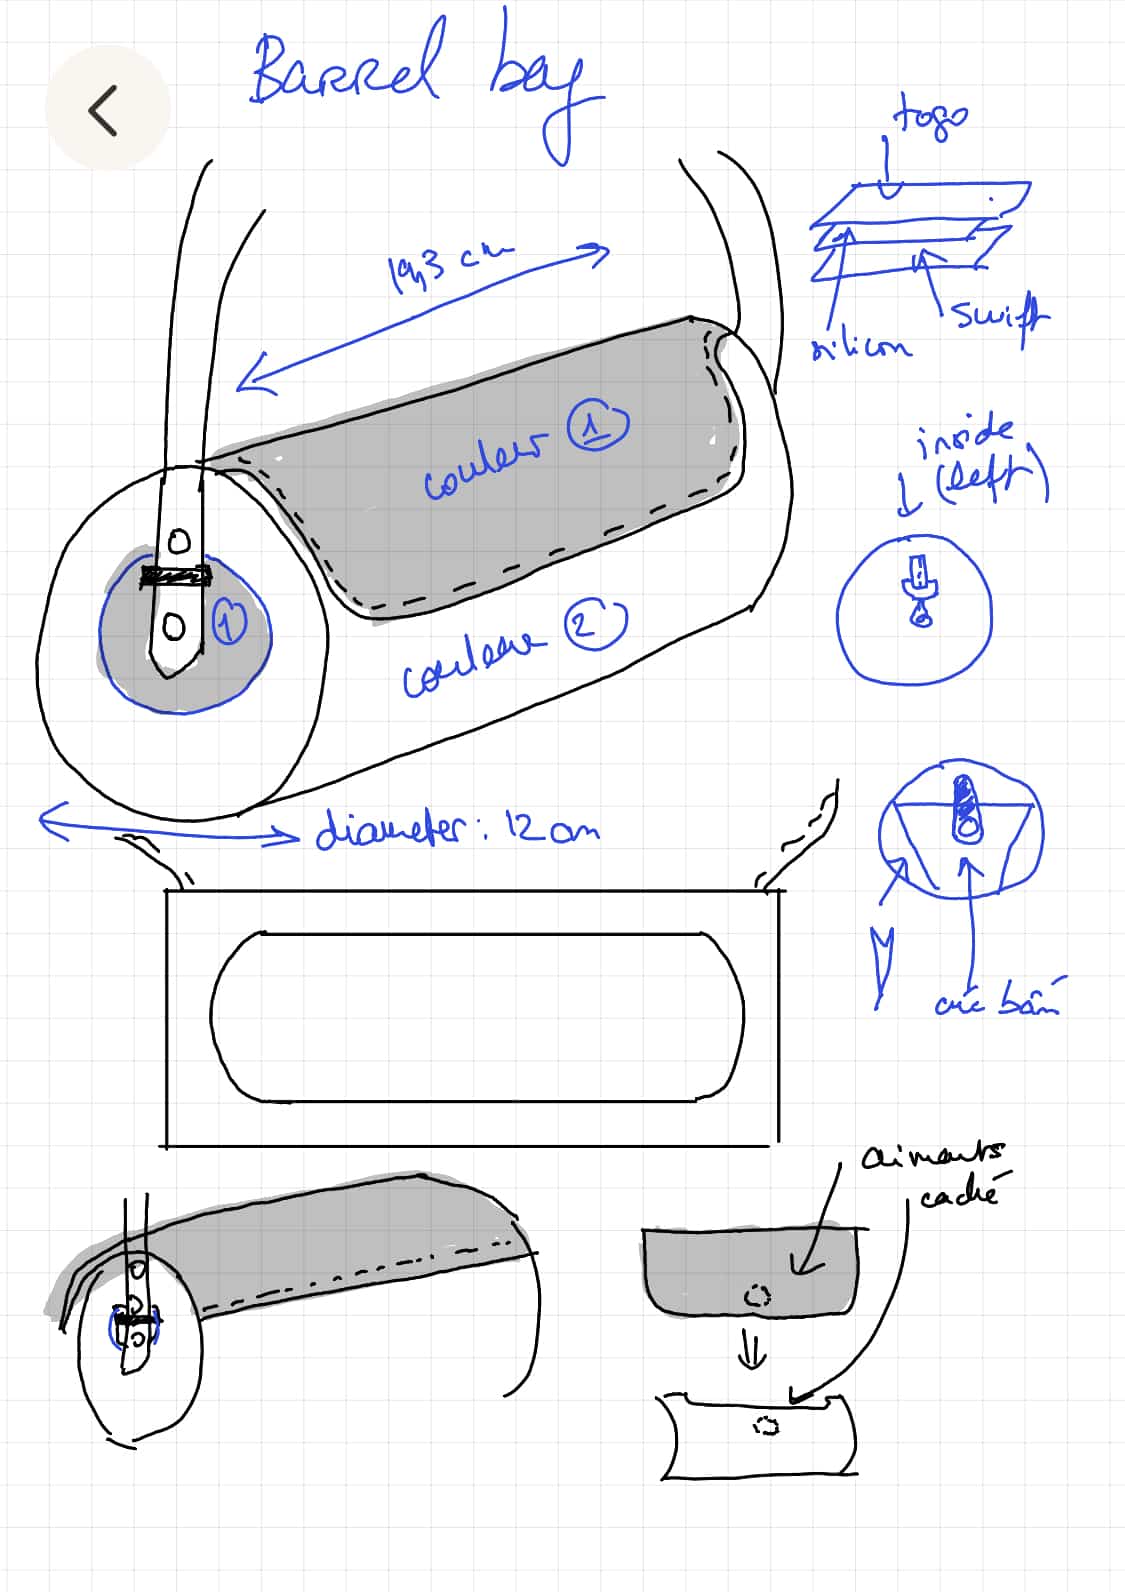
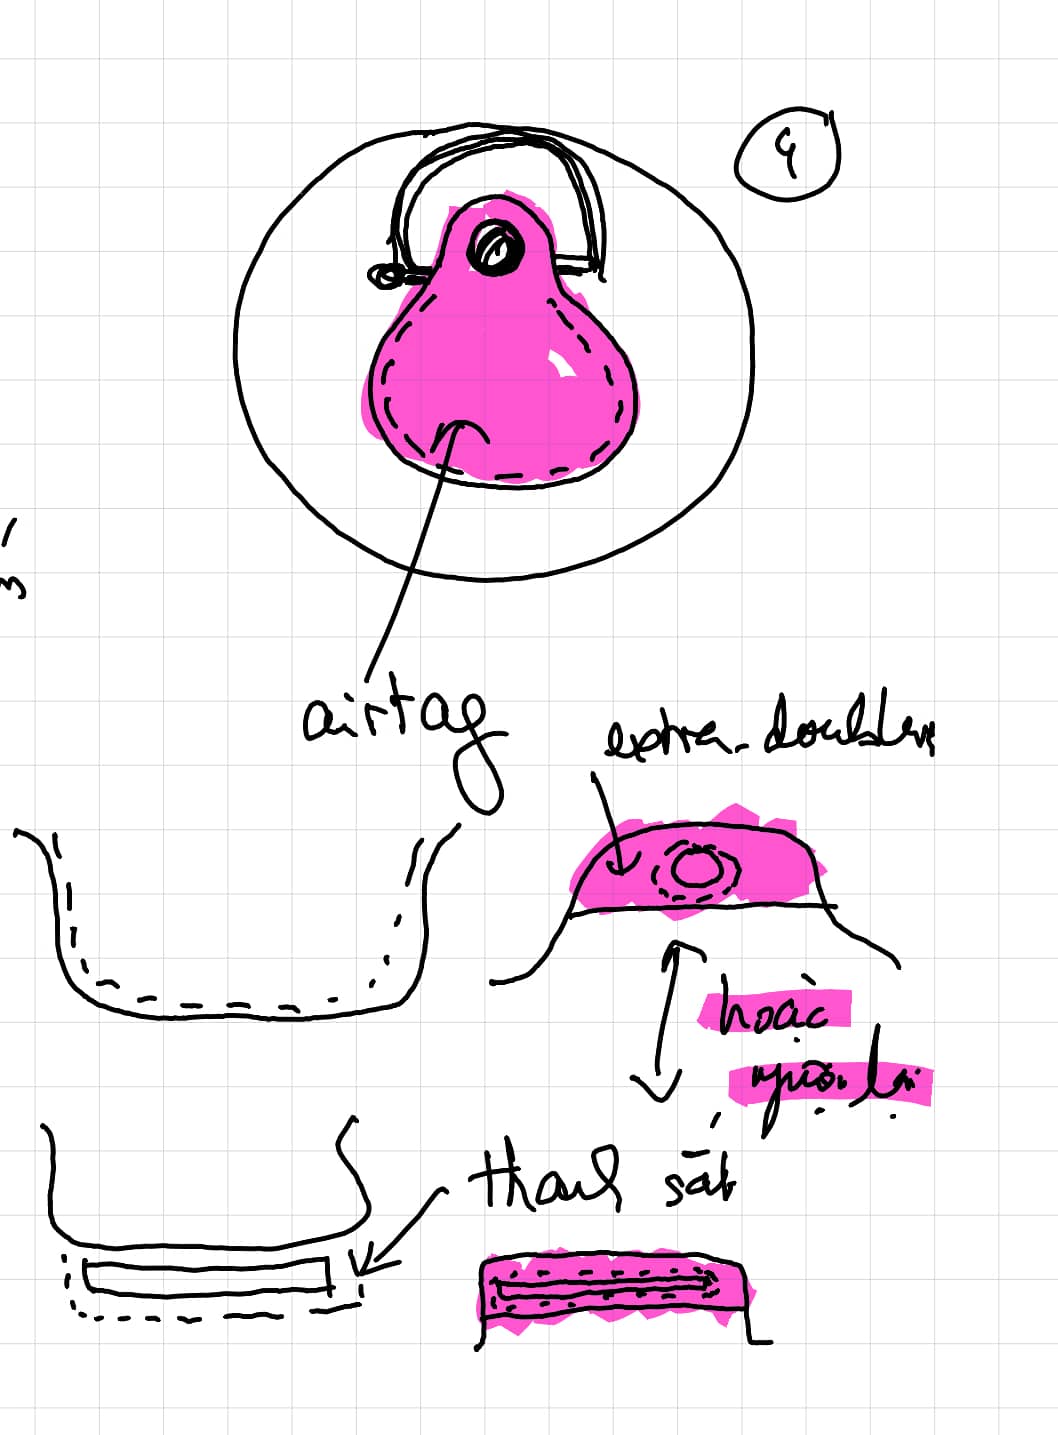
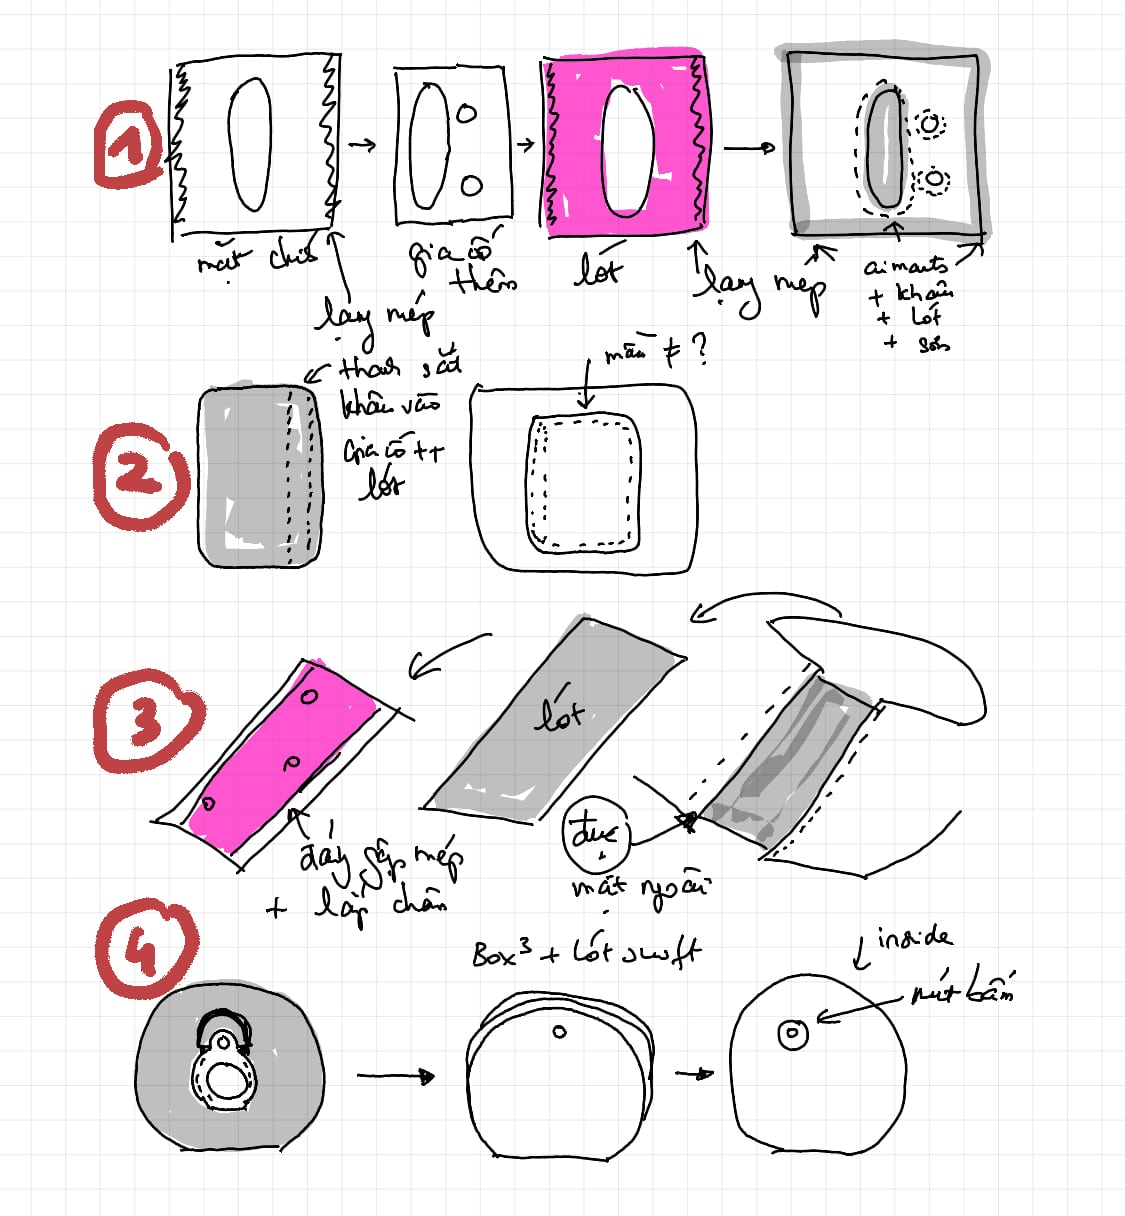
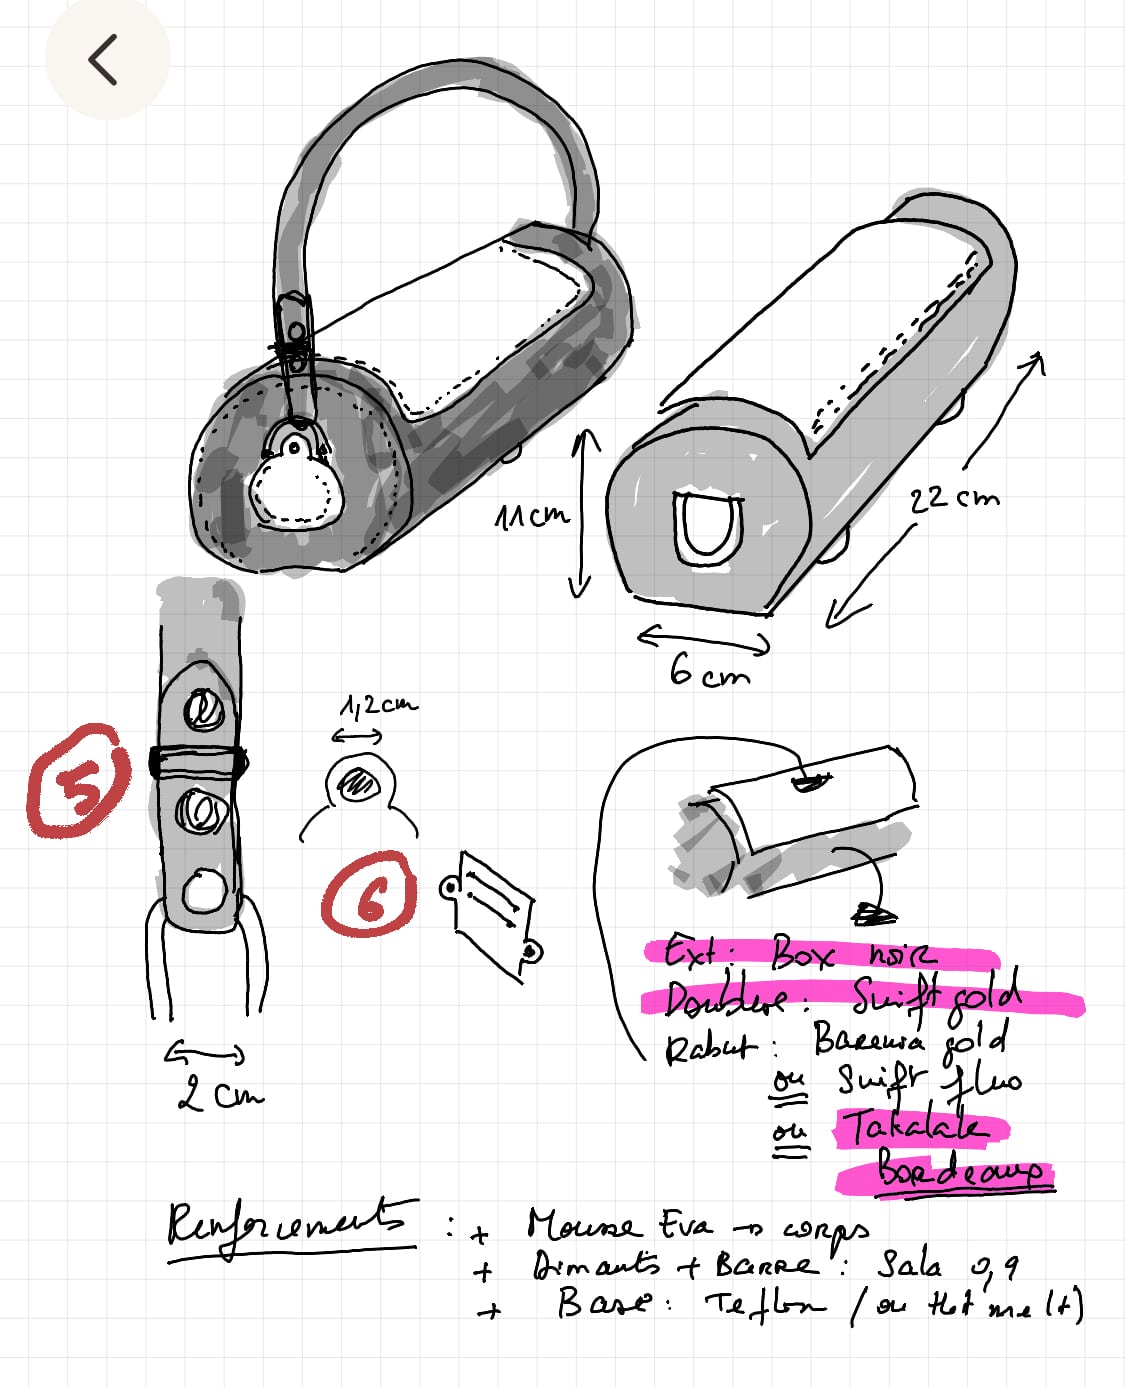
Once in a blue moon, I make a paper prototype to validate the dimensions, since I have access to a cutting machine, and I’m thrilled that it turns out well from the first paper prototype. I was able to fit all my stuff in it!
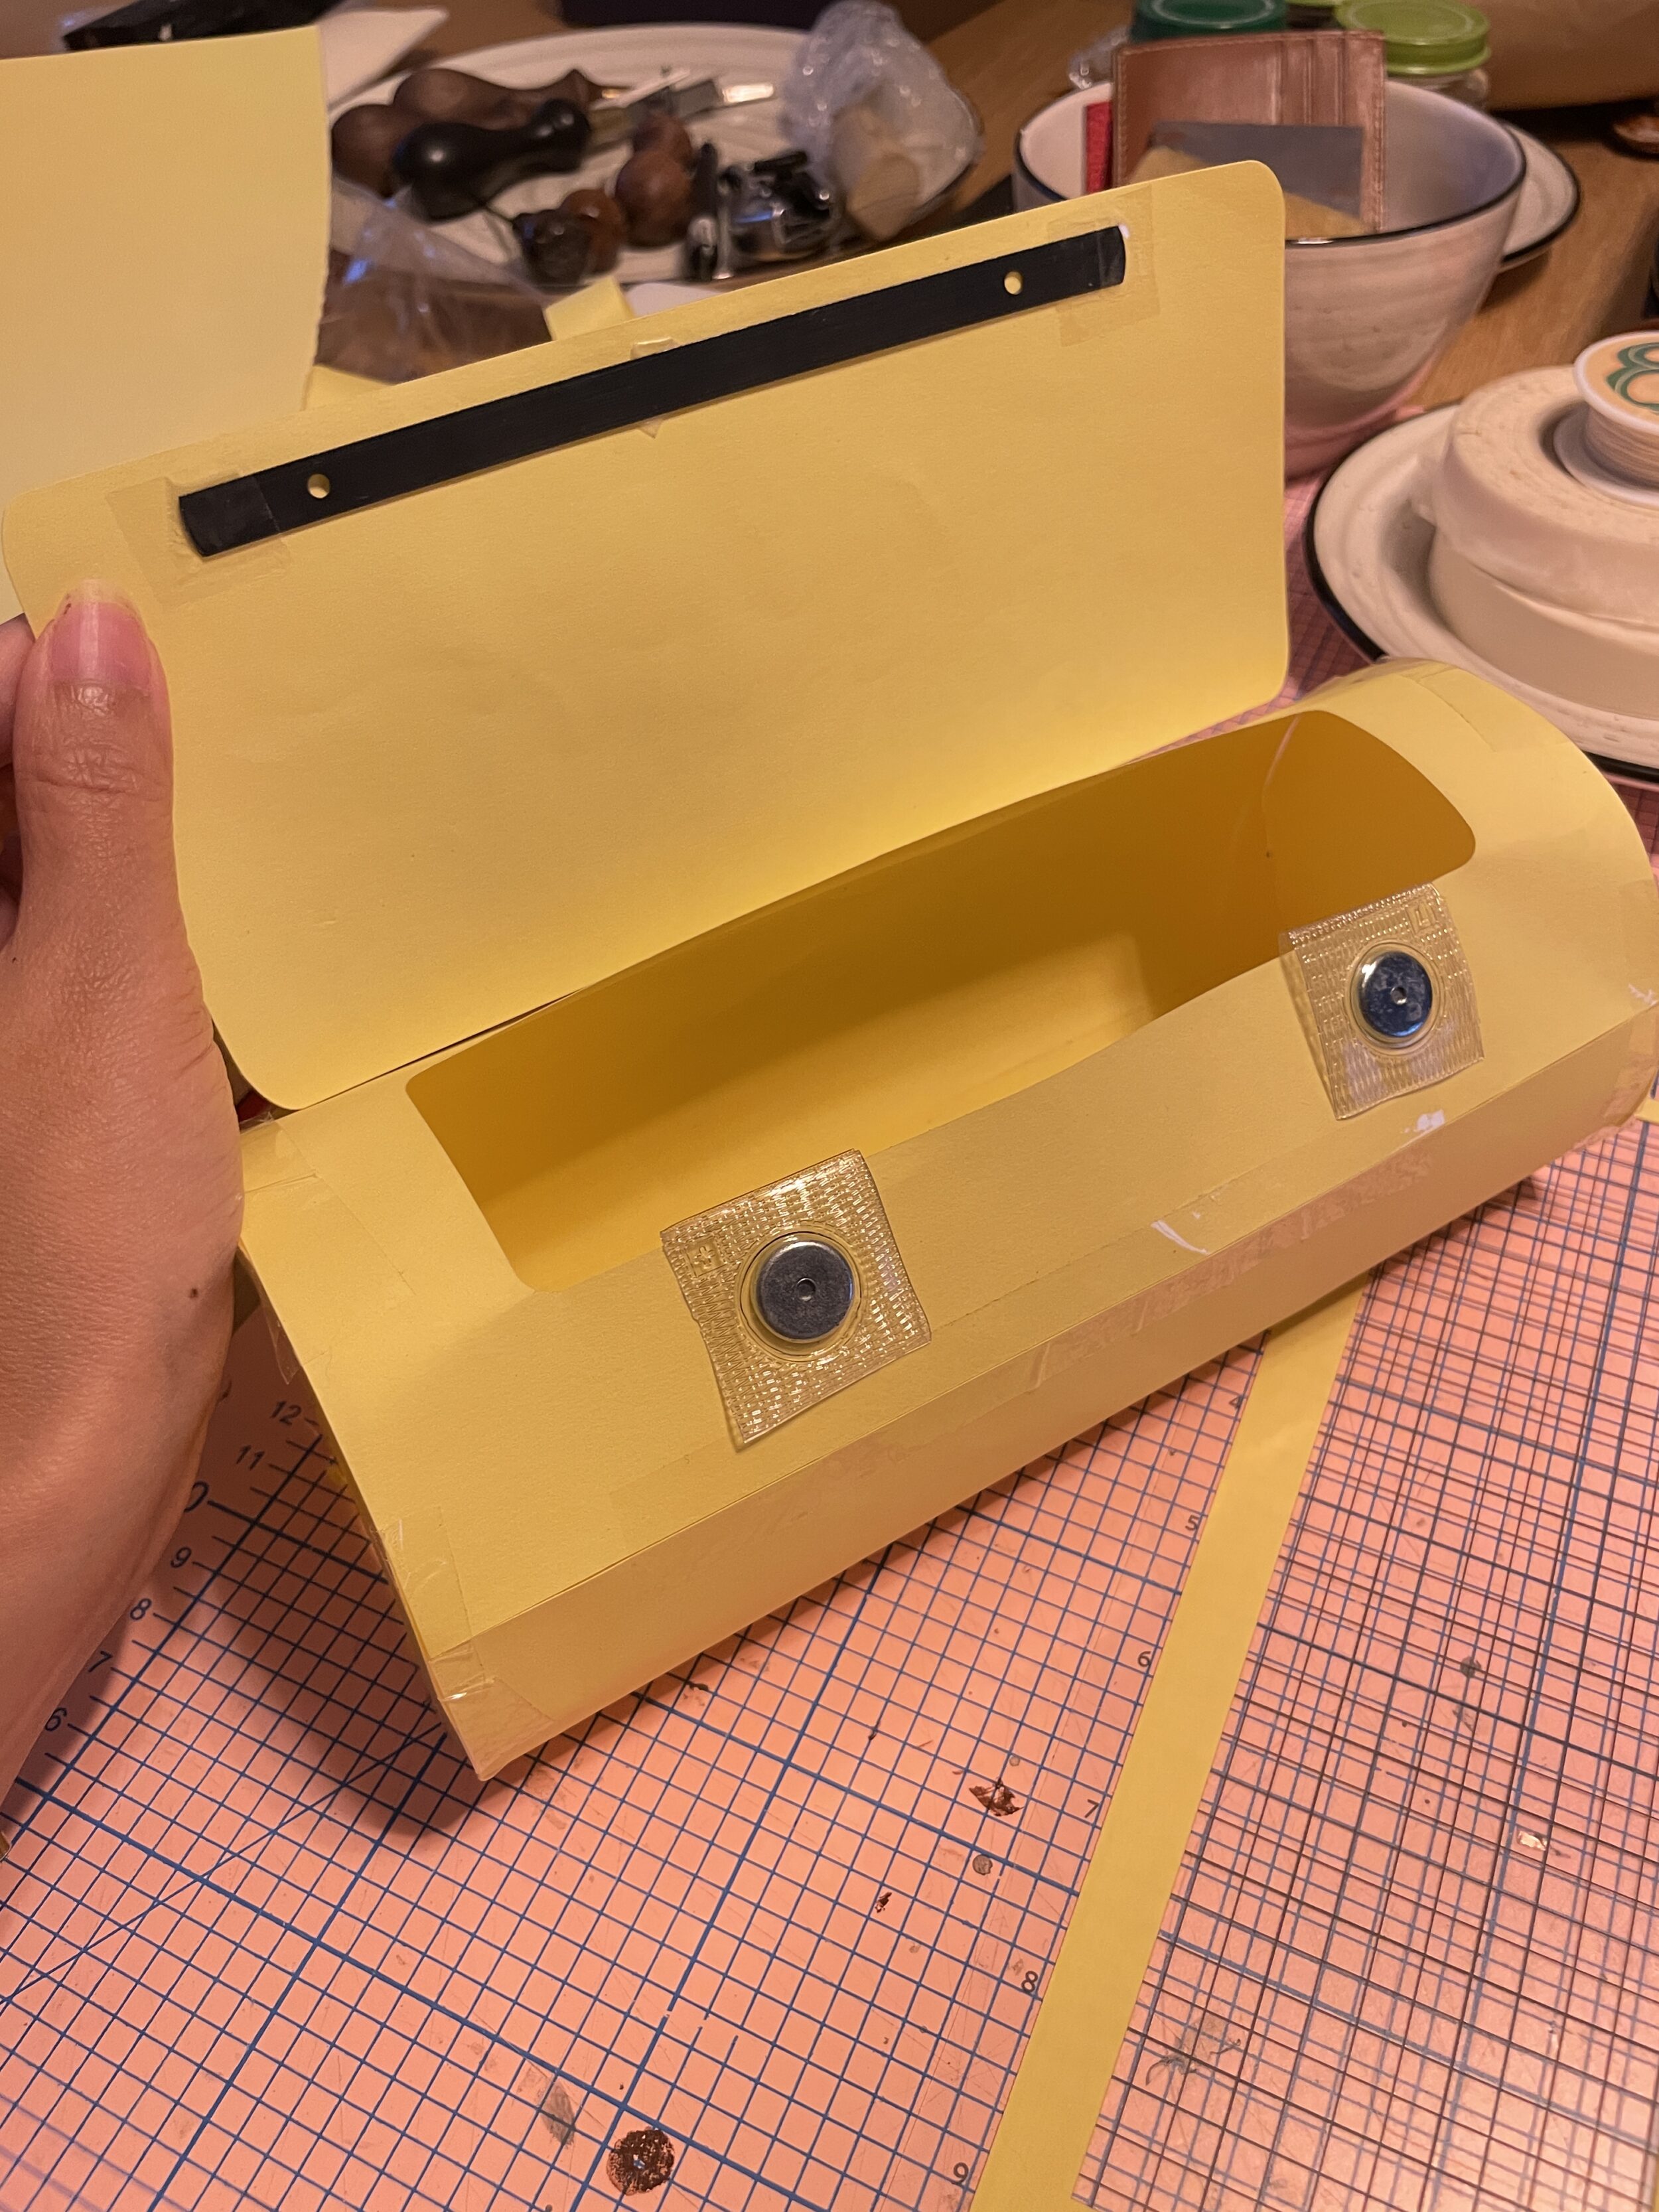
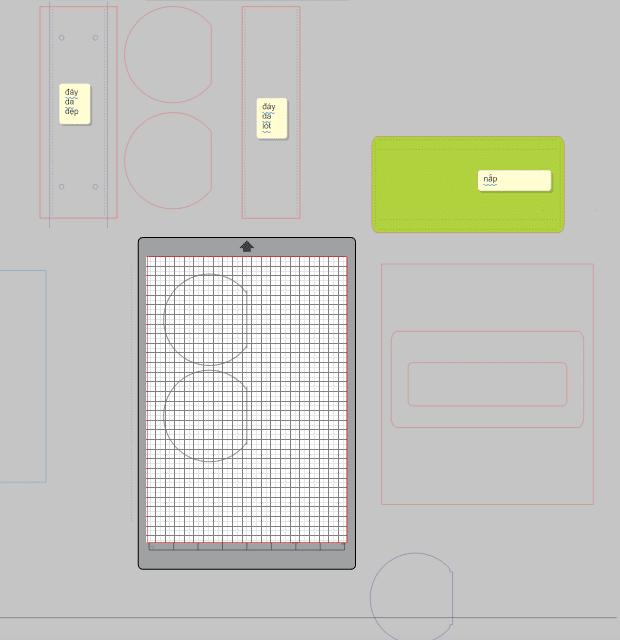
I’m really happy with the design on the computer and even incorporate stitching holes into some pieces to avoid having to do them with a stitching awl. Thus, some leather pieces were entirely cut by the computer. The reason I don’t like stitching awls is that my hands aren’t strong enough, and I’m not well-equipped to minimize noise and table issues. Using the machine allows me to have either well-made holes or well-parallel marks on which I can align my stitching awl for neat stitches.
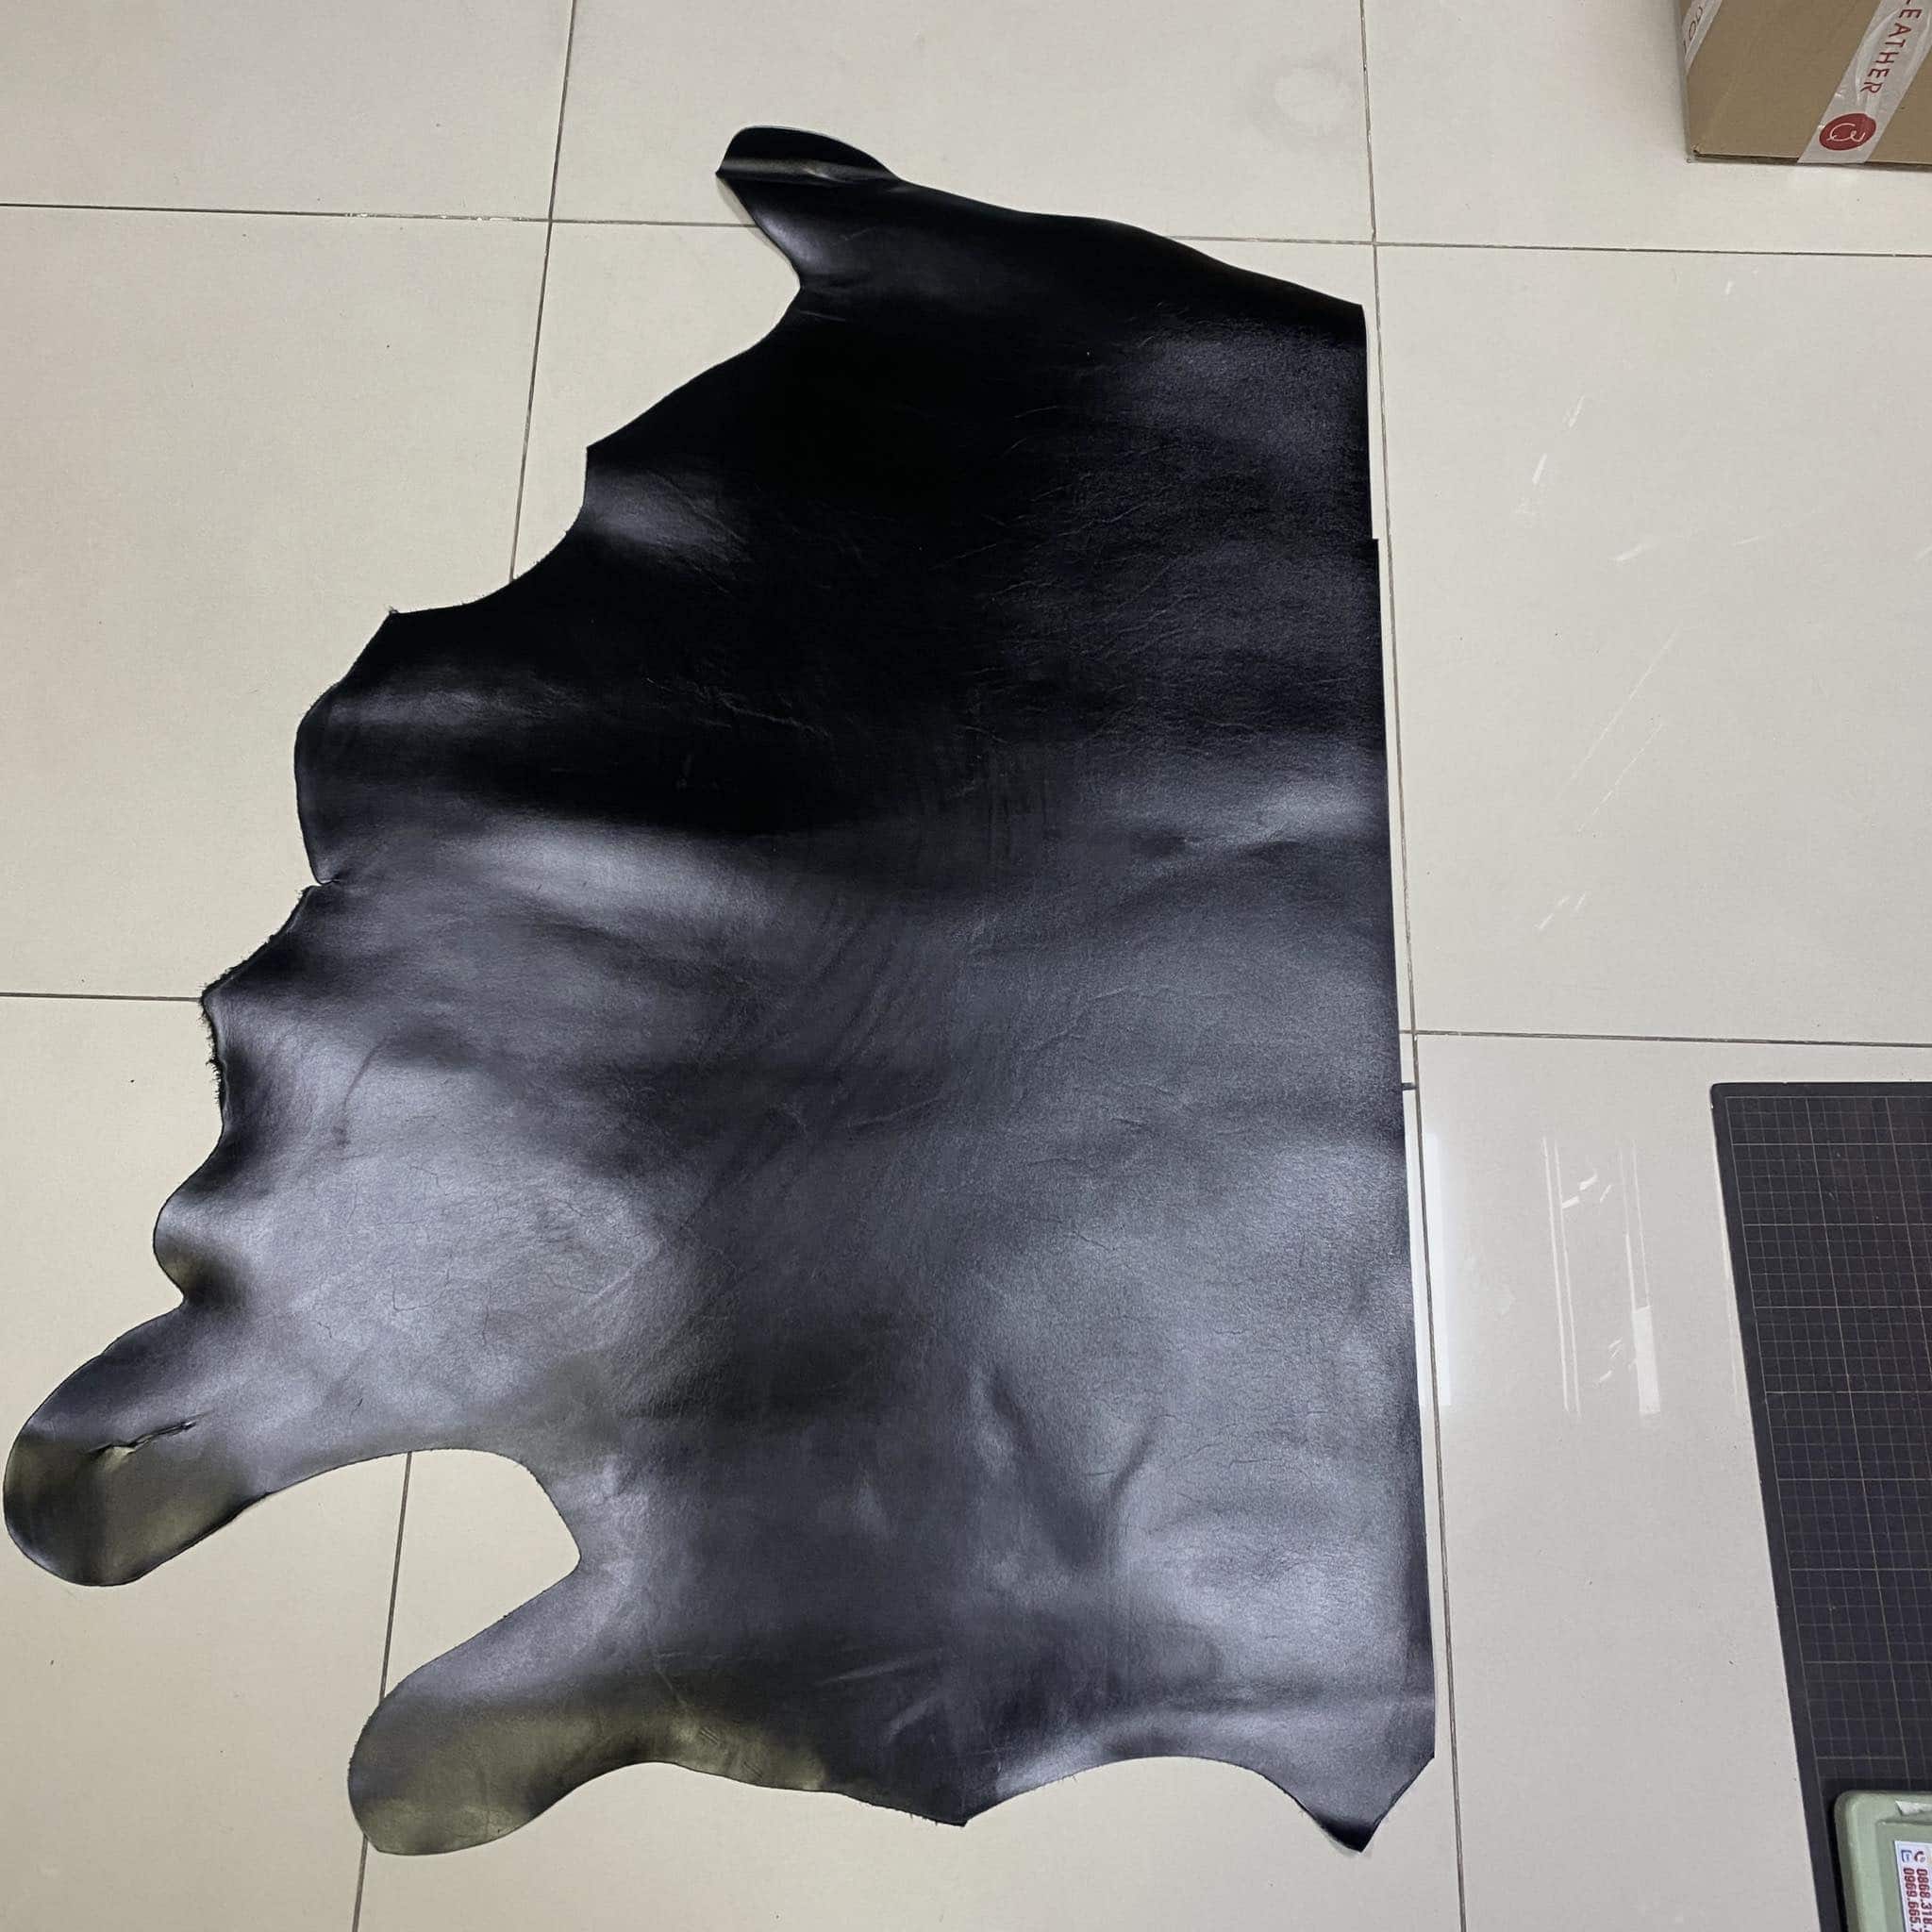
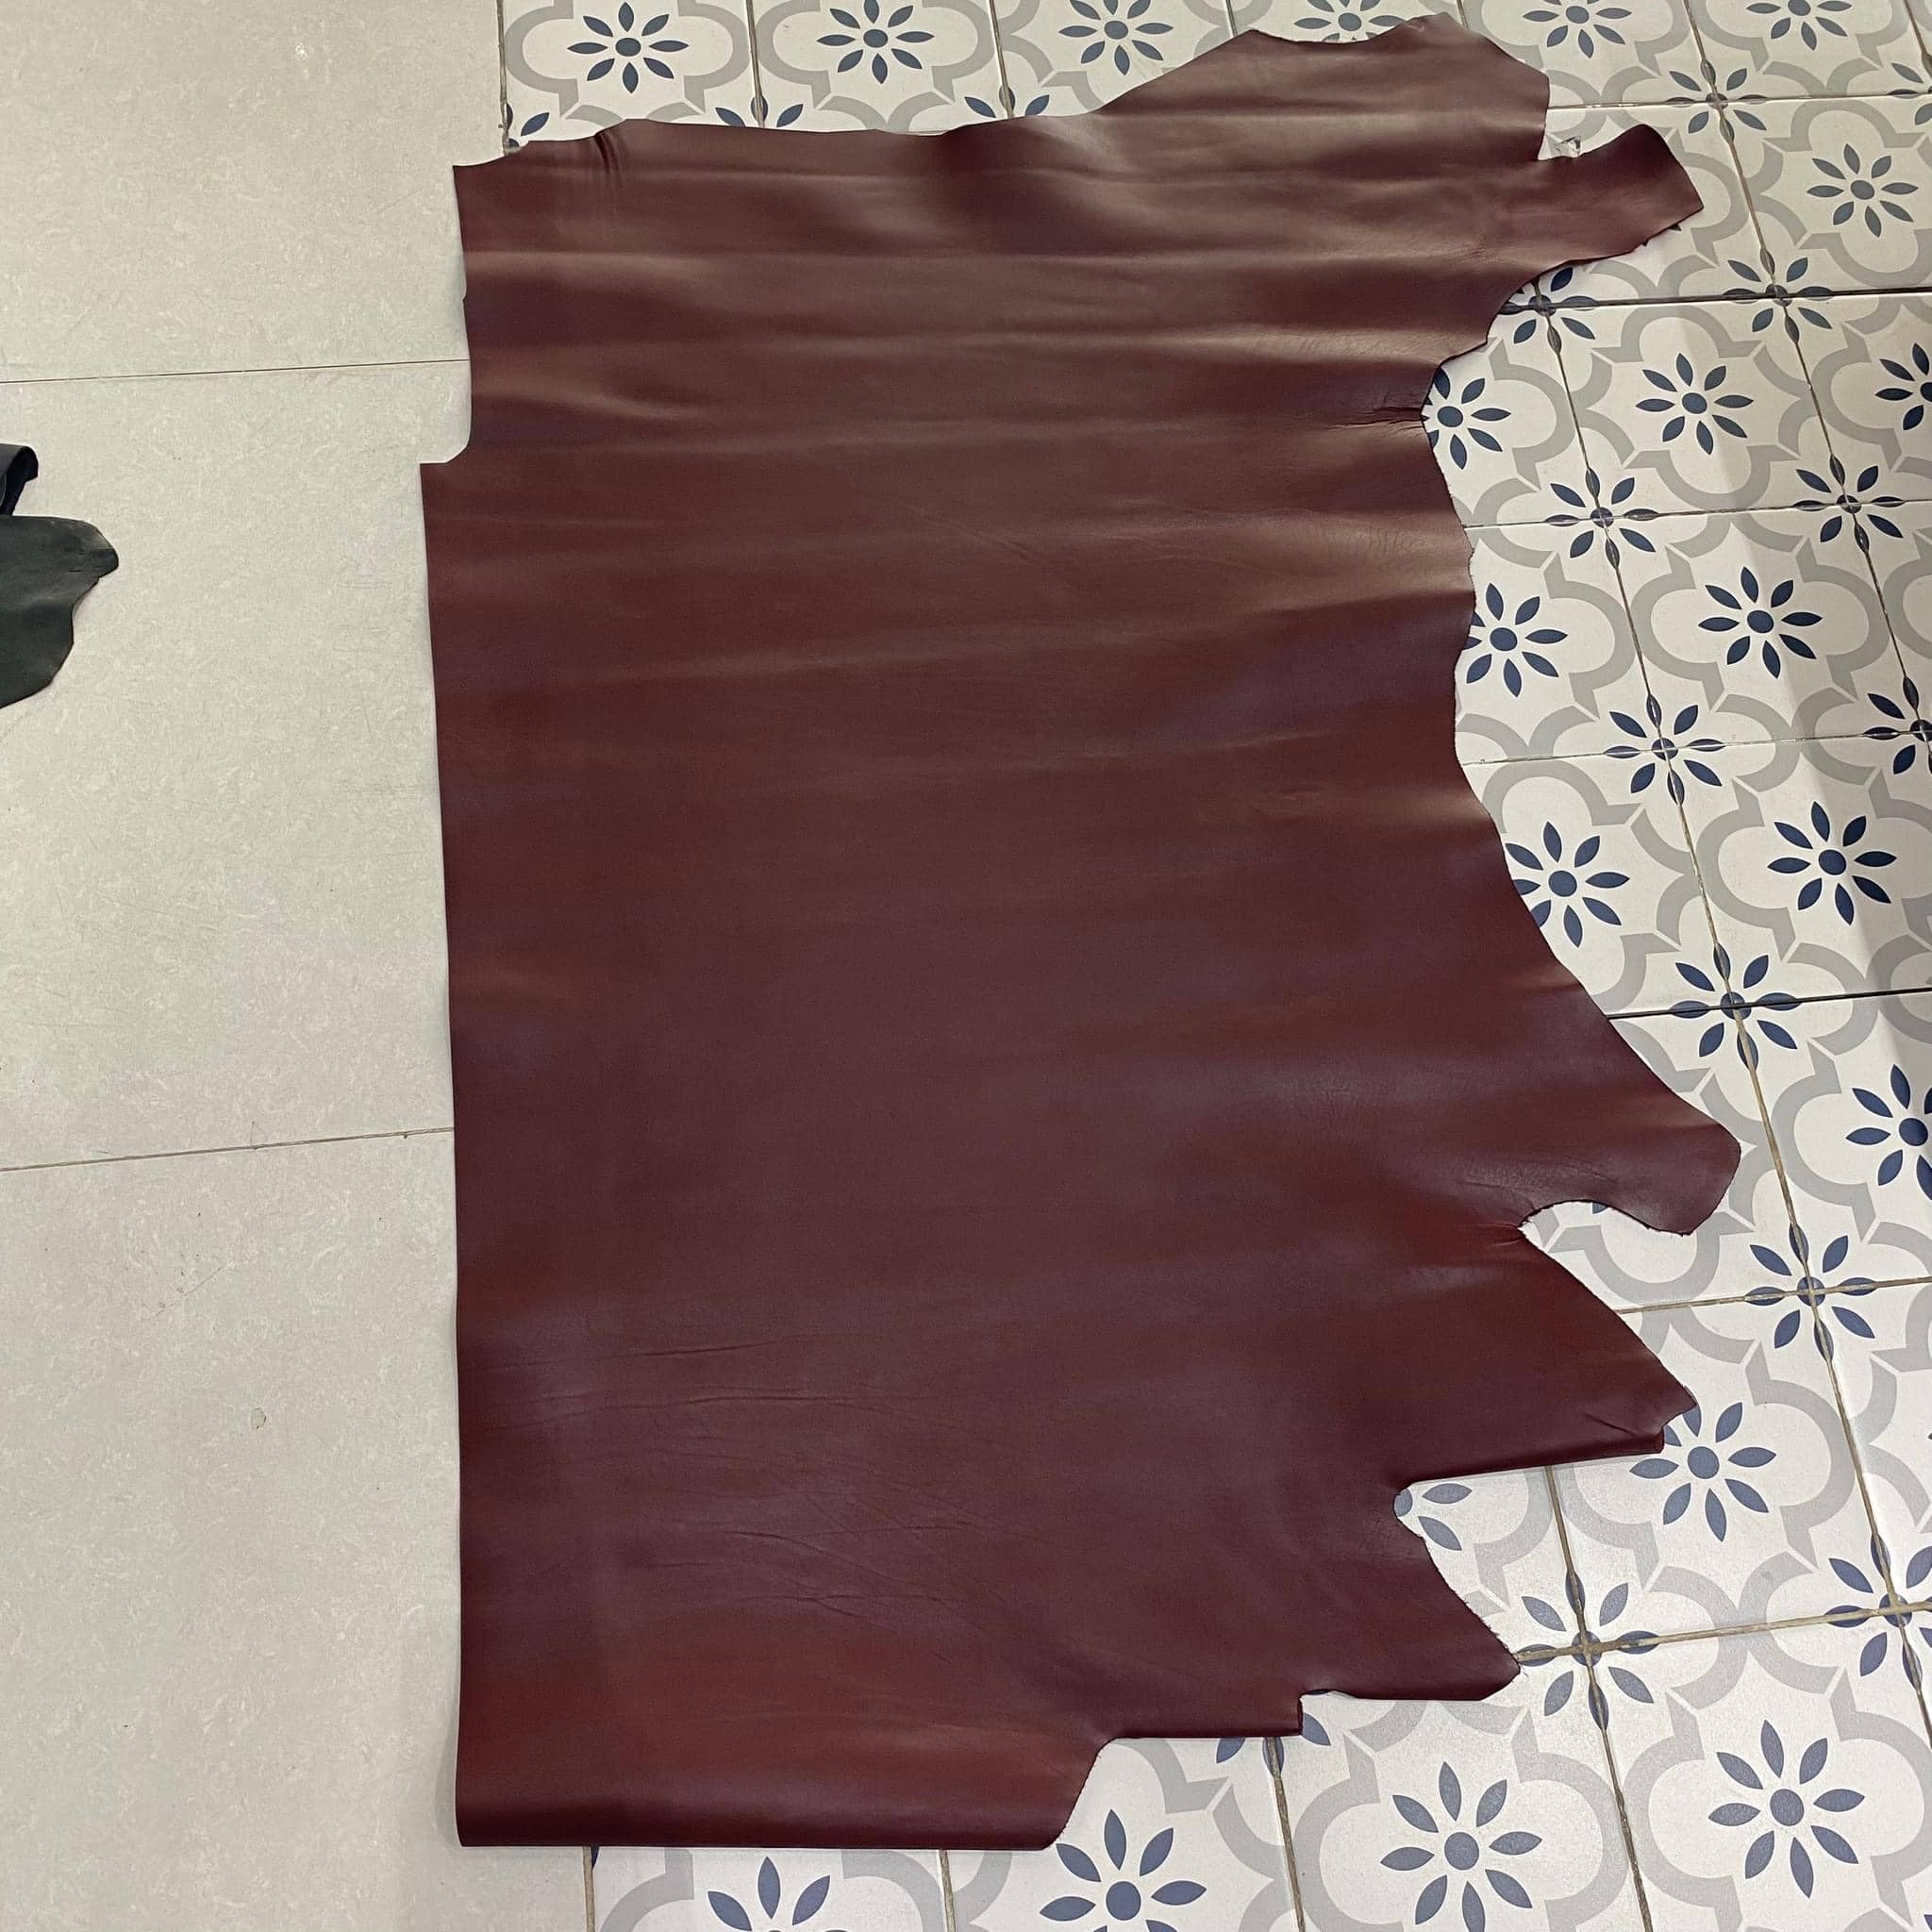
Initially, I wanted to use calf leather, but my favorite supplier 3Q has several offcuts of leathers I’ve never used, so I opted for Box noir leather from Hermès’s stocks (1mm thick) and Tadelakt bordeaux leather (0.8mm thick) for the exterior. And swift gold leather (0.8mm thick) for the lining.
Box leather is an iconic leather from the Hermès house. It’s made from calfskin that has undergone mineral or chrome tanning. This lustrous leather shines and regains its full glow with polishing. Tadelakt leather is calfskin with a fine, barely visible embossing, easy to maintain. Swift leather is supple and soft to the touch.
All the parts that will be mistreated by fingernails are in Tadelakt leather to minimize scratches.
Even though the offcuts seem huge, the parts without any defects are barely enough for my small bag. As soon as there’s a tiny flaw, I don’t use that area. These flawed parts will be carefully cut for my very small projects like airtag protectors. So, for my bags, I always buy very large offcuts, but only 20% can be used for the bag.
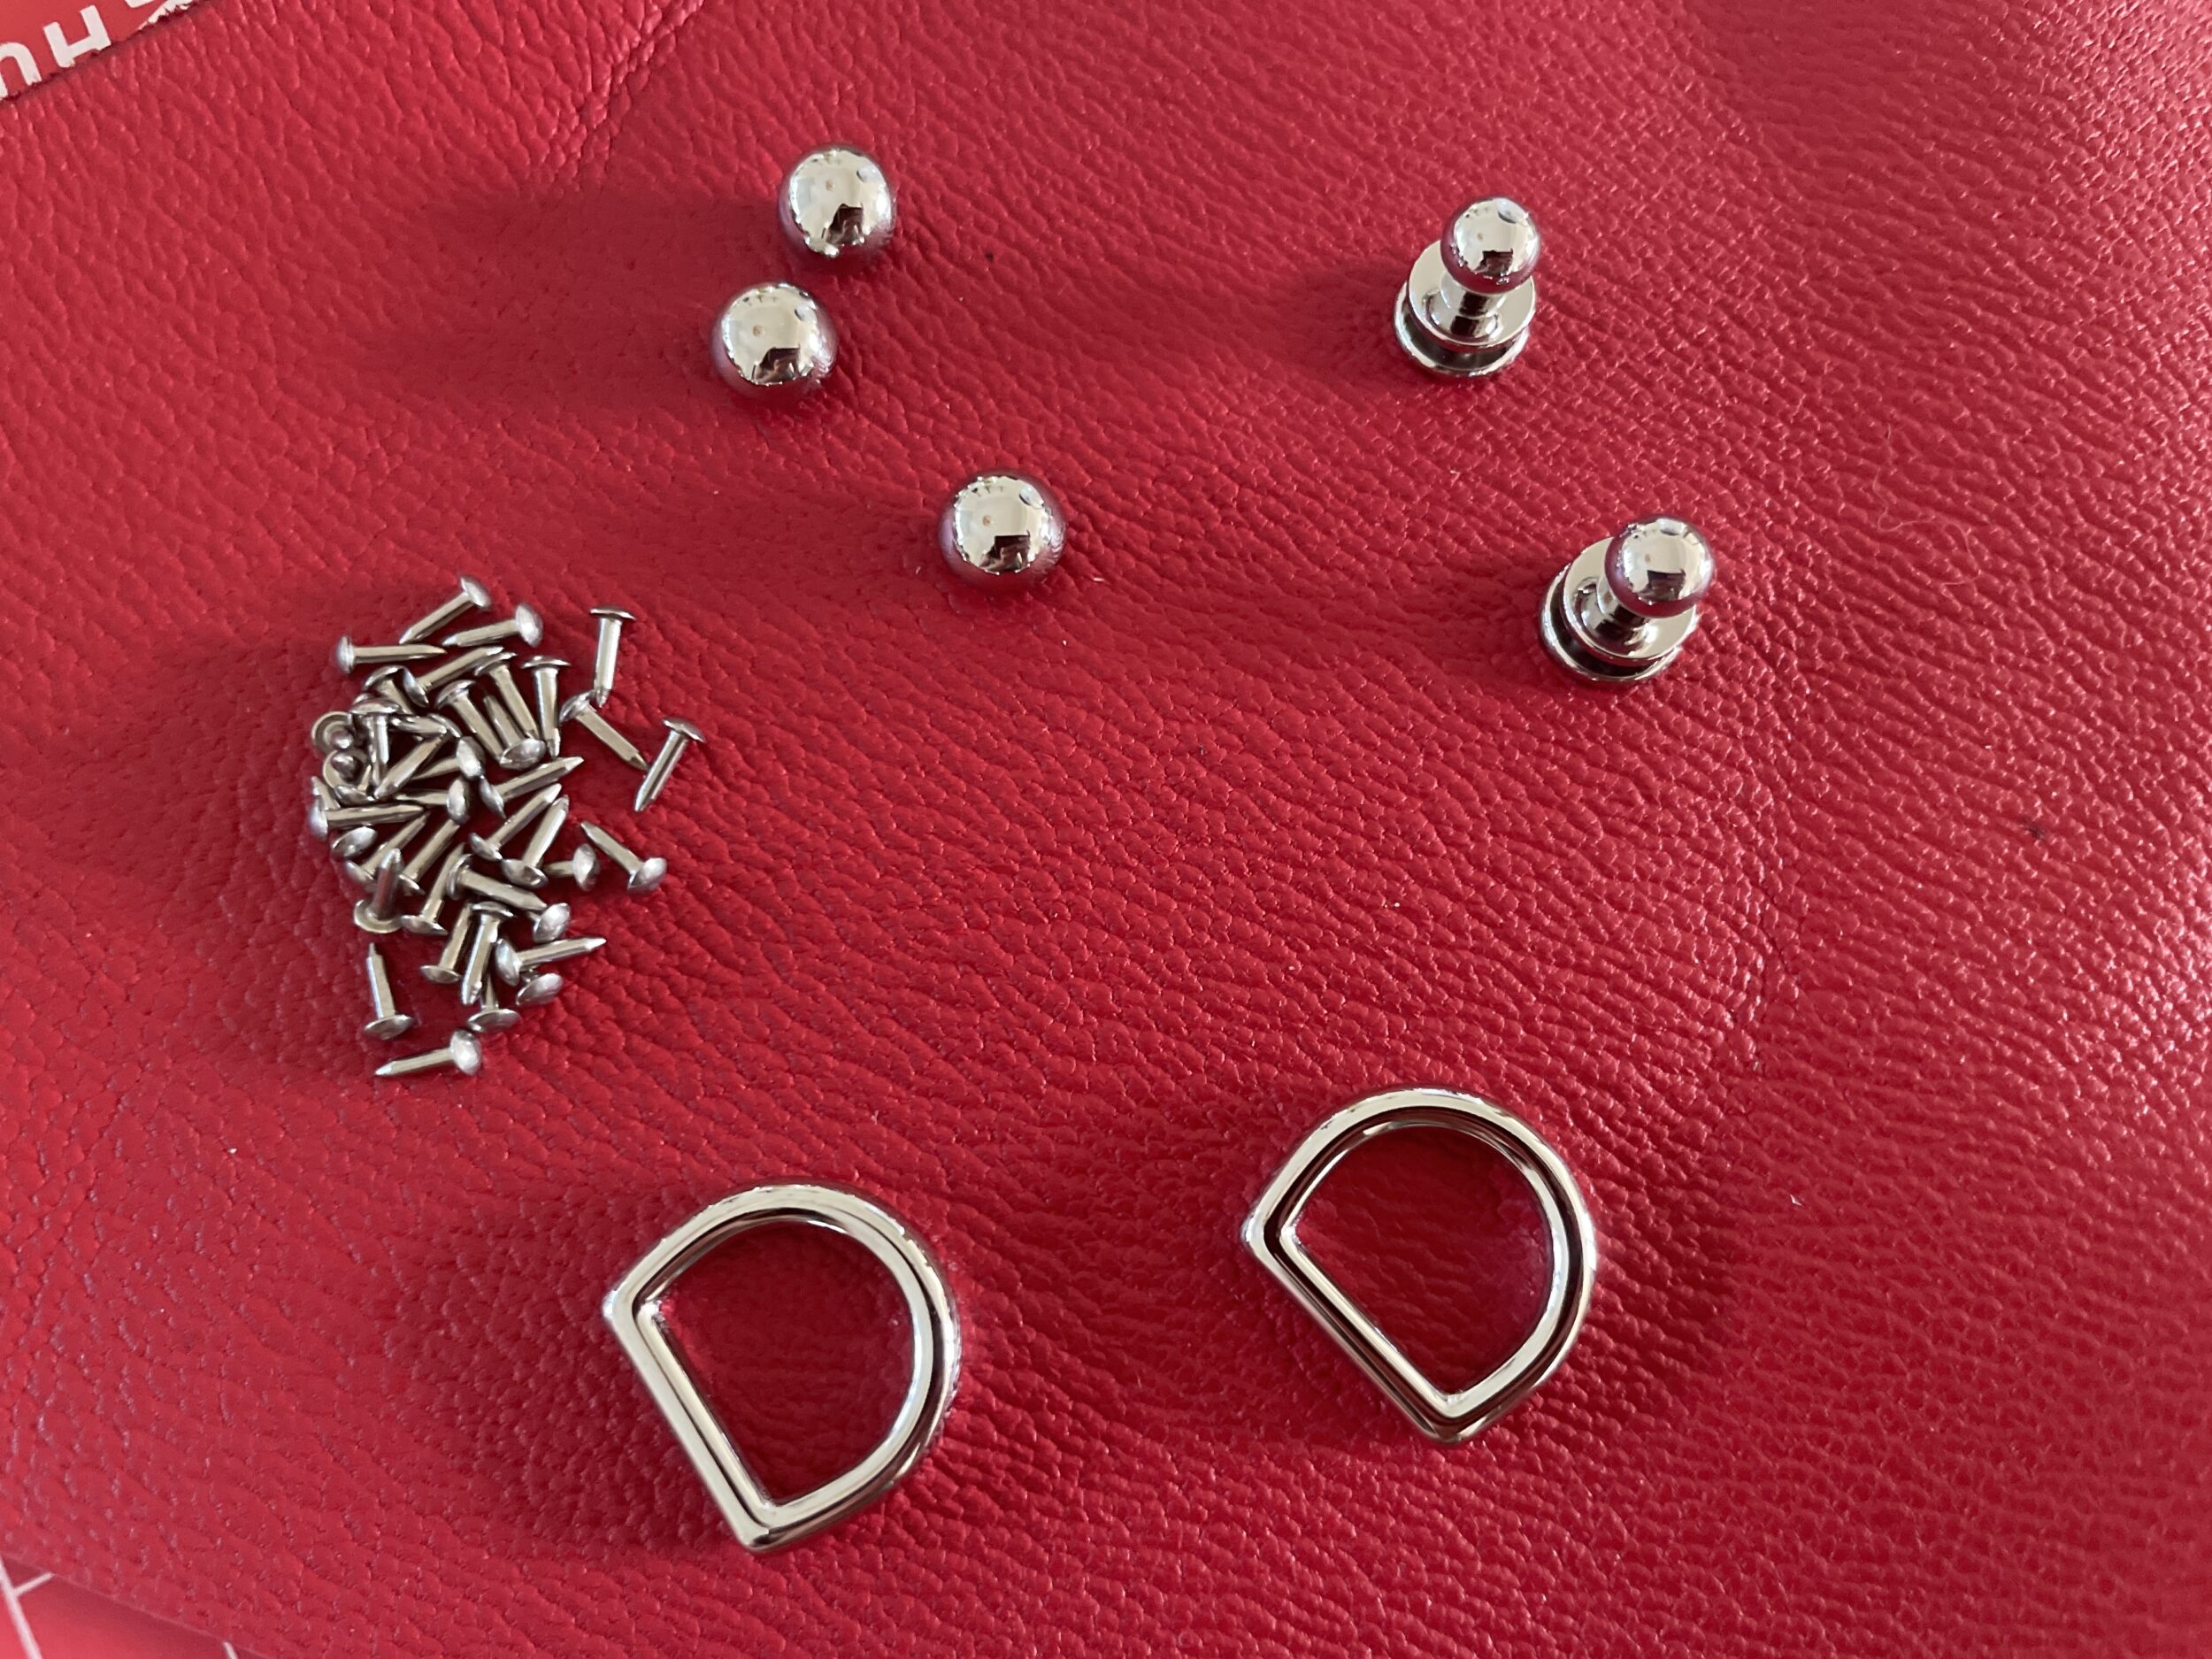
At first, I wanted to use gold-plated hardware, but I started stitching with ivory thread, and it was better to use silver hardware to match. A week’s wait for the hardware to arrive from China, but it’s all stainless steel and it shines!
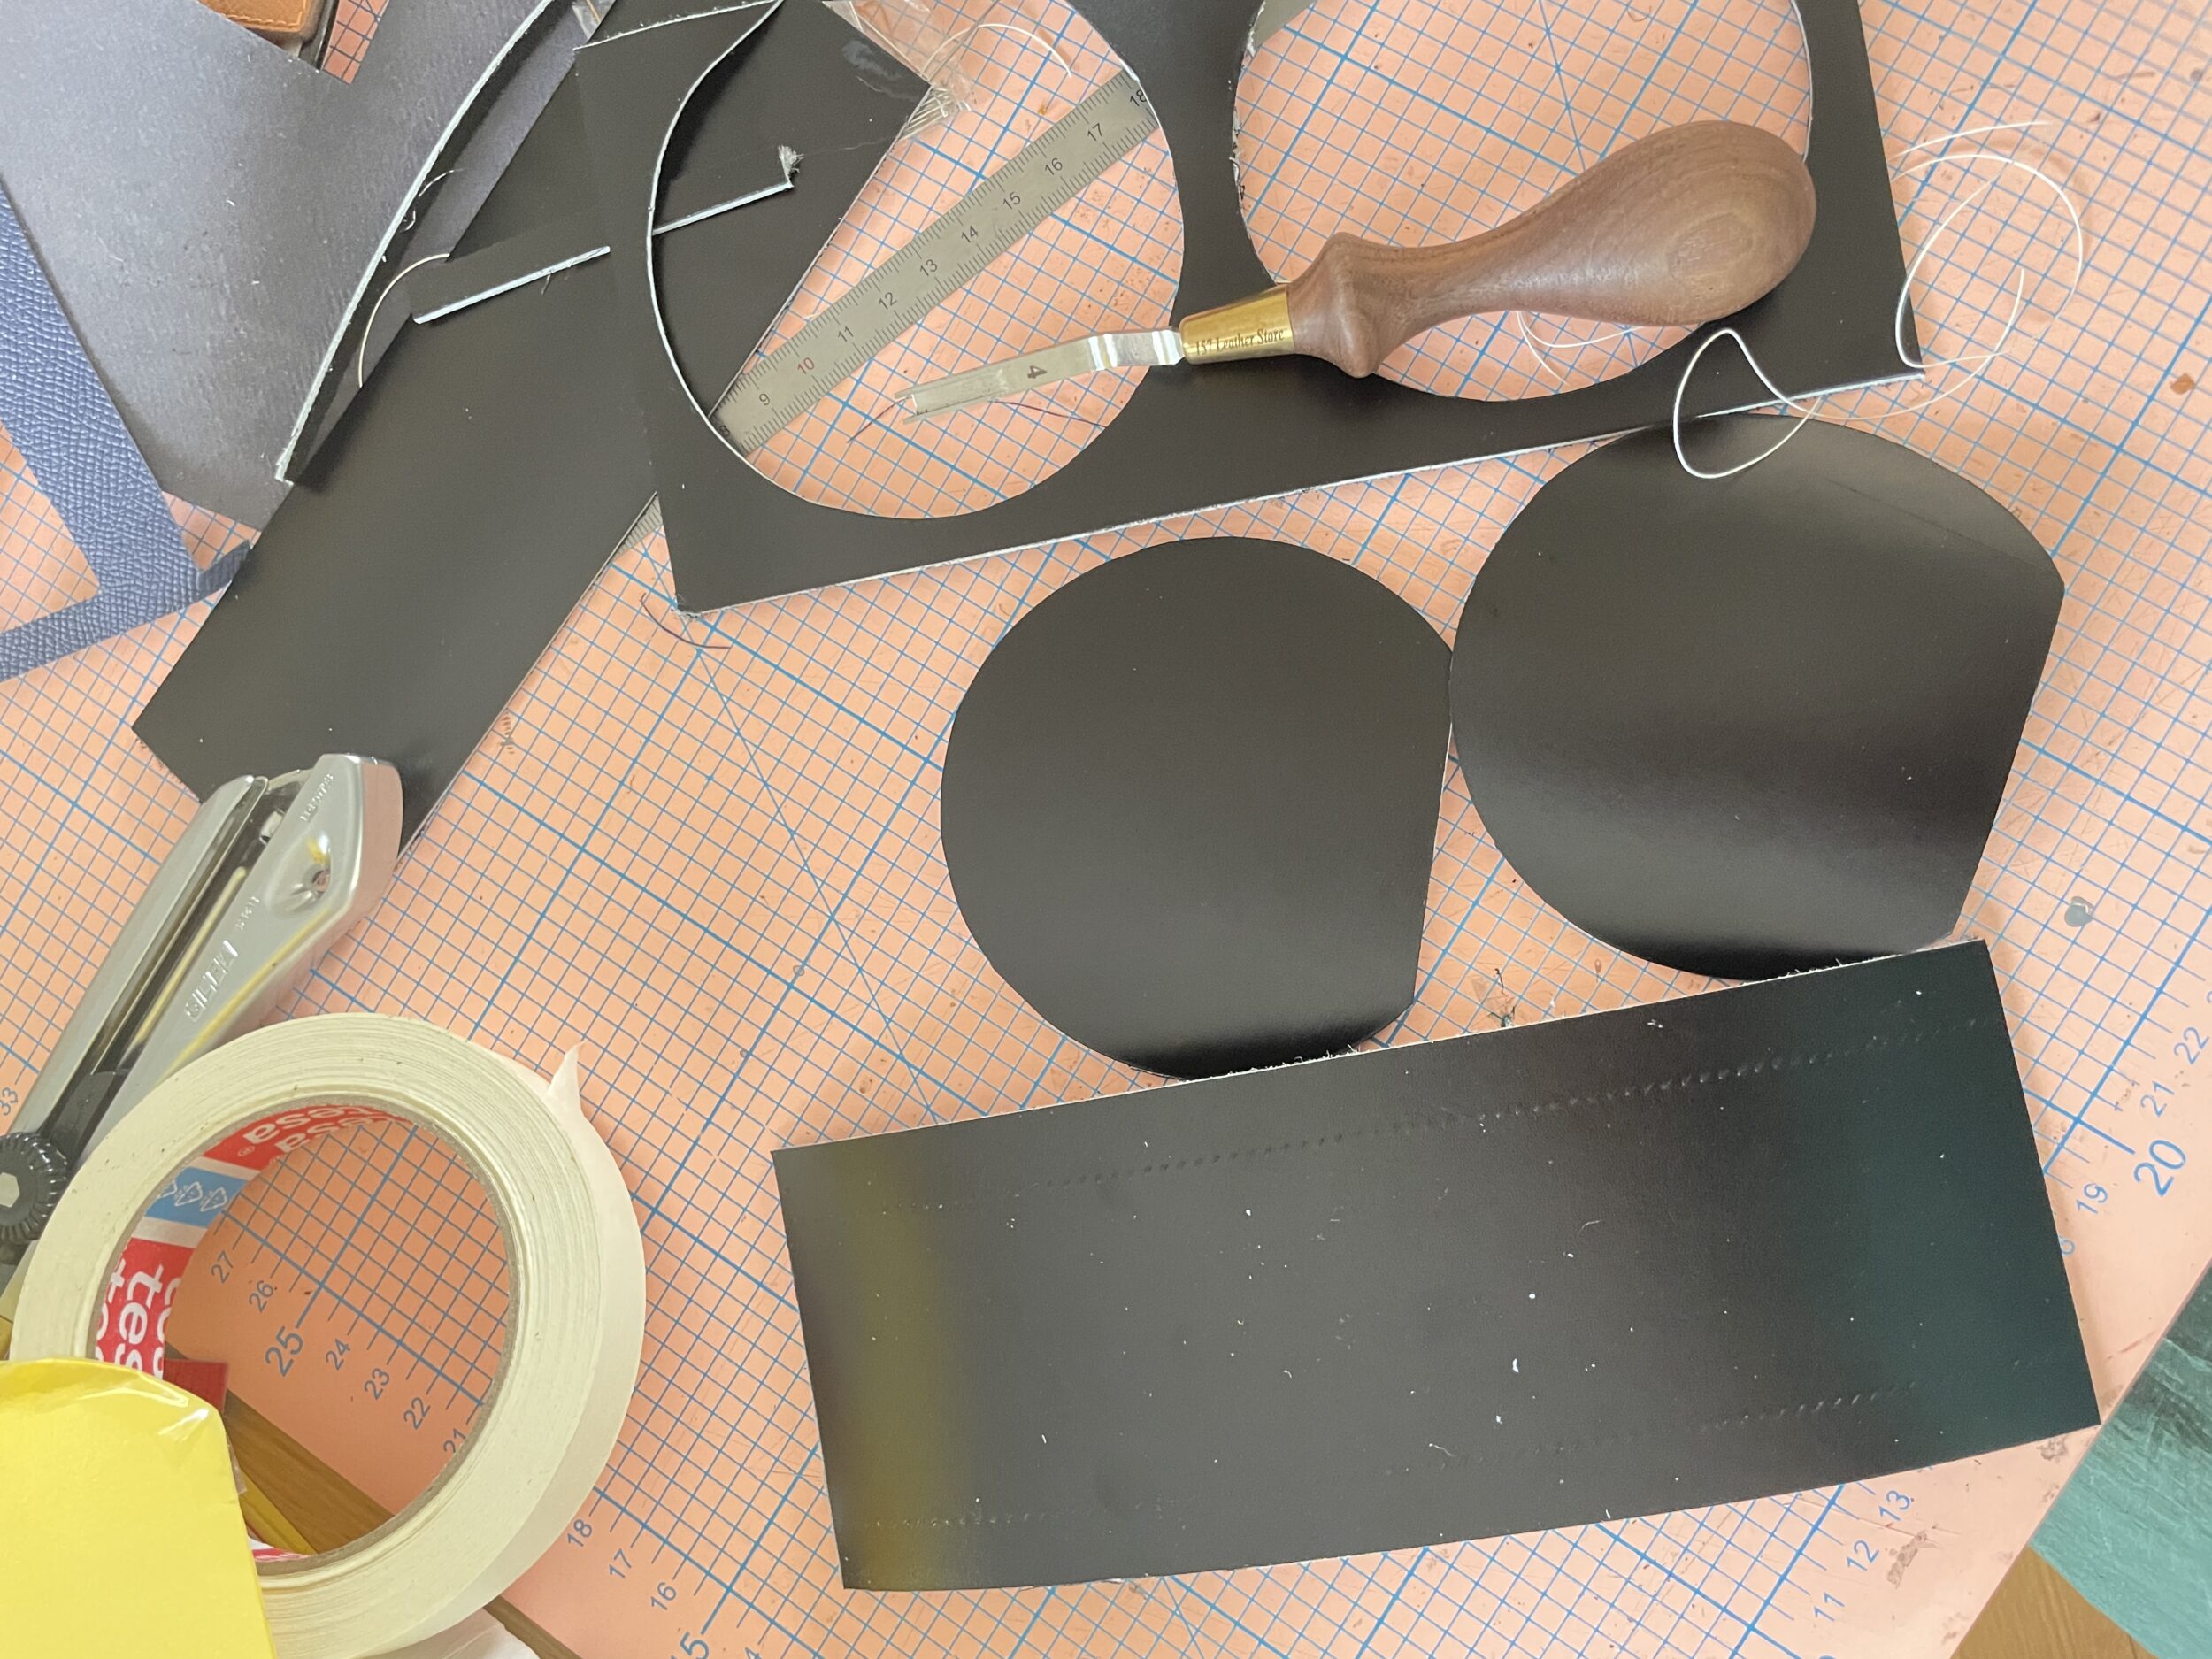
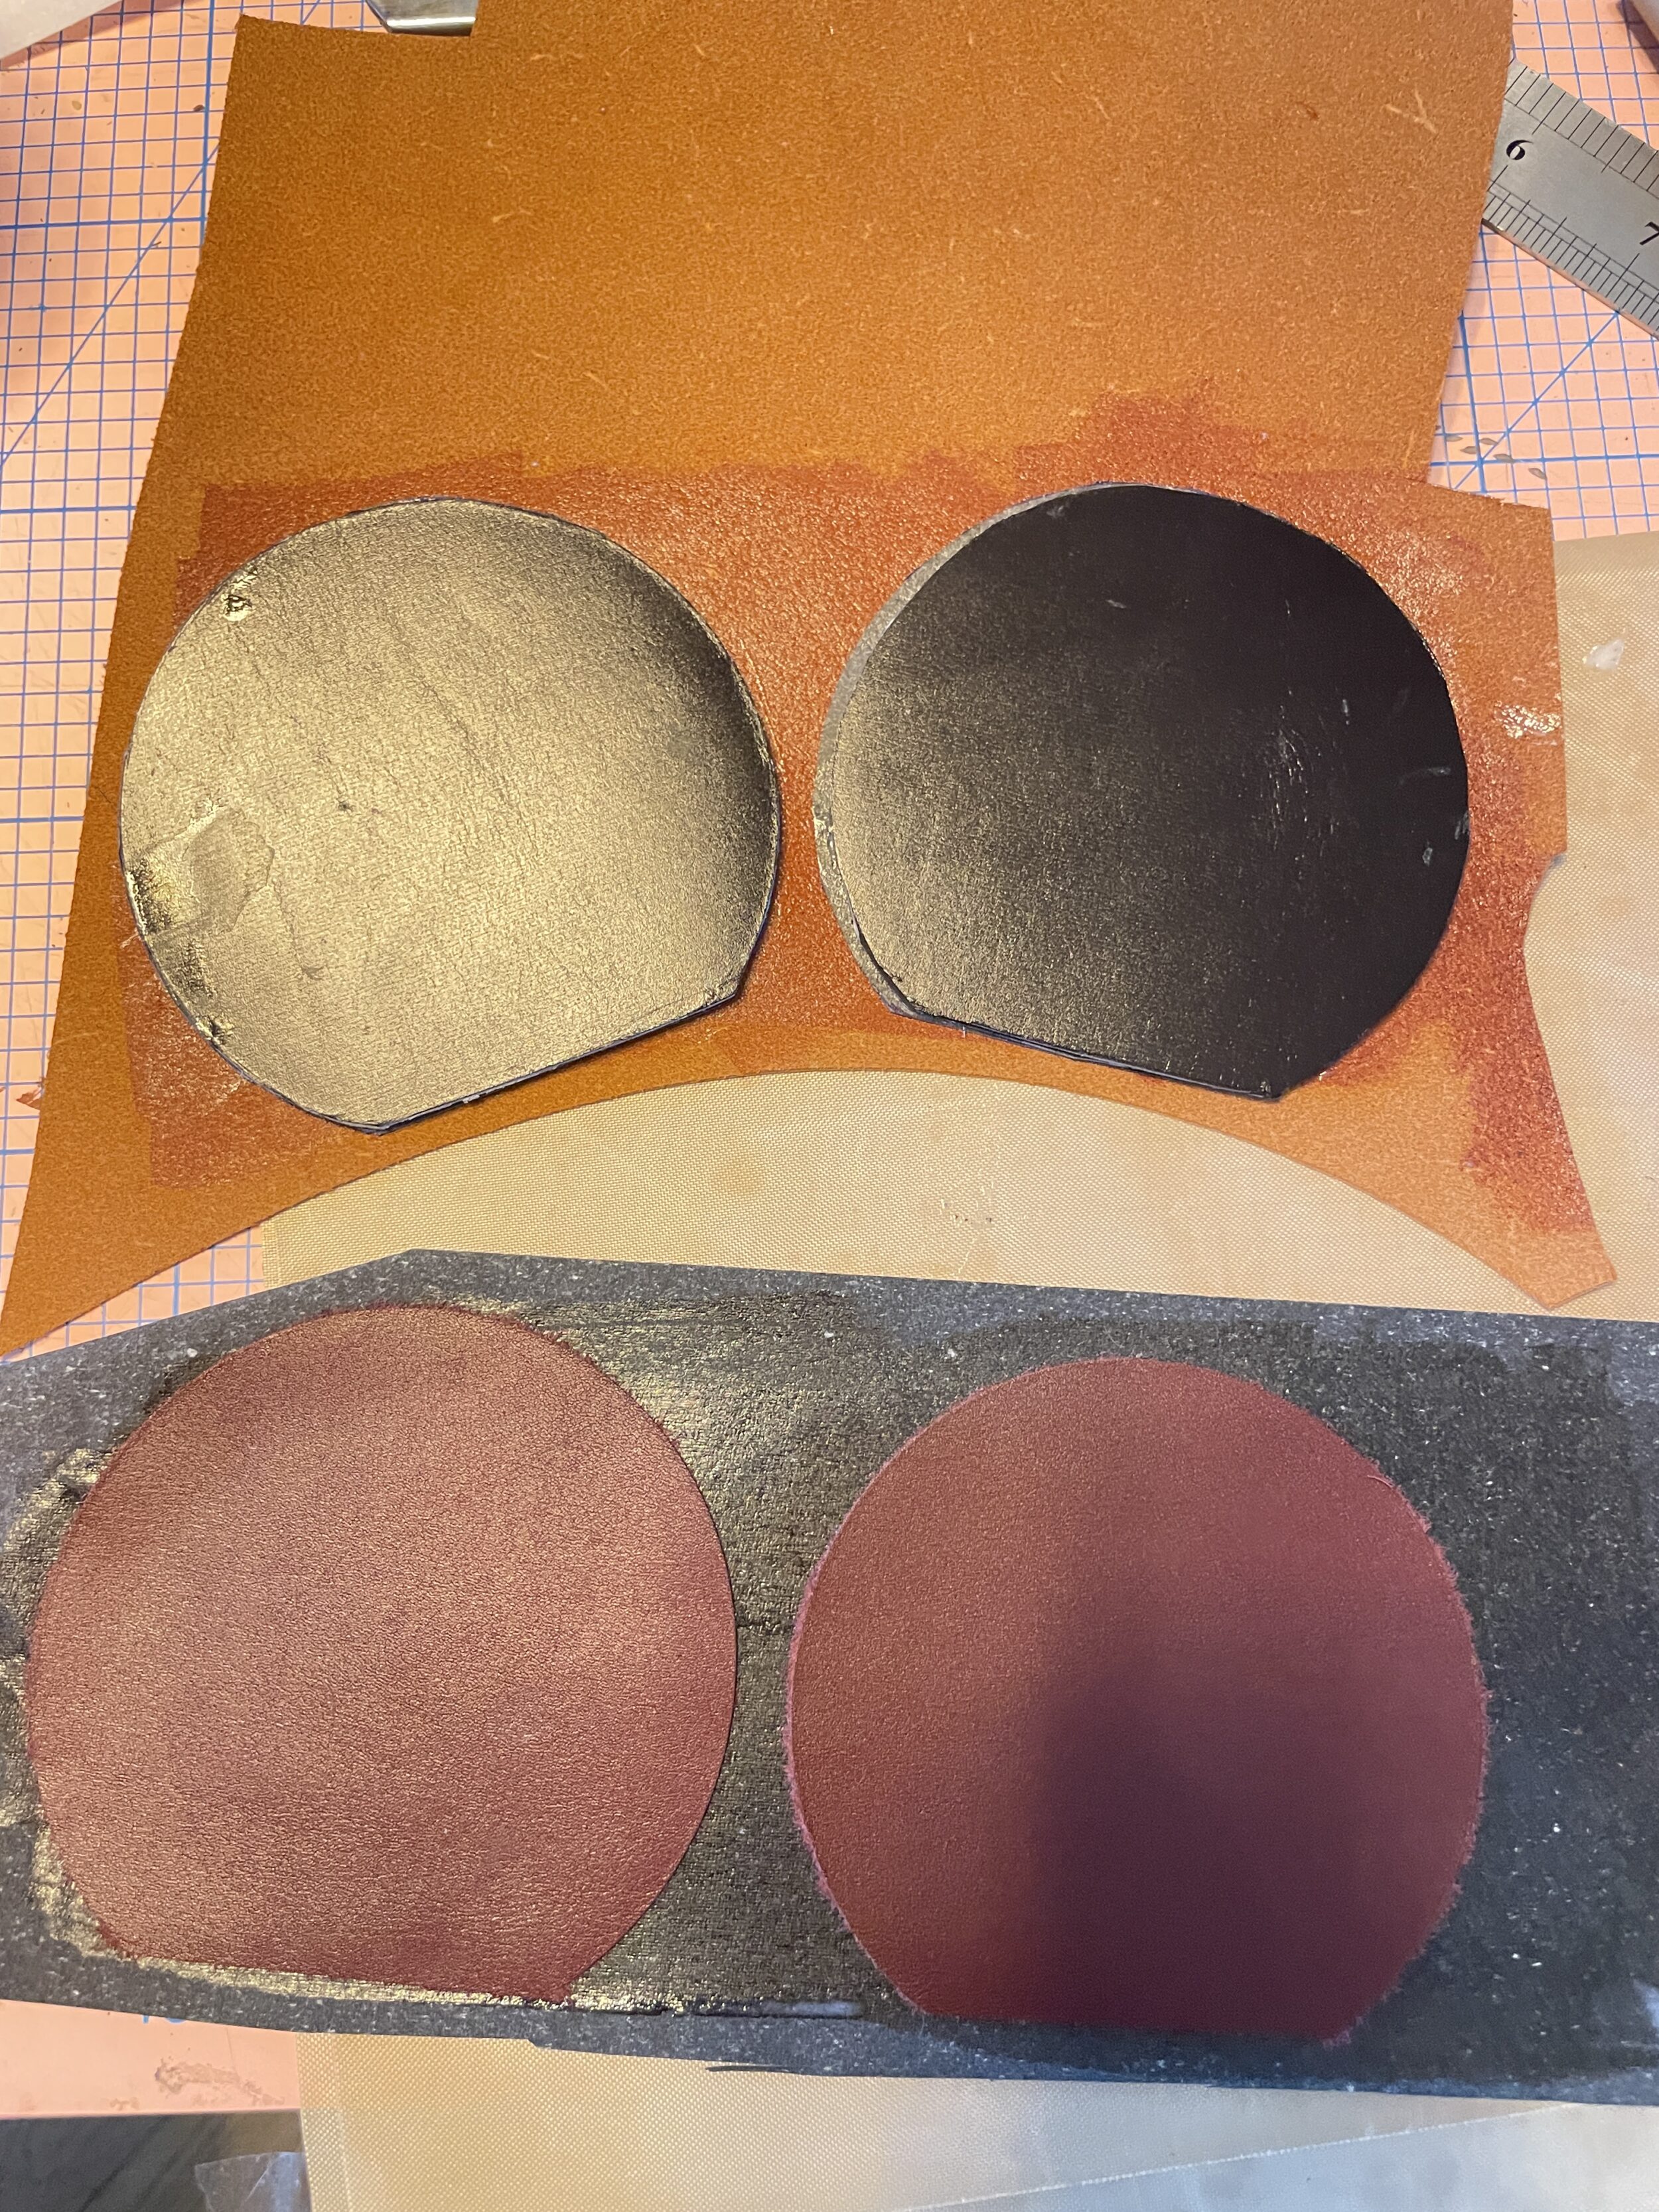
Since I don’t have tools for cutting circles, I decided to take out my Silhouette machine. However, it struggles to cut 1mm thick leather, so the leather is half-cut, and I follow the outline to cut with a craft knife afterward.
Finally, I’m going with a closure consisting of an iron bar wedged between two stitching lines on the bordeaux leather, plus two strong magnets sewn between two layers of leather. After sewing the lid and the magnets, I stress: the bag doesn’t close! The magnets aren’t strong enough. I stayed up very late that night to understand and solve the problem: I retest with a thinner leather (0.6mm instead of 0.8mm), and then the magnets become strong enough to hold the iron bar. I leave the whole thing wrapped in plastic wrap to curve the lid, and since then, the bag always closes.
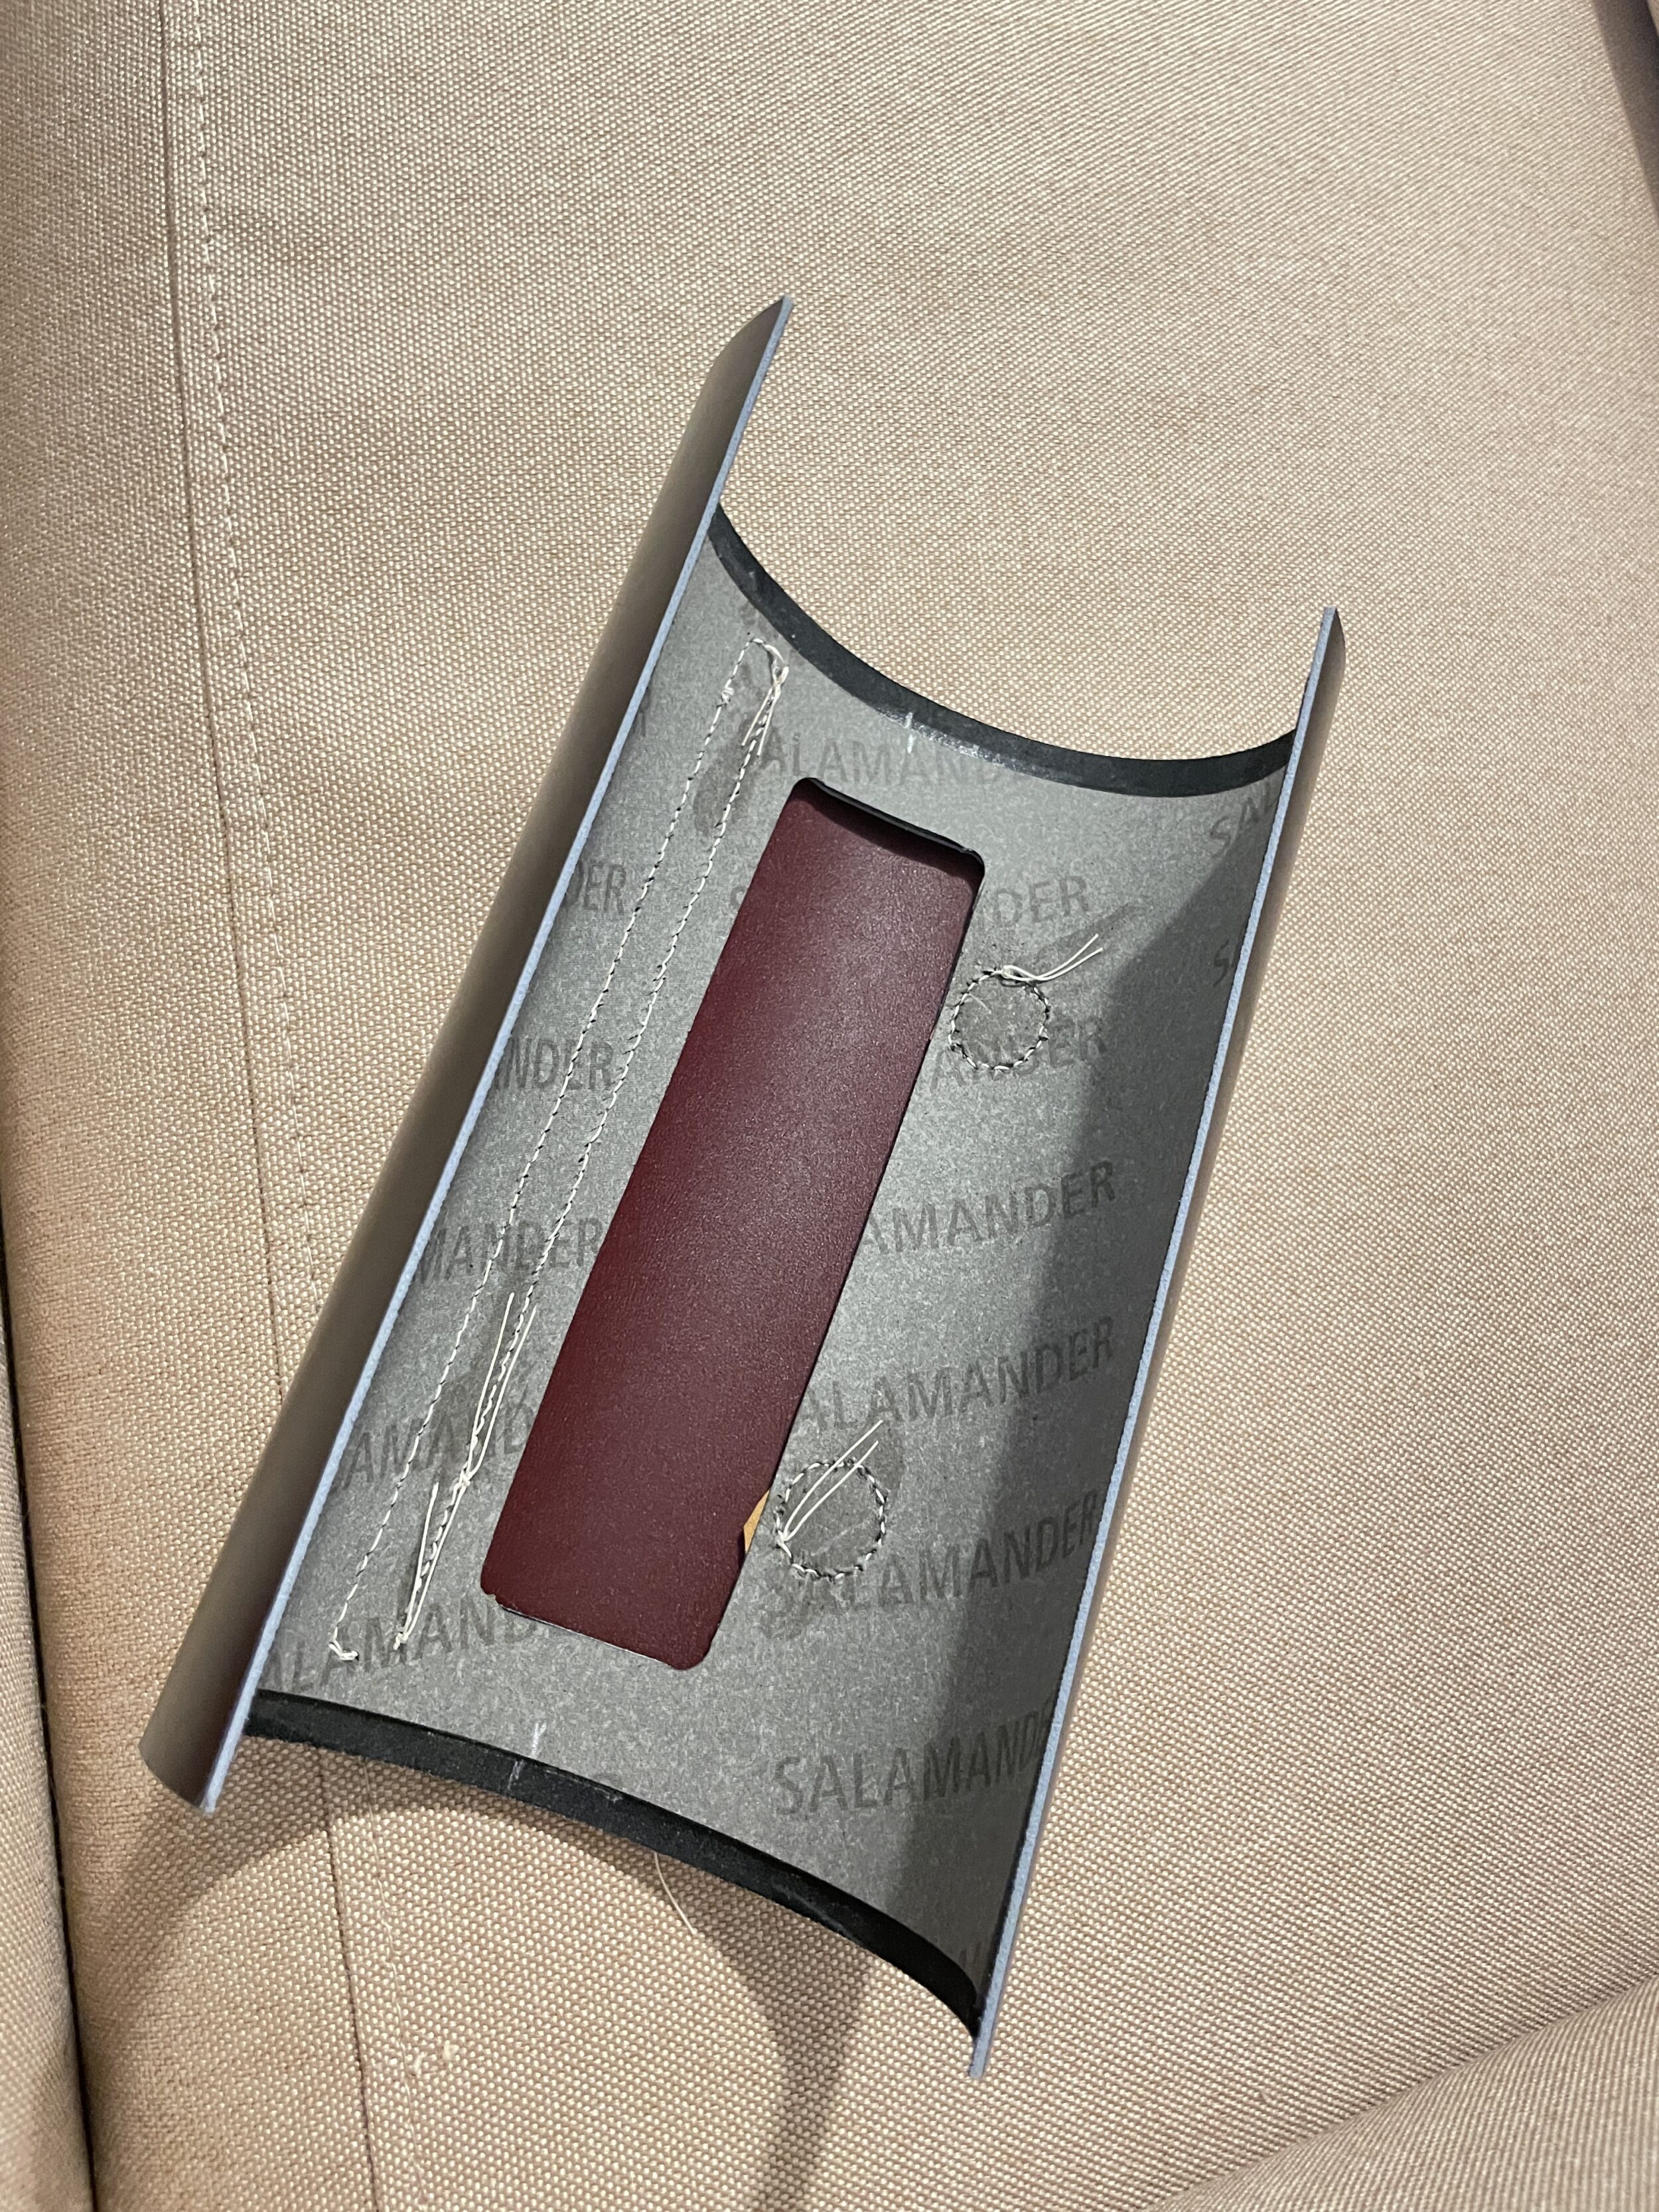
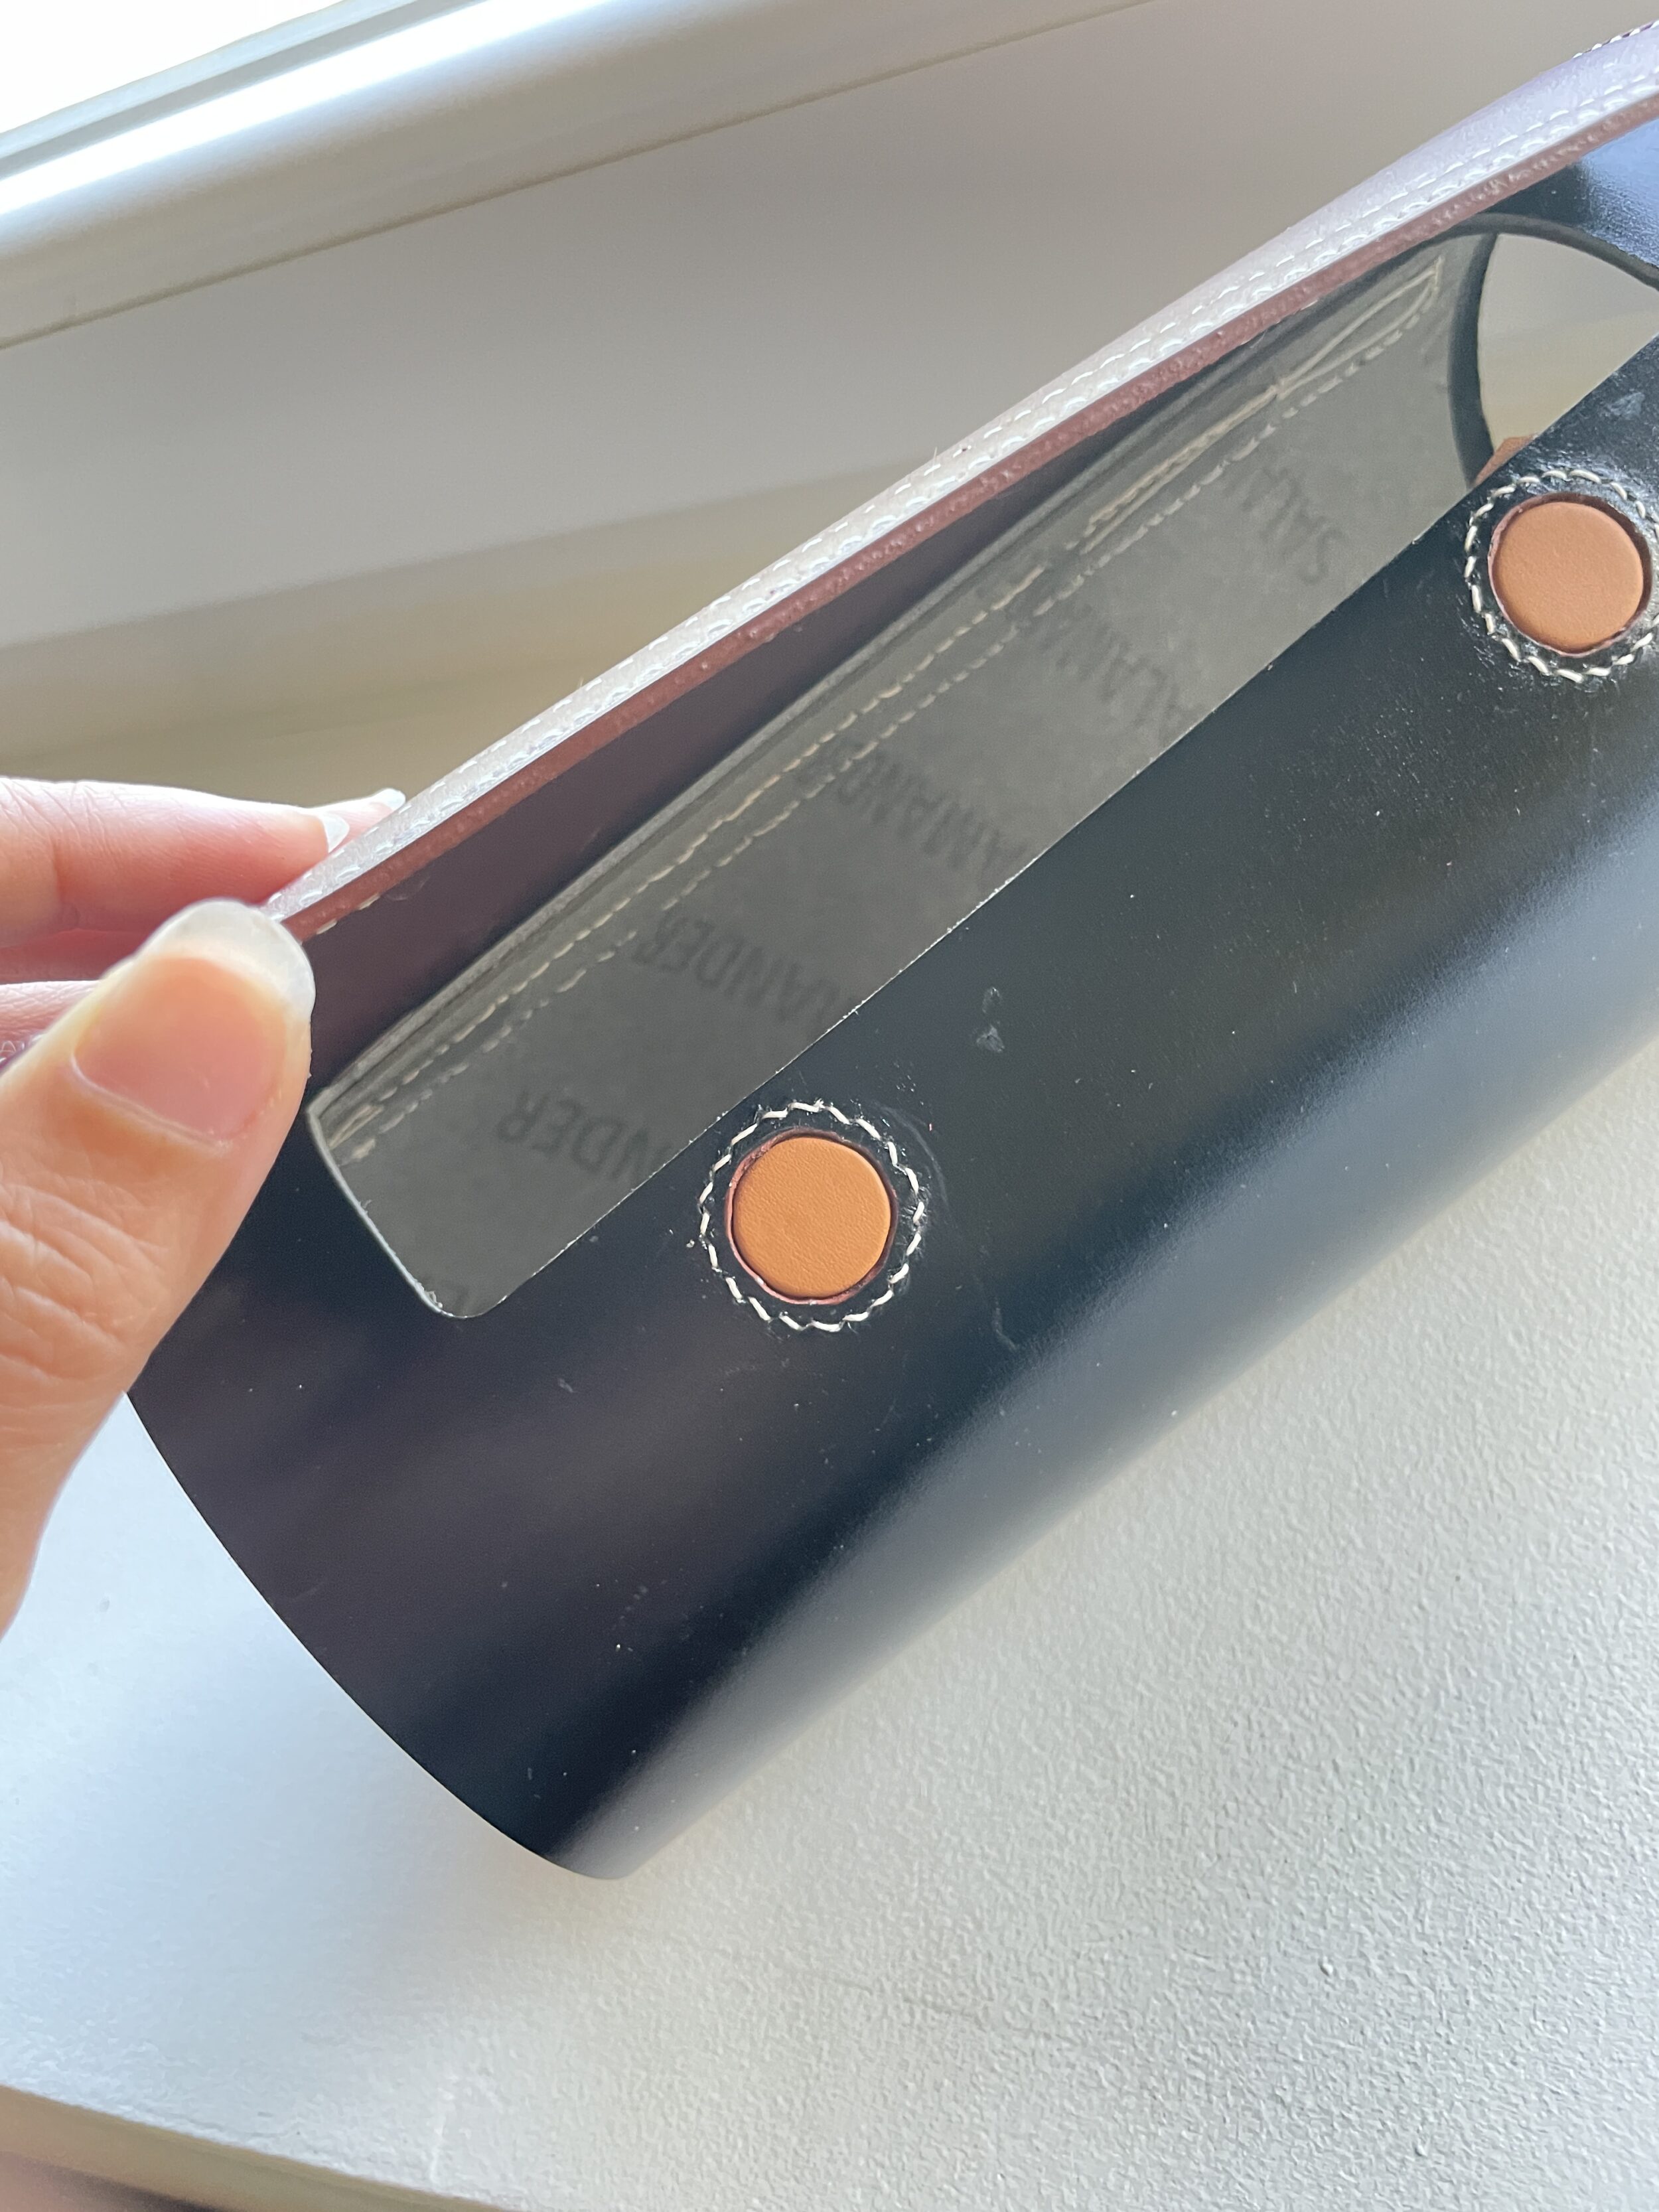
It’s time to put on the lining. And sew the base. I think for the next bags, the lining will be put in from the start, not after attaching the lid, because putting in the lining last poses a huge difficulty for me later on.
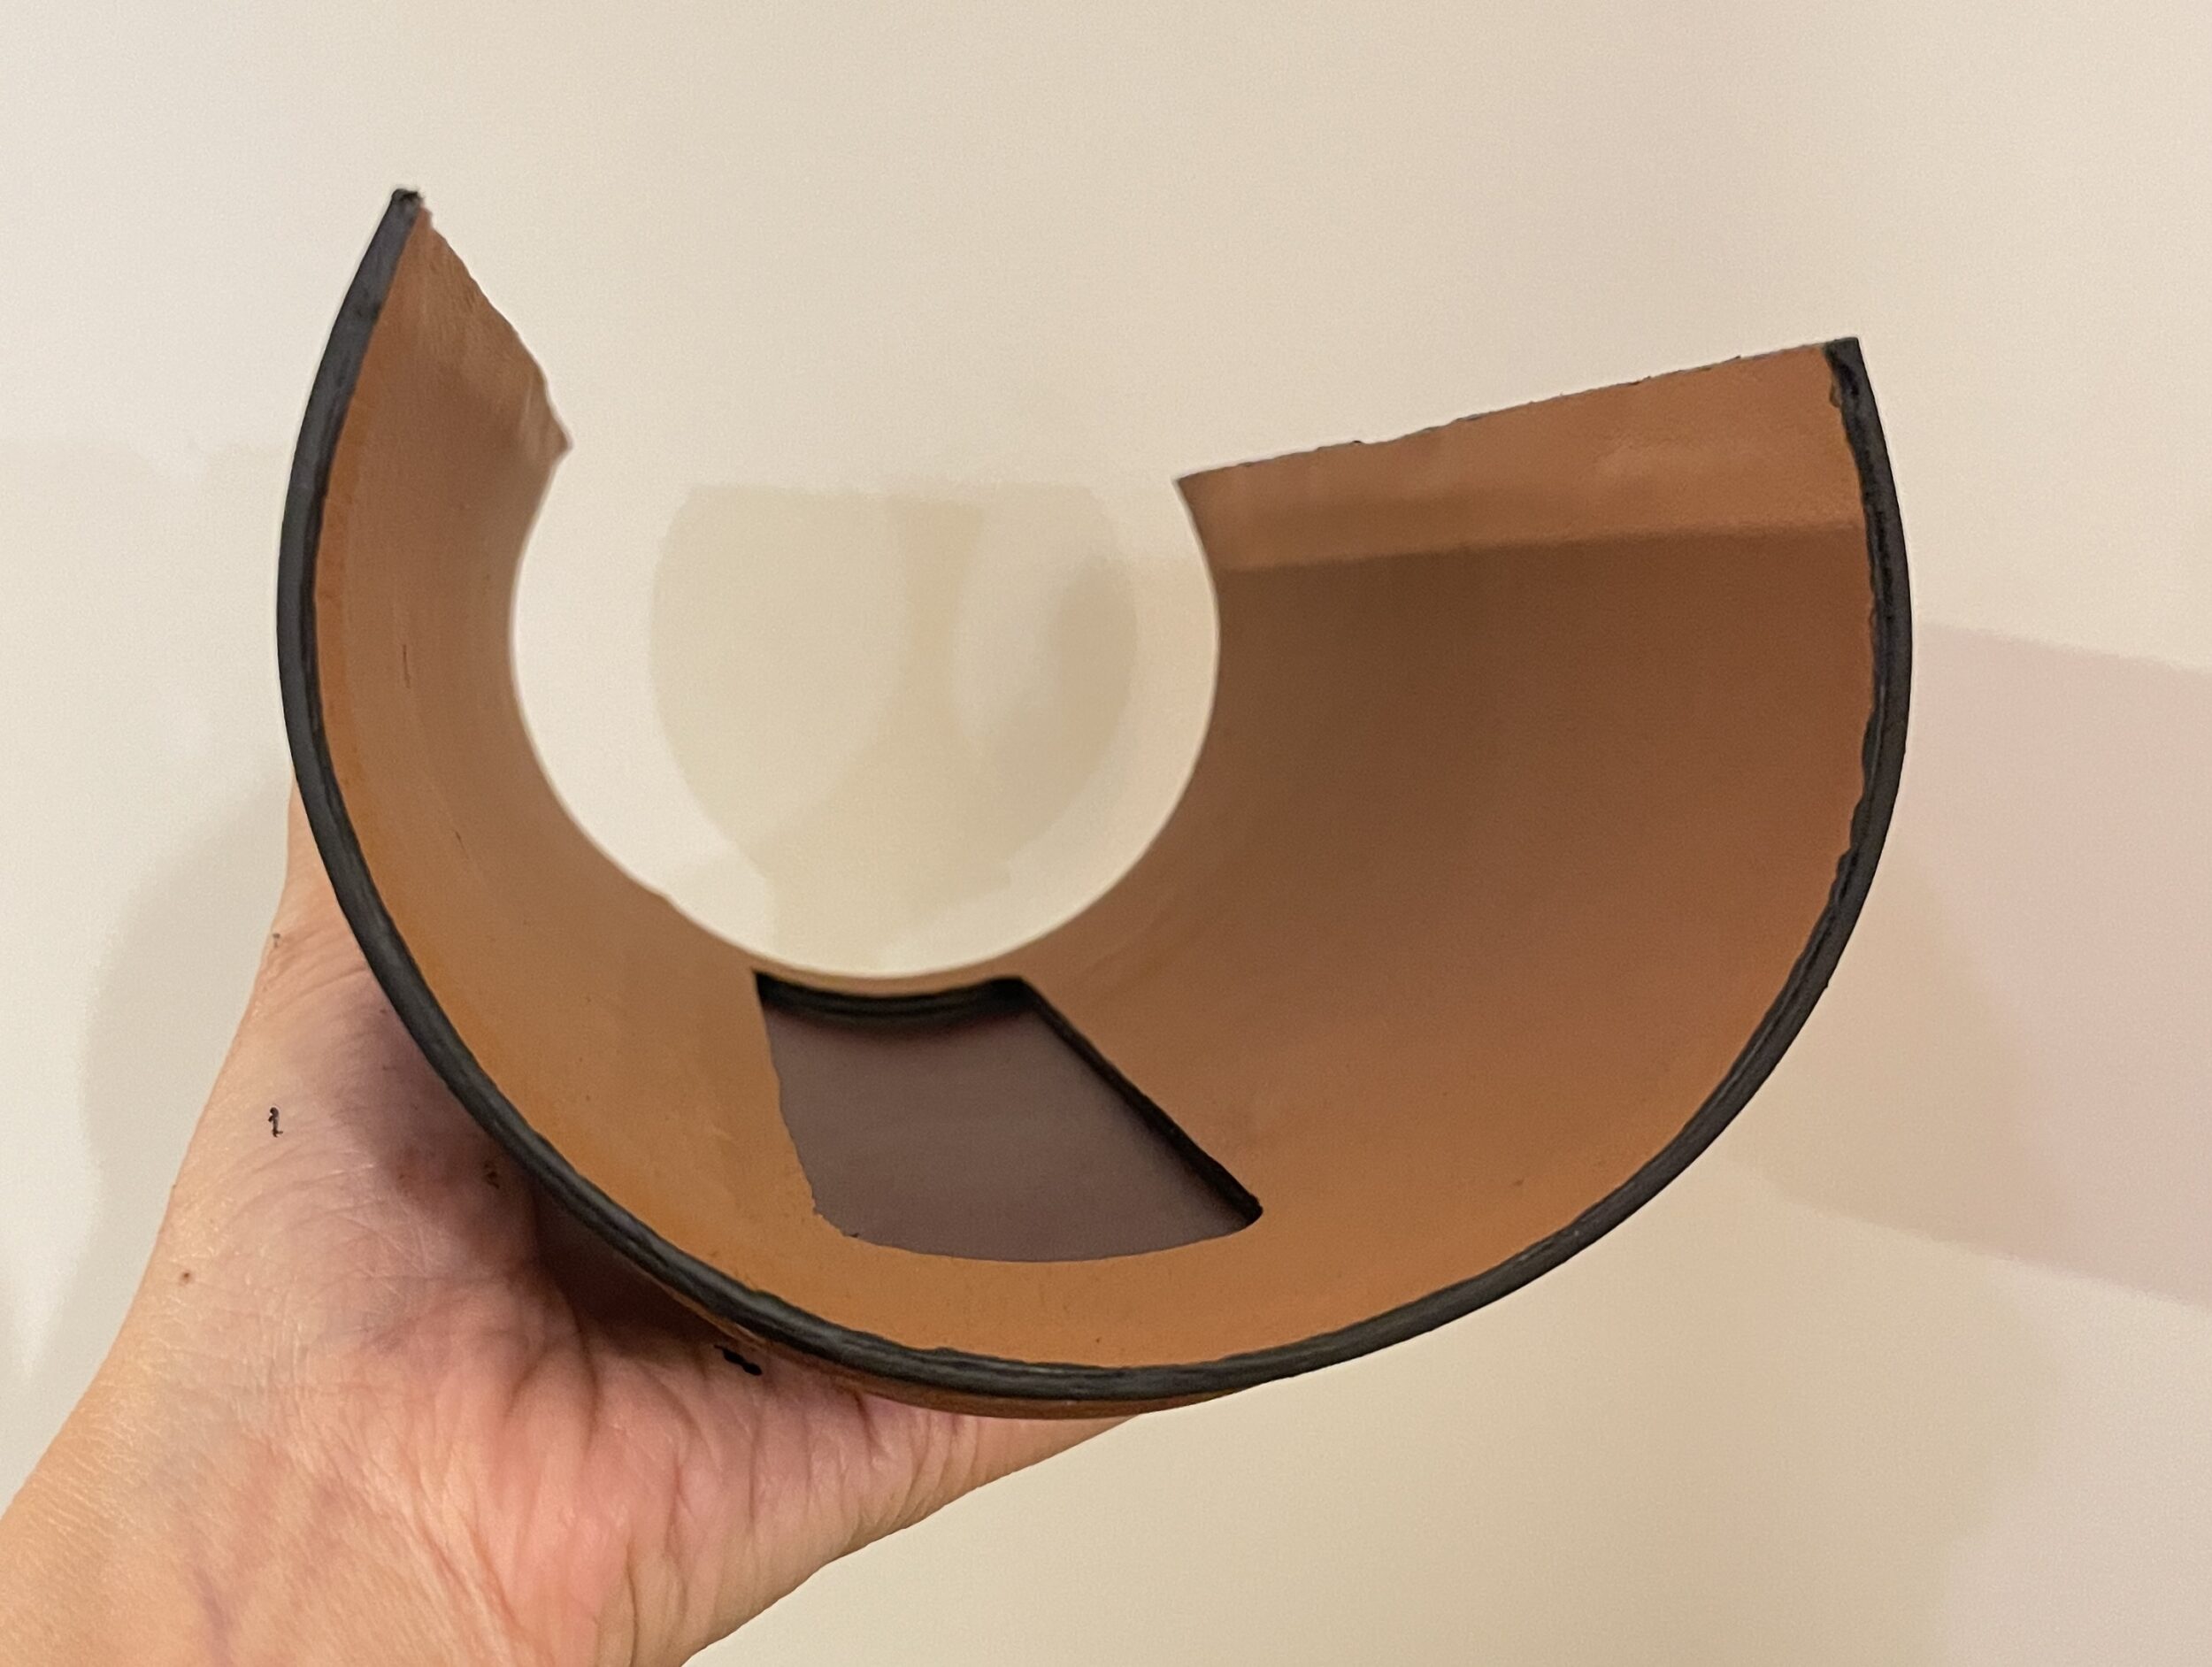
Skiving the base was very difficult with such a sturdy leather as Box, but I took care to sharpen my skiving knife well. The base stitching was extremely difficult on one side. Despite the protections, my fingers bled anyway. Fortunately, the outside looks okay, but you shouldn’t look at the stitching inside.
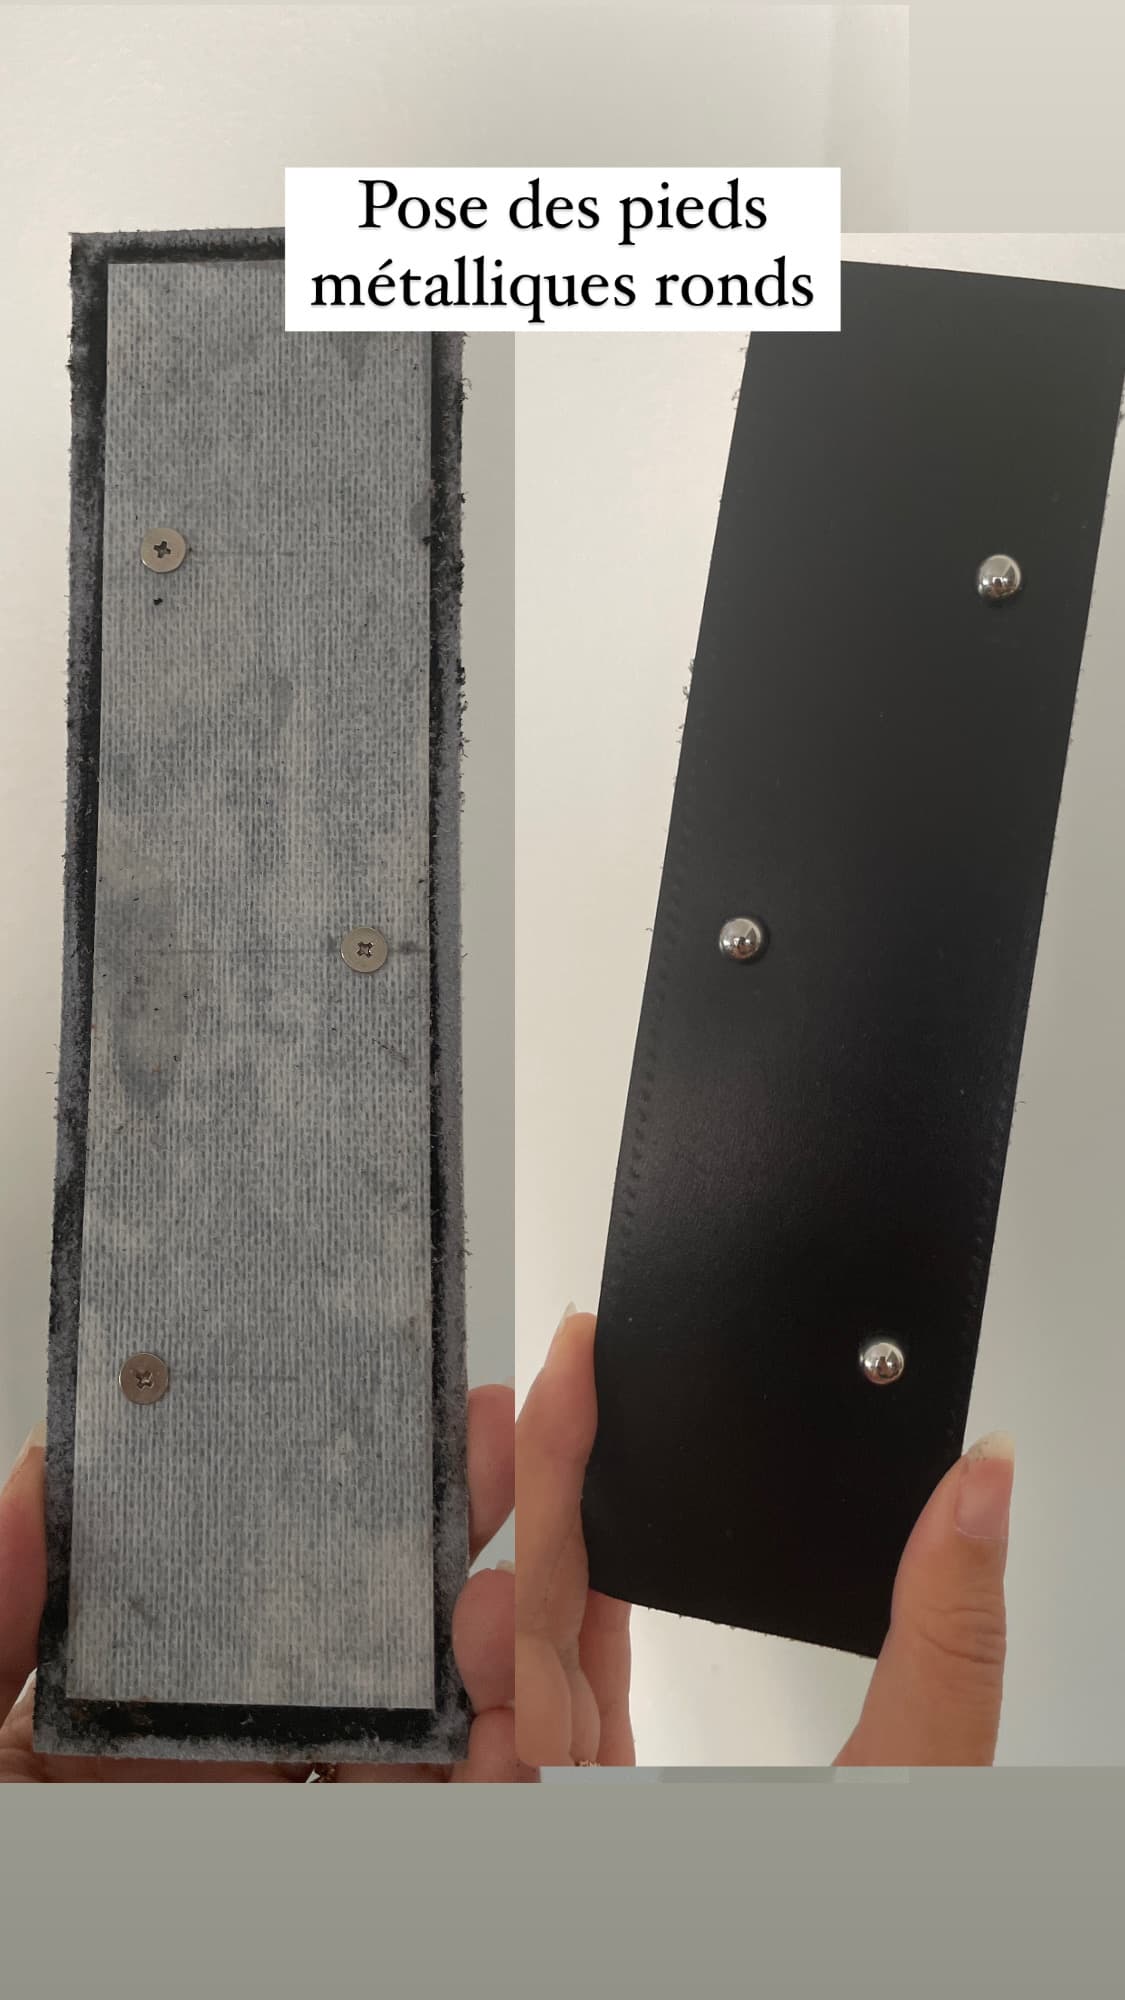
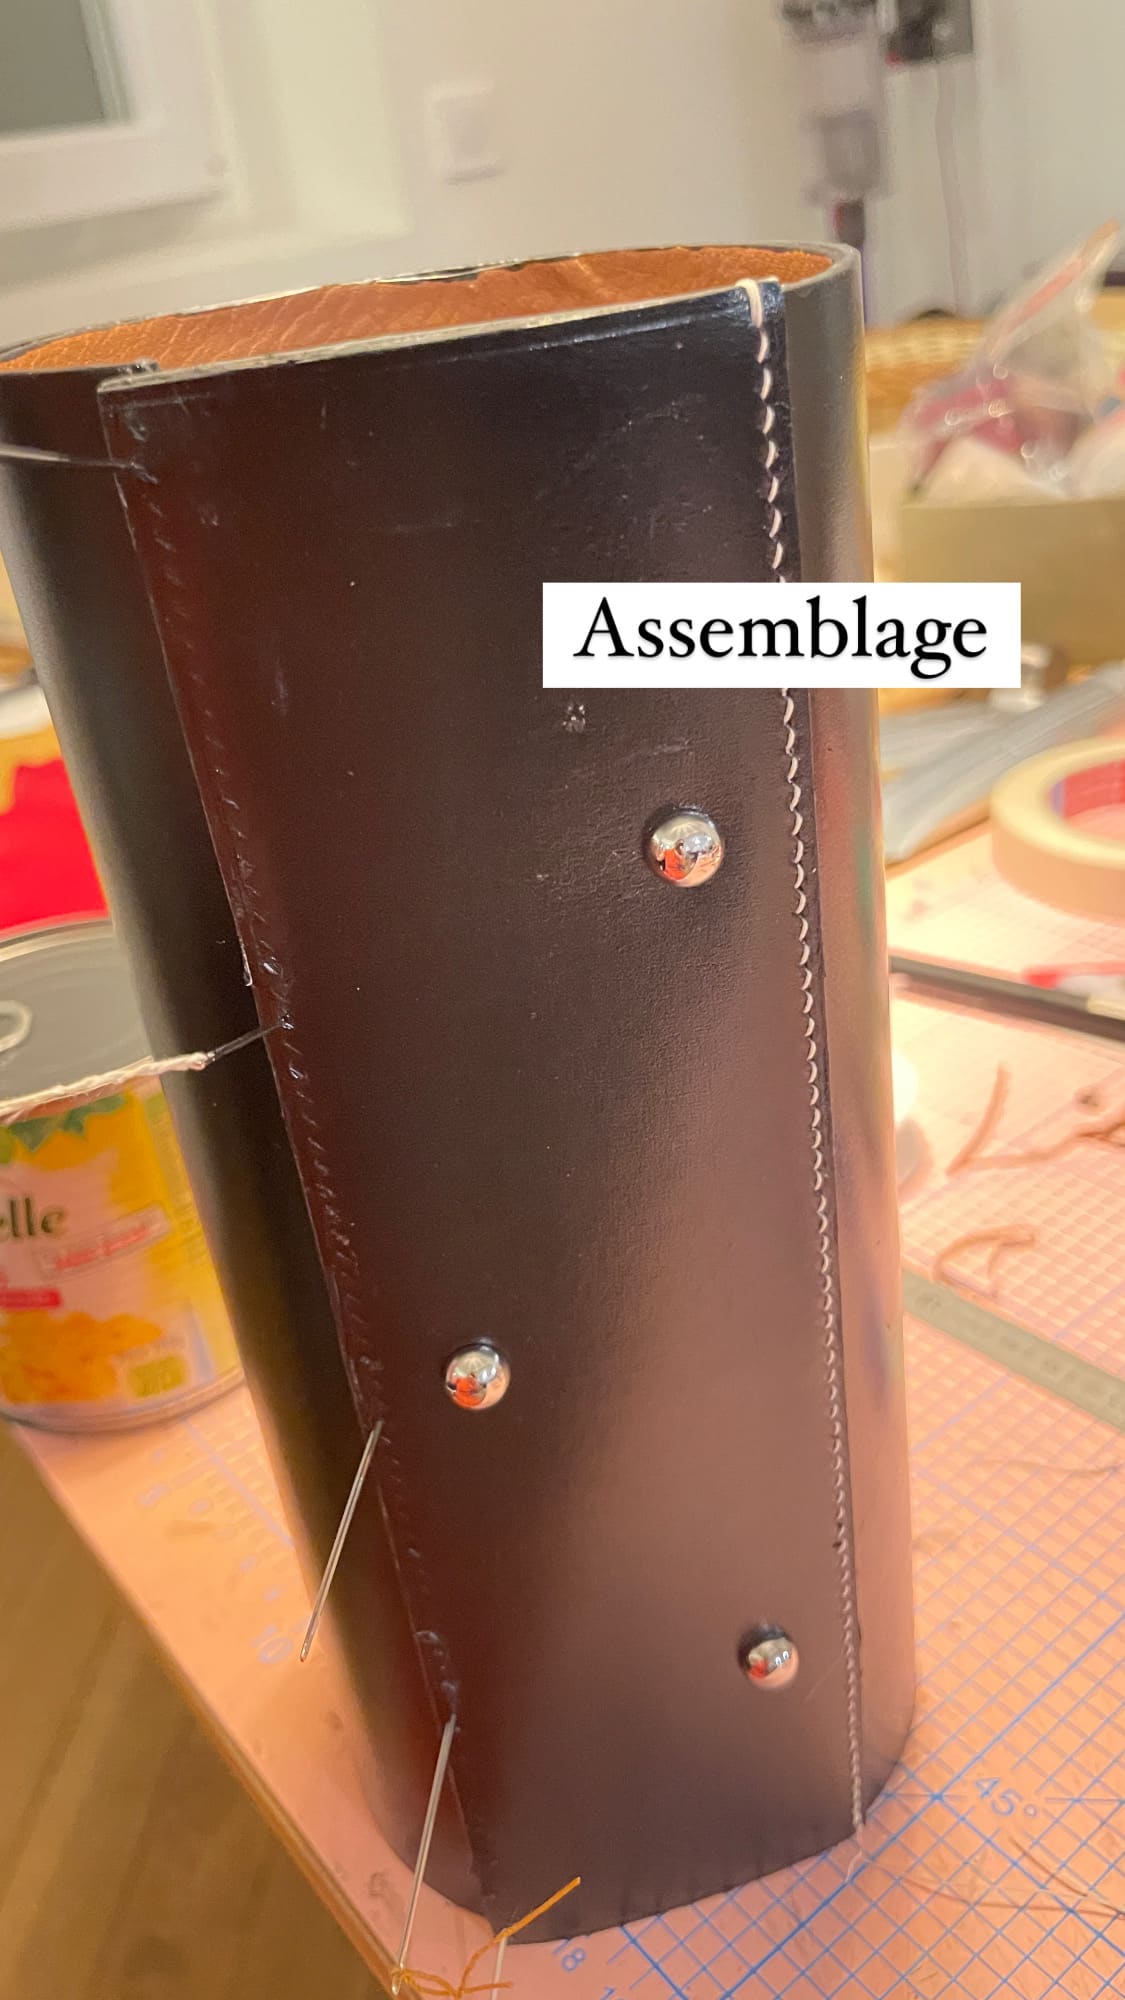
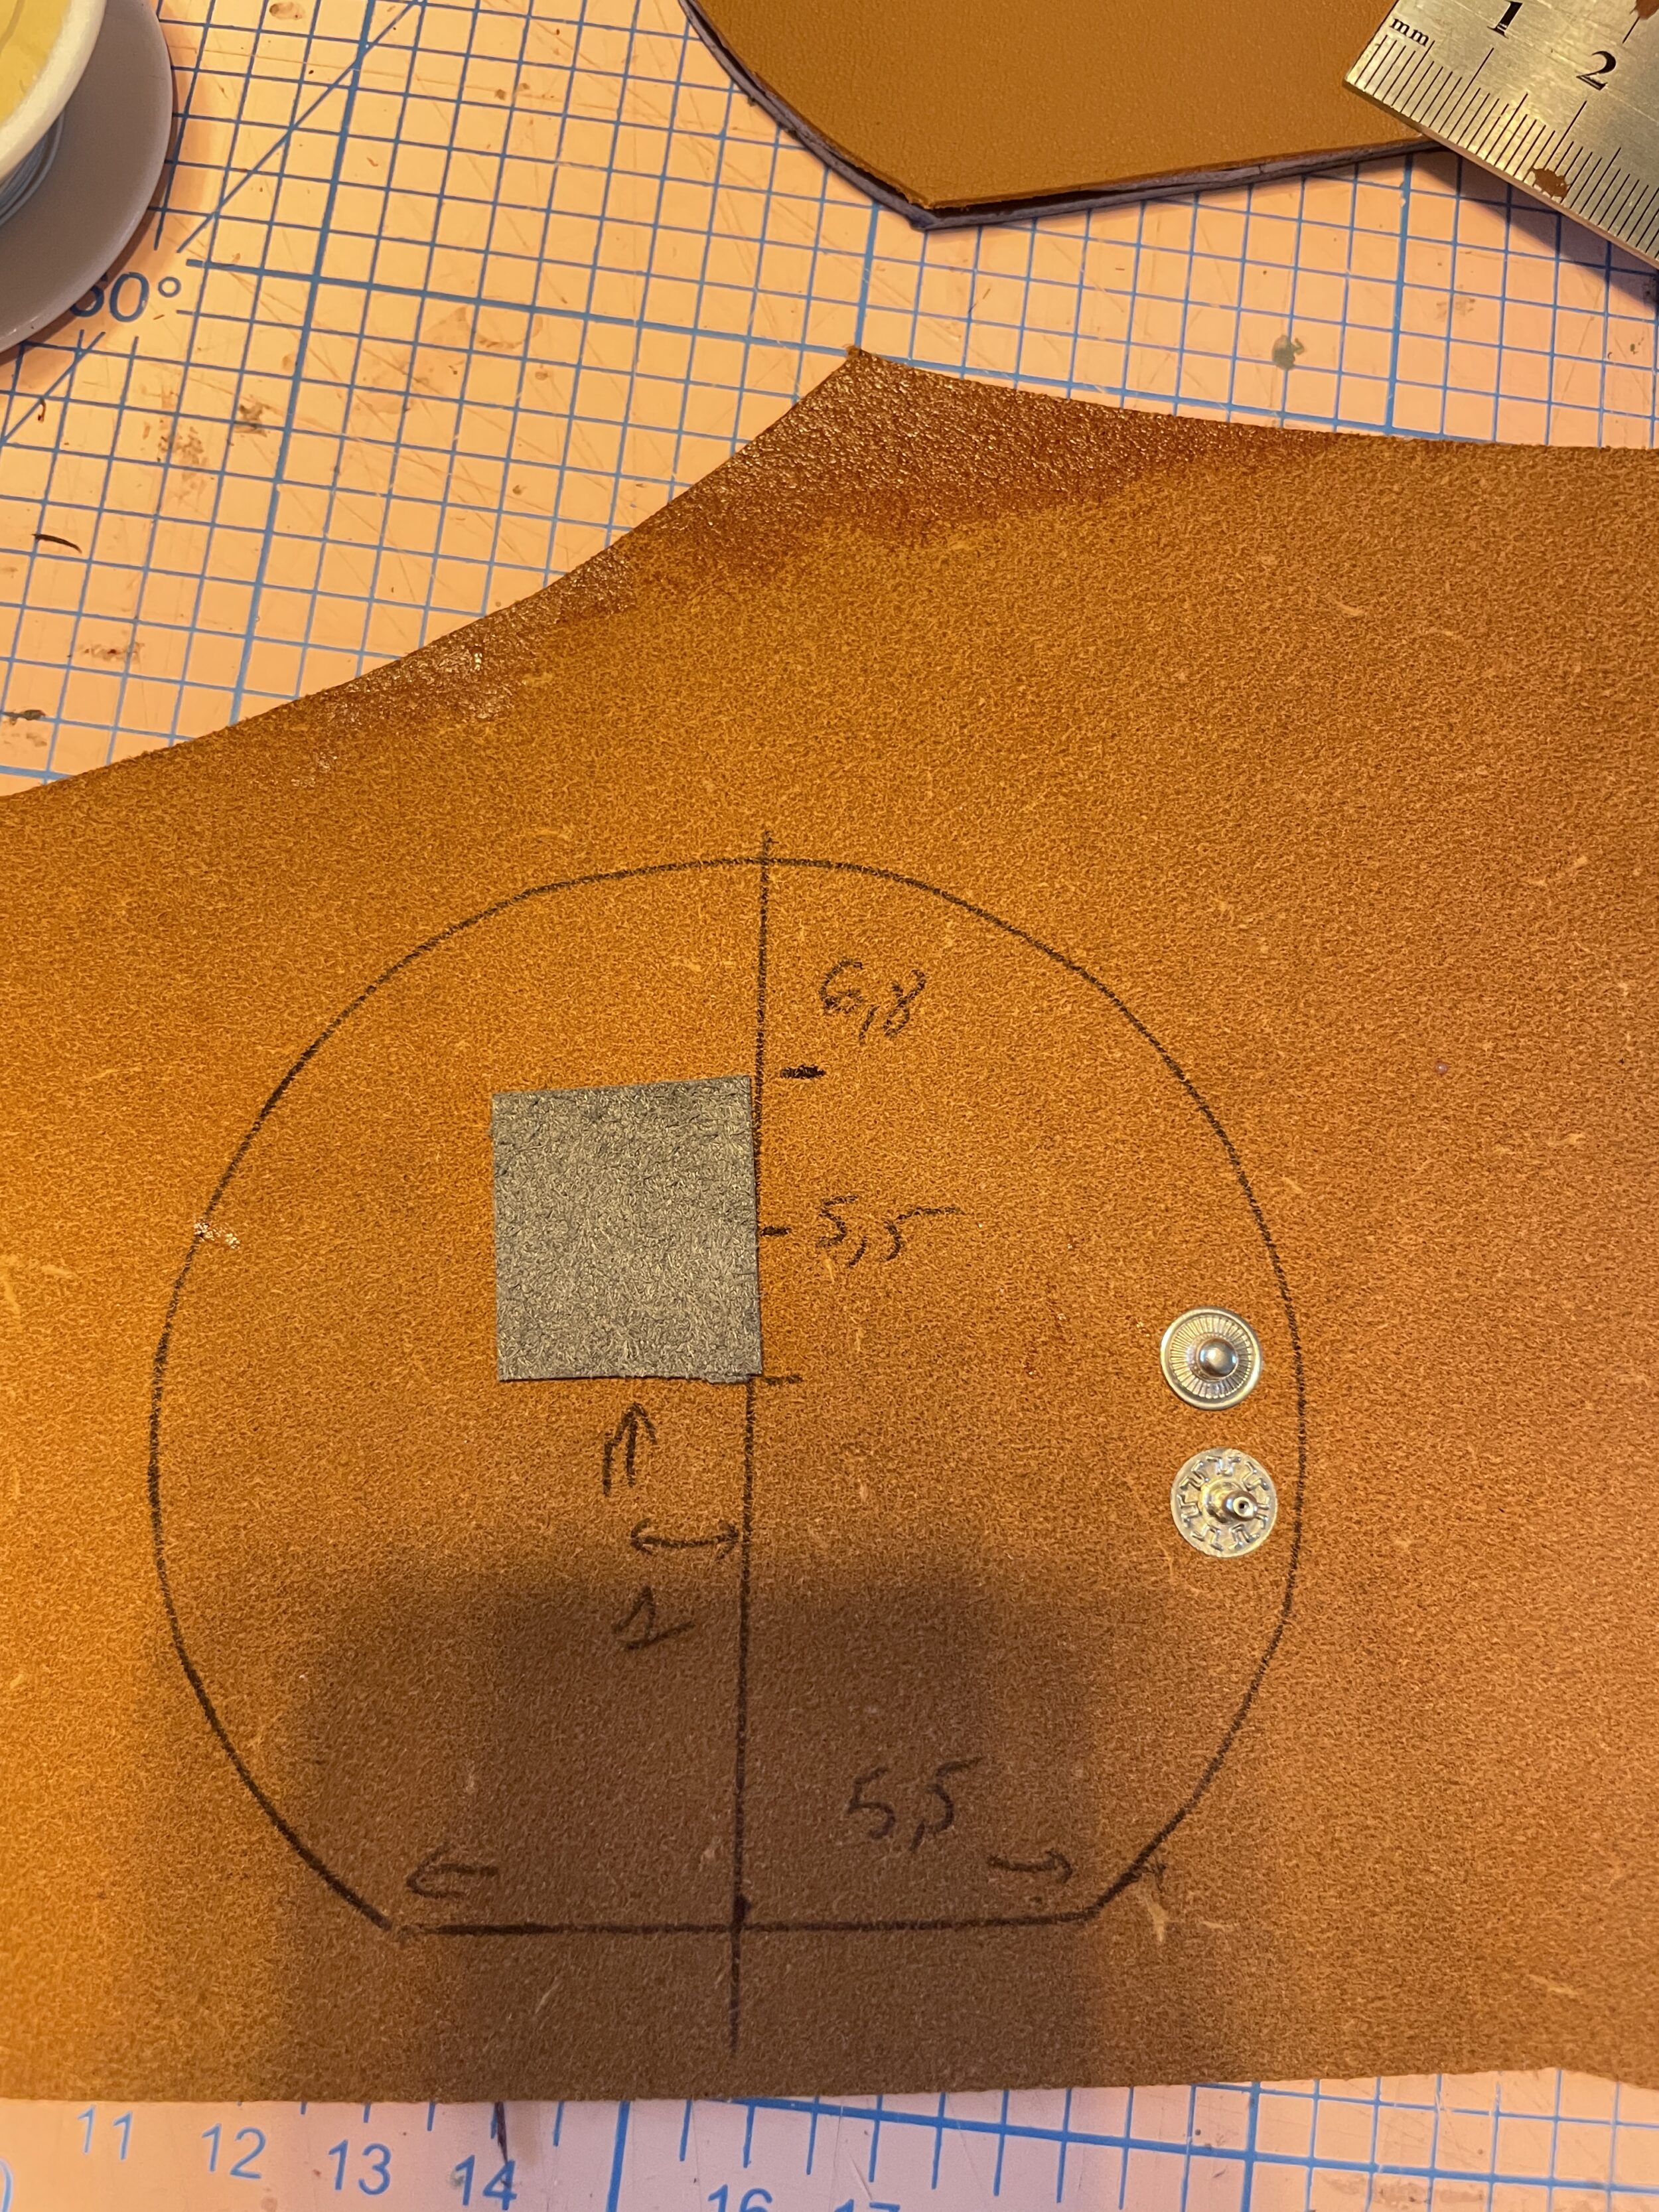
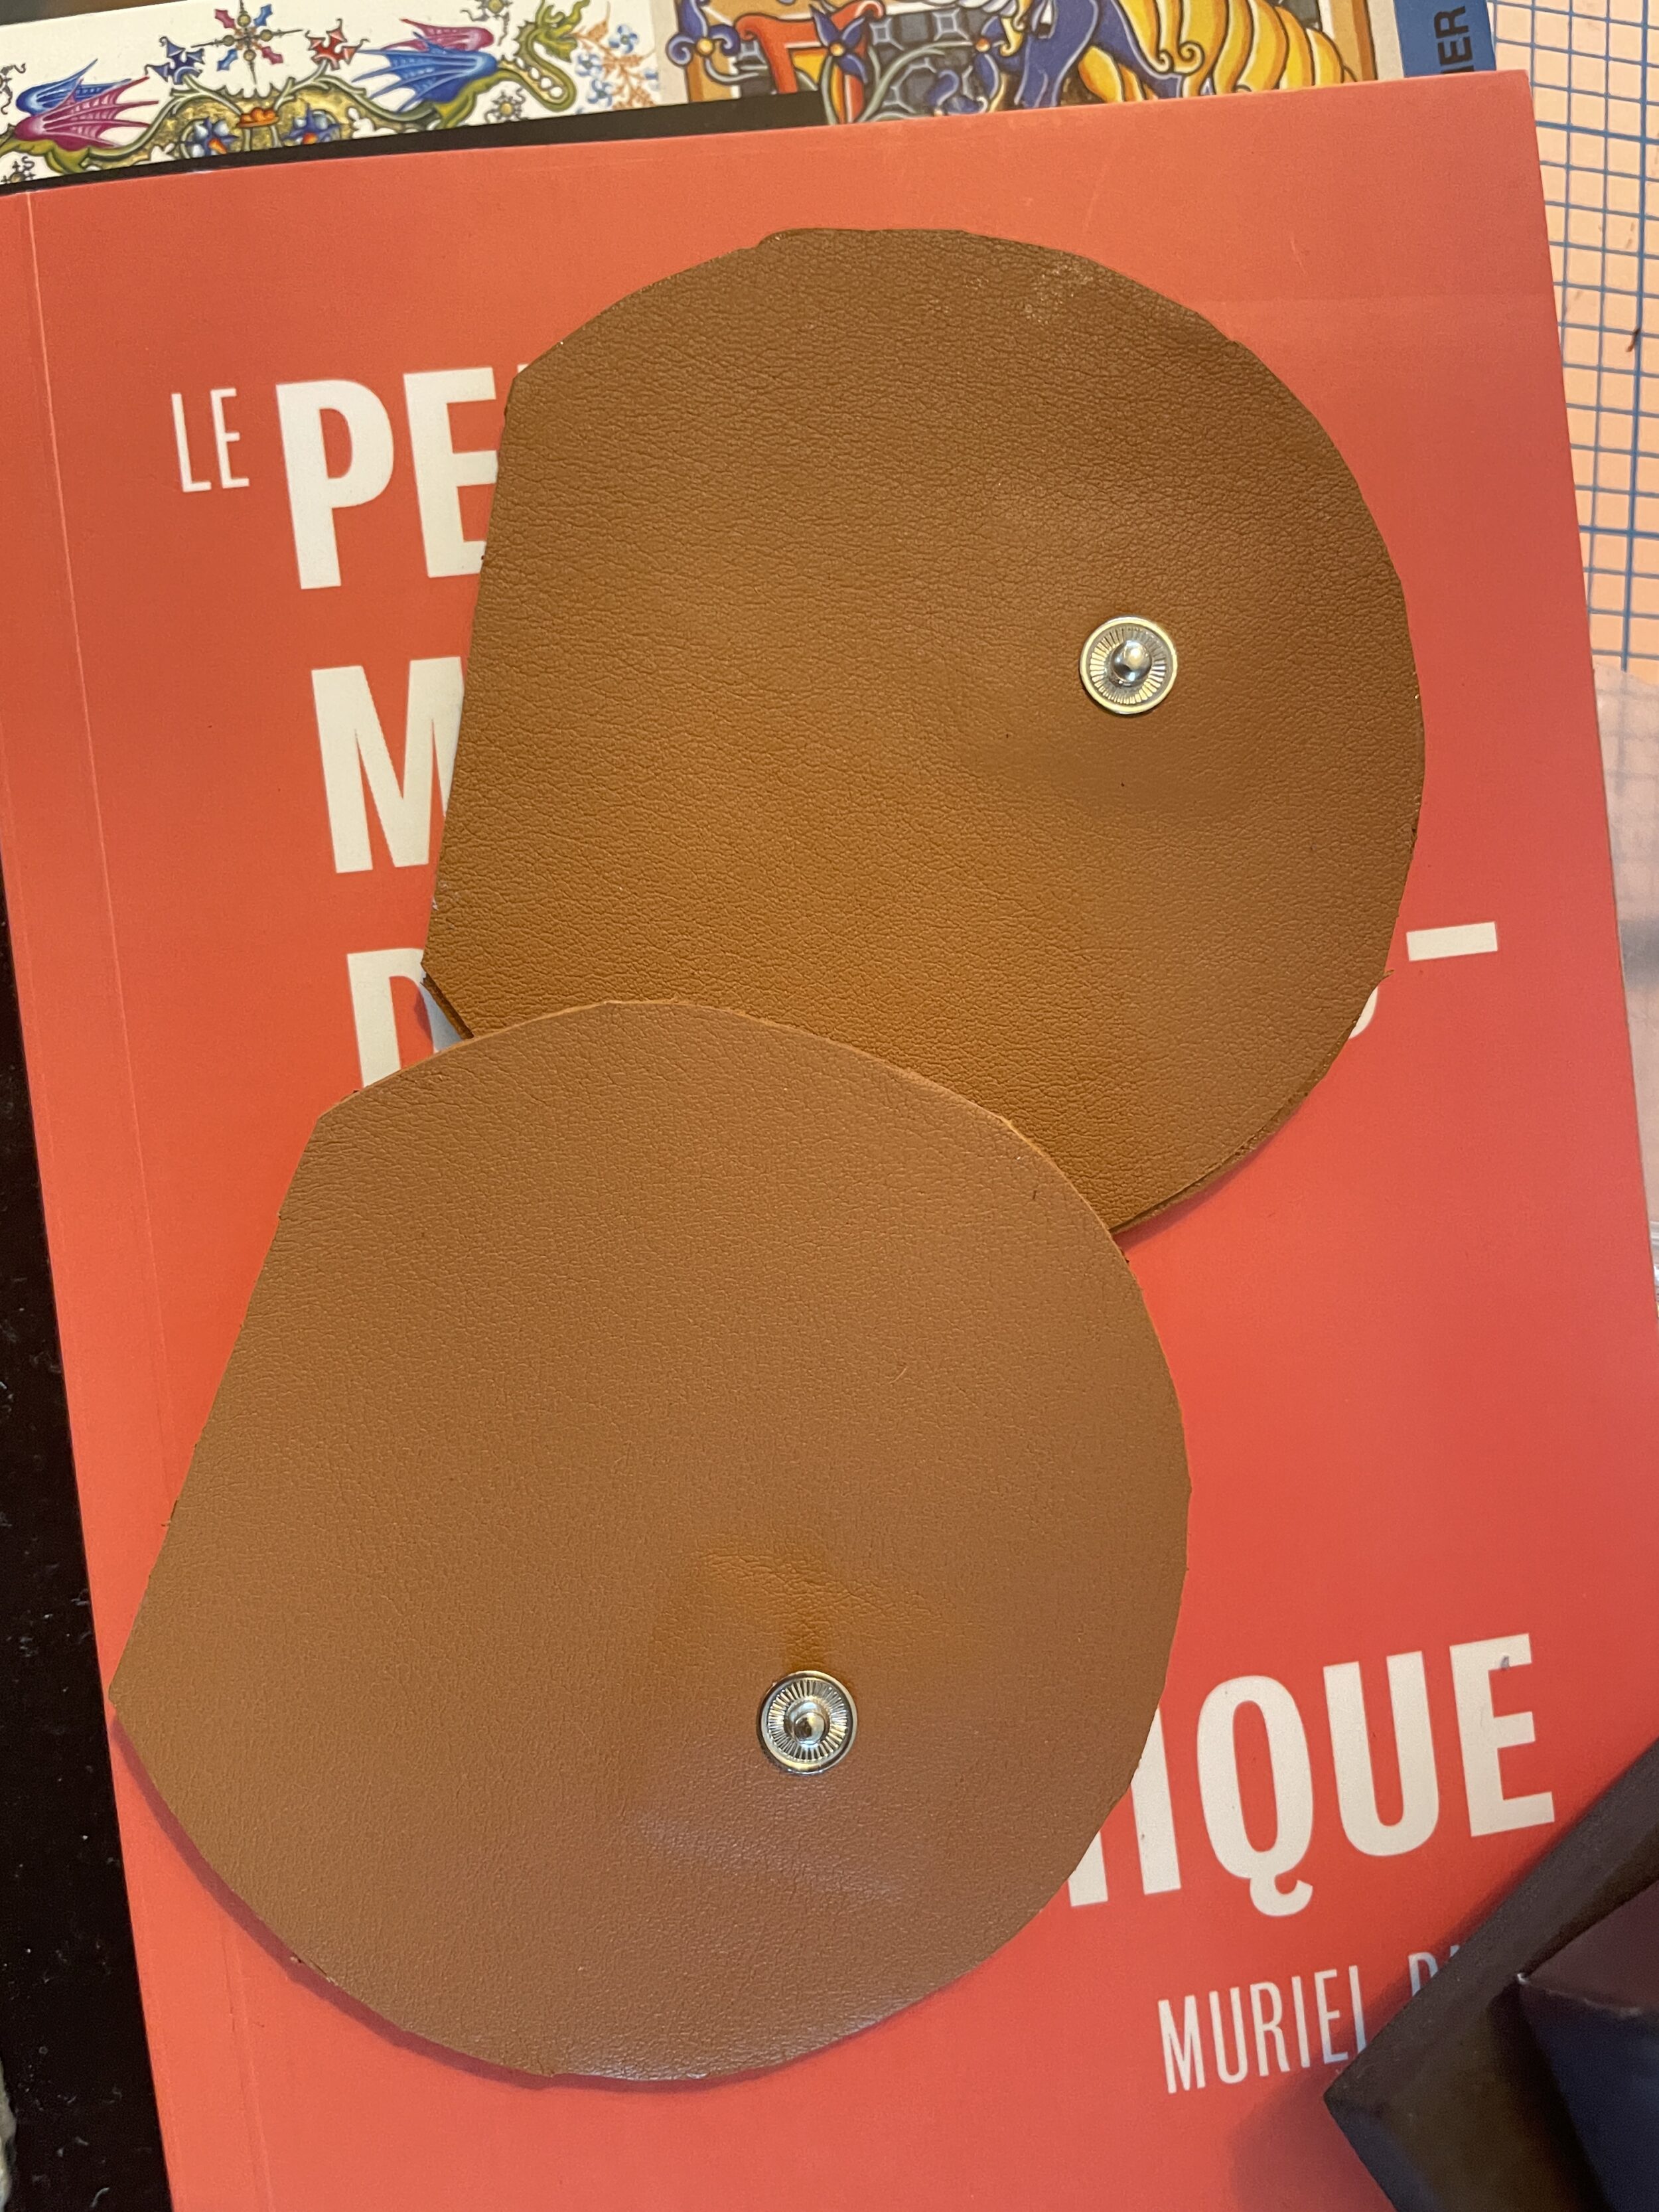
The gussets were almost entirely cut by machine: that’s 5 layers of leather + 1 layer of reinforcement = 5.5mm thick. Glued together and then glued onto both sides of the bag. They’re held together by a rivet, which I can’t hammer in straight. That’s when I realize I should have made a perfectly straight hole with an awl before hammering the rivet. That’s why for now, I haven’t hammered all the rivets around the gussets. I need to learn to hammer rivets properly, straight, first.
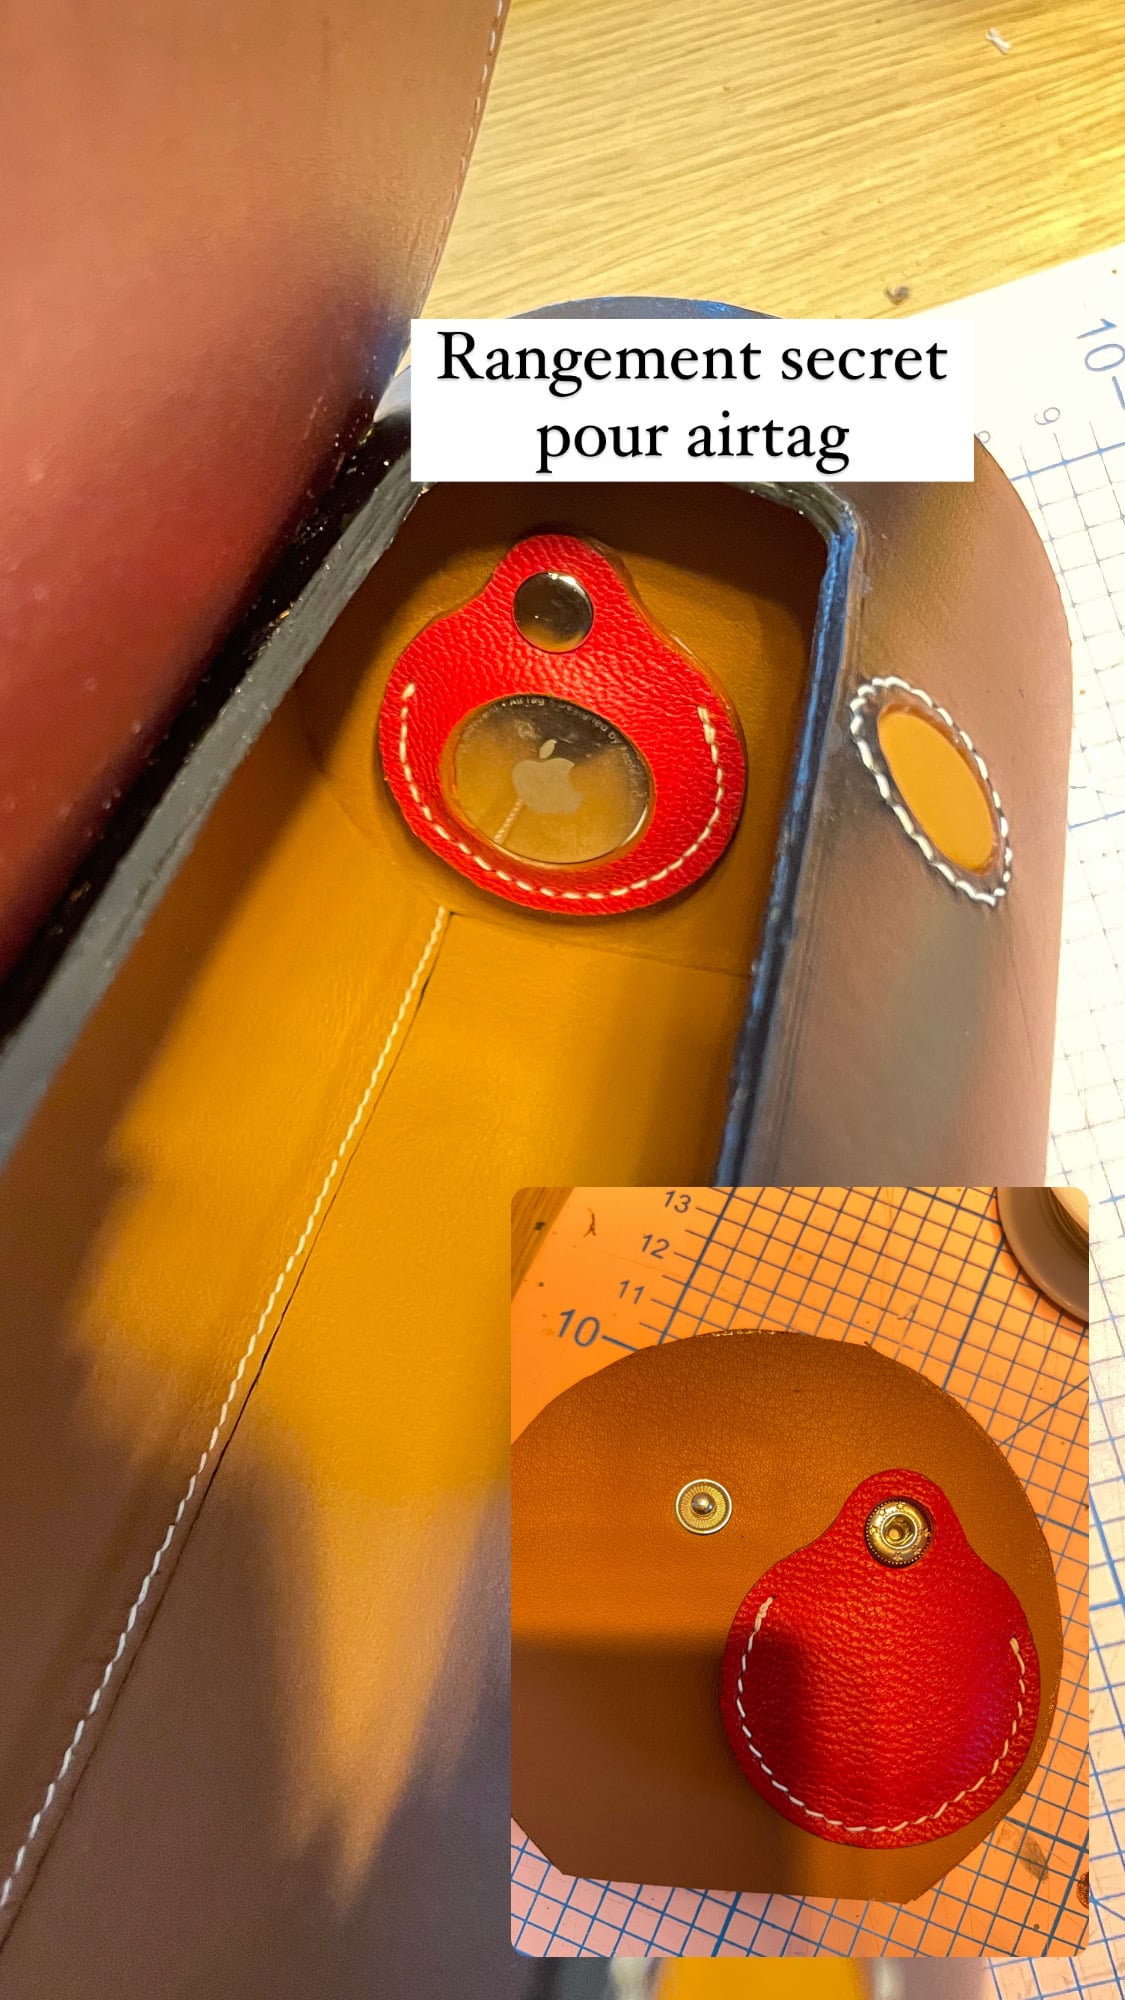
There’s a little surprise inside: there are female parts of snap buttons inside the gussets, so I can attach either an airtag, keys, or a pocket that goes through the bag. The execution wasn’t perfect, but at least I was able to put an airtag. A slight stress when I realize I don’t have enough swift gold leather (I only bought two micro offcuts), but I managed by making a kind of patchwork.
Here’s roughly what it looks like. The finishing touches aren’t done yet, and the strap is borrowed from another bag. I’ll post pictures on Instagram when it’s finished. I’m really happy with it! This bag has even more mistakes and clumsiness than the pink bag I made, but it’s entirely my design—I had to calculate the dimensions myself and figure out the mechanisms on my own. Since I had a lot to do during the day, this bag was mostly made at night, sometimes until 3 AM, so there are a few botched seams. So I’d say the quality is what you’d expect from a prototype: not good enough to sell, but good enough to validate the concept and for my own use. During the making, I scratched the black leather (which I find quite scratch-resistant for box leather), but the burgundy leather is so pleasant to work with—you can’t scratch it easily; it’s probably my favorite smooth leather now, along with swift.
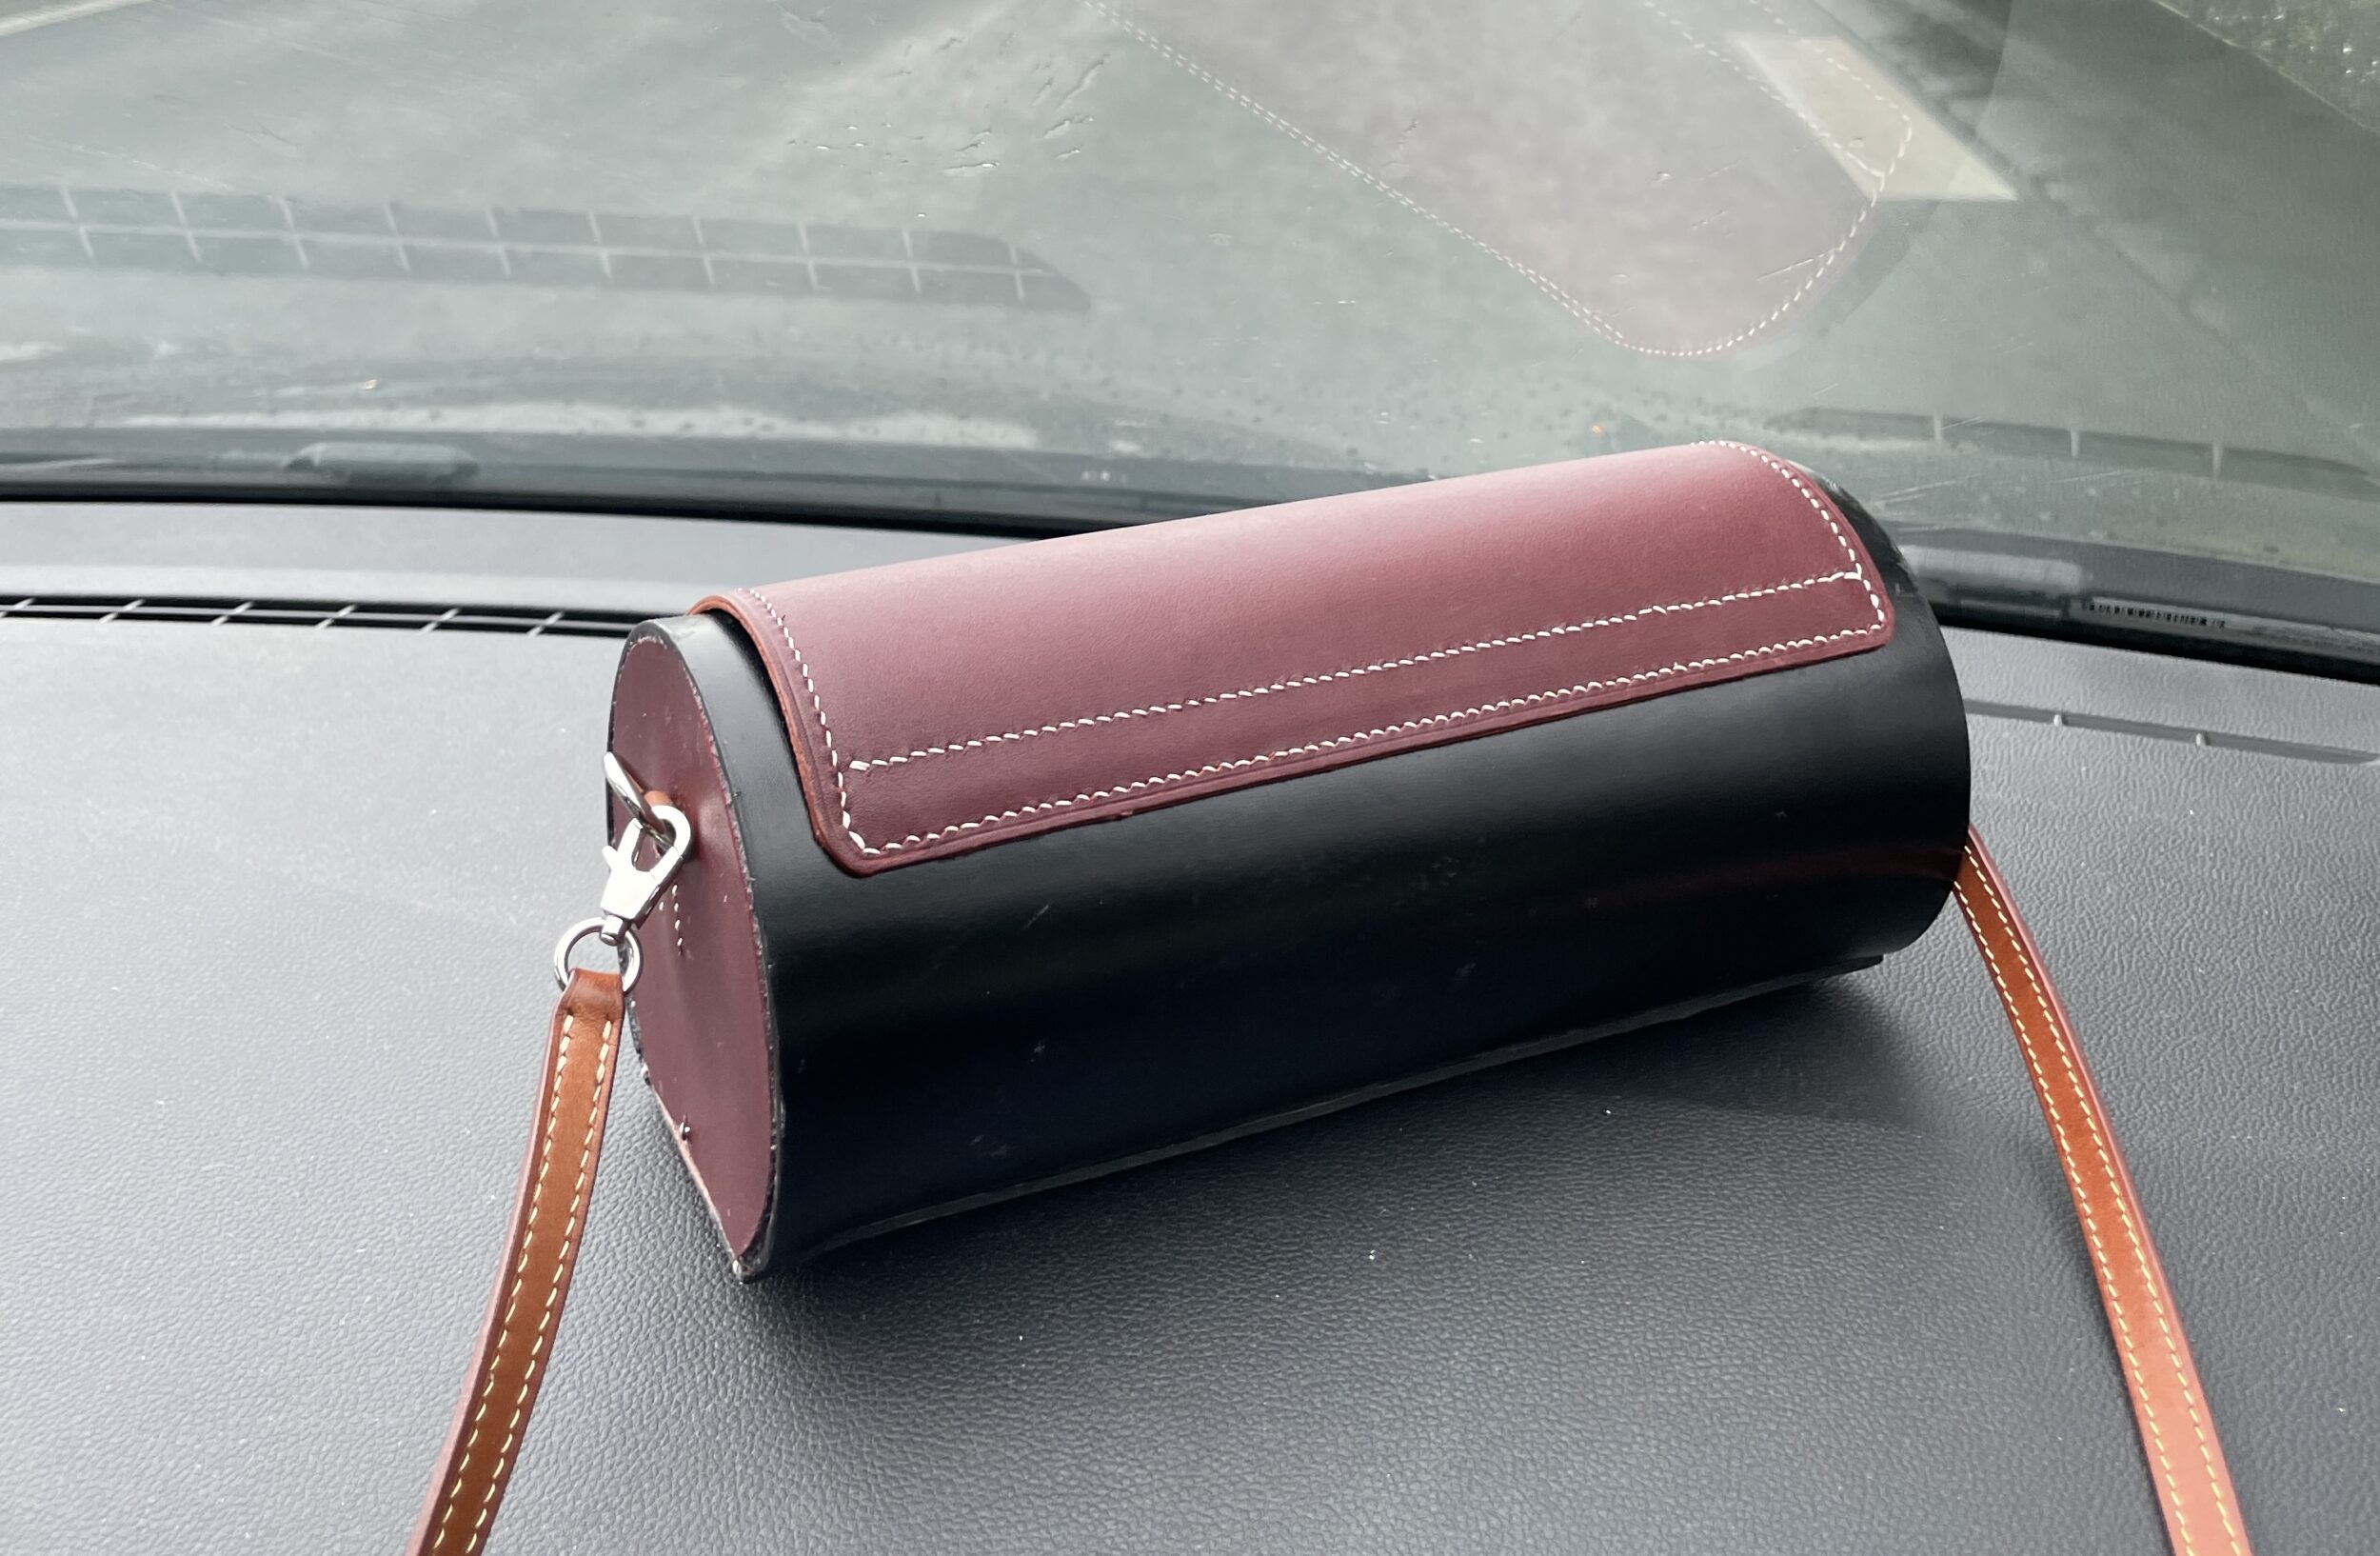
I totally love it! It’s spacious enough, yet light and classy. My sister saw the bag and said you can’t tell which side to open it from (which is a good thing against pickpockets). That wasn’t intentional, but yes, the flap is perfectly symmetrical and it’s not easy to open if you don’t know the bag well. I showed it to other friends who are in awe of the bag’s perfect roundness. And I think I got lucky with the right leather thicknesses, the right reinforcement, and especially curving the leather in the right direction. There’s no risk of it losing its shape. Box leather is well-suited for this kind of shape. I approve the materials and the design.
Budget
- Black box leather: 1,200,000 VND, about 44 euros, bought at 3Q Leather (large offcut, I still have some left)
- Haas tadelakt leather: 1,420,000 VND, about 52 euros, bought at 3Q Leather (large offcut, I still have some left)
- Swift gold lining leather: 270,000 VND, about 10 euros, bought at 3Q Leather
- Reinforcements: Salamander 1mm and Hotmelt 0.25mm (I won’t count these in the budget because I bought huge pieces)
- Hardware:
- Stainless Steel Handle Bar: $2.80, bought at hilitybaghardware
- 14mm magnets: 90,000 VND, about 3.31 euros, bought at 3Q Leather
- Stainless Steel Fat D-Ring 149mm: $1.80 * 2 = $3.60, bought at hilitybaghardware
- Stainless Steel Bowl Shape Foot 8mm: $1.10 * 3 = $3.30
- for the strap: Brass Round Rivet Screw 8mm: $1.50 * 2 = $3
- nails: $3
- 4-part snap buttons: $2.30
- TOTAL (not counting tools, threads, and edge paints): 125 euros

