

How to Film and Photograph Your Travels Without Weighing Yourself Down with the Insta360 X4 Air?
If you travel, whether alone or not, you probably have the same issues as I do:
- The person filming/taking photos is never in the videos/photos.
- It takes too long to take videos/photos, instead of enjoying the trip.
- You realize during editing that the framing is off, but it’s too late to reshoot.
- For those who have a blog, Instagram, and YouTube like me, it’s common to take the same video and photo twice: once horizontally, then vertically, to fit each platform’s formats, which doubles the workload.
- You end up with way too much gear, and when you get back from vacation, you can’t be bothered to edit.
- There are places so beautiful they deserve to be filmed with a drone, but for various reasons, you didn’t bring one.
Traveling with a single camera: tips for filming and taking photos
What if I told you all these problems could be solved with one single camera? One single? I wouldn’t have believed it either, until Insta360 generously sent me the Insta360 X4 Air to test. I should clarify that the brand is absolutely NOT paying me. Upon receiving this camera, I’m free to say what I think about it. The brand trusts the quality of its products, and they’re right to, because I thought my problems had no solutions, but the X4 Air addresses absolutely all of the problems listed above. How?
You should know that the X4 Air belongs to a special category of cameras called 360 camera. It’s quite hard to grasp how a rectangular camera with two round lenses covers 360 degrees, but it does.
Since it captures at 360 degrees, it records everything you see and what’s behind you, including the sky and the ground; it captures your entire environment. NOTHING escapes it.
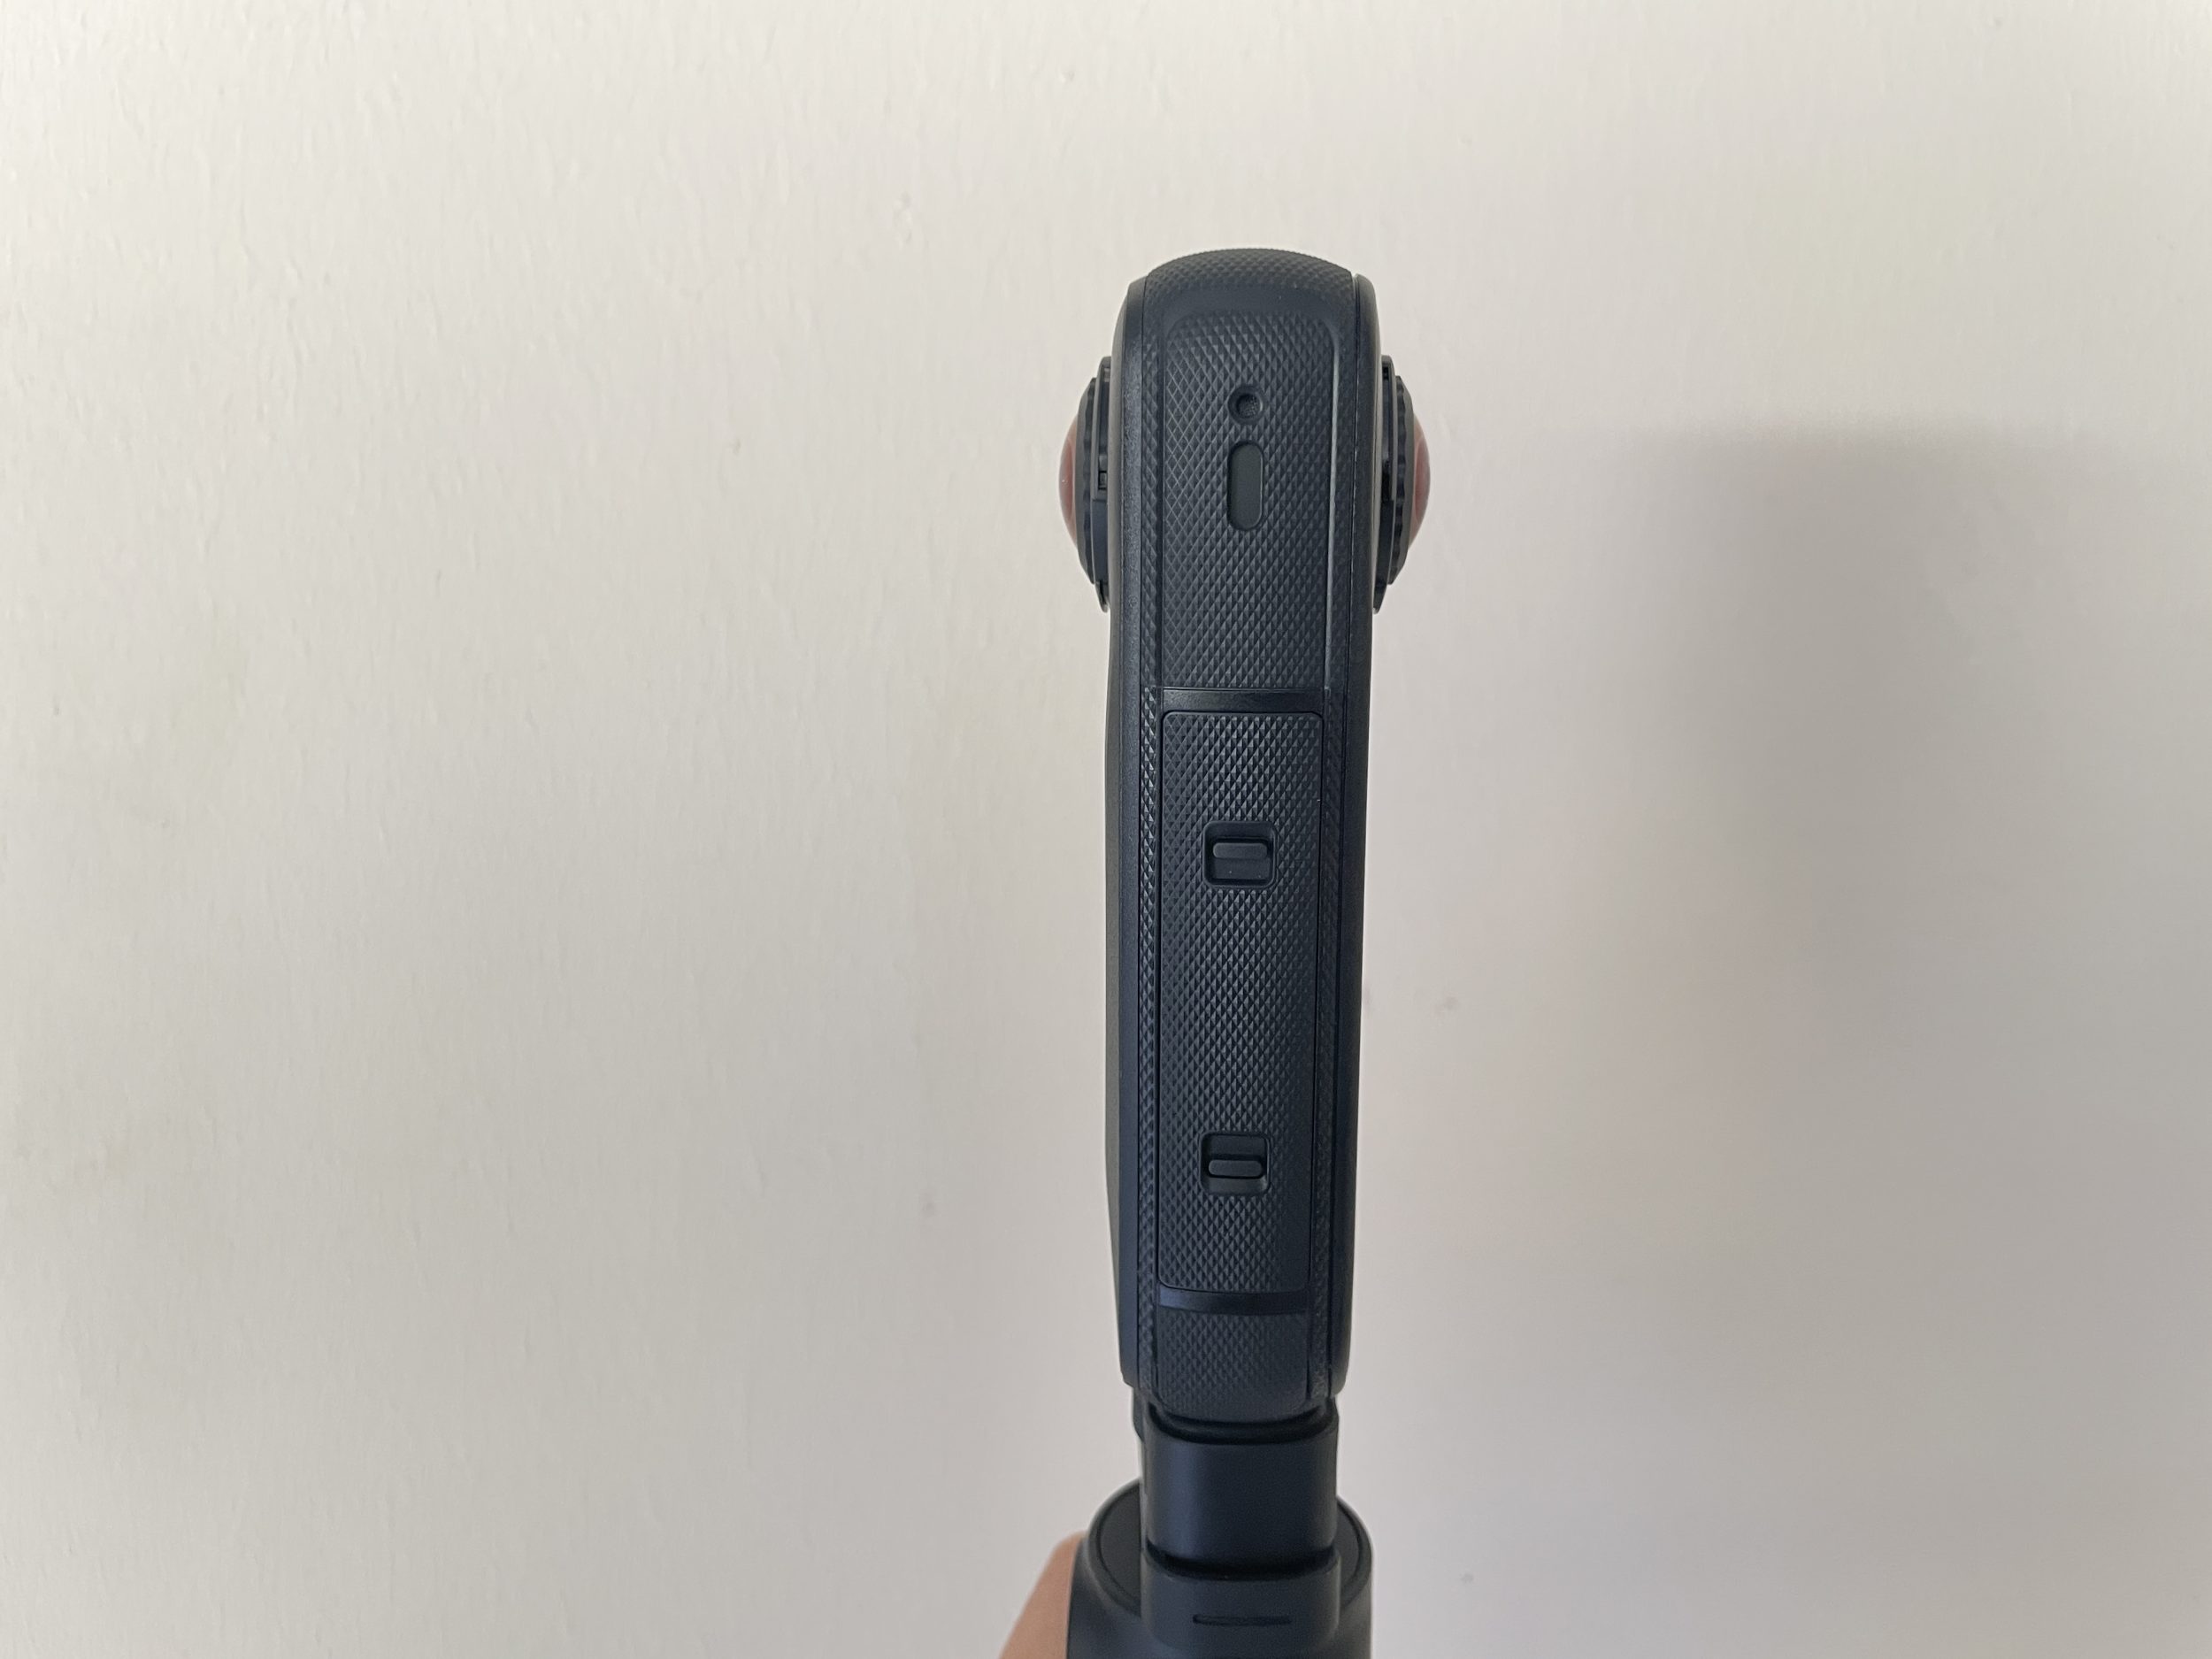
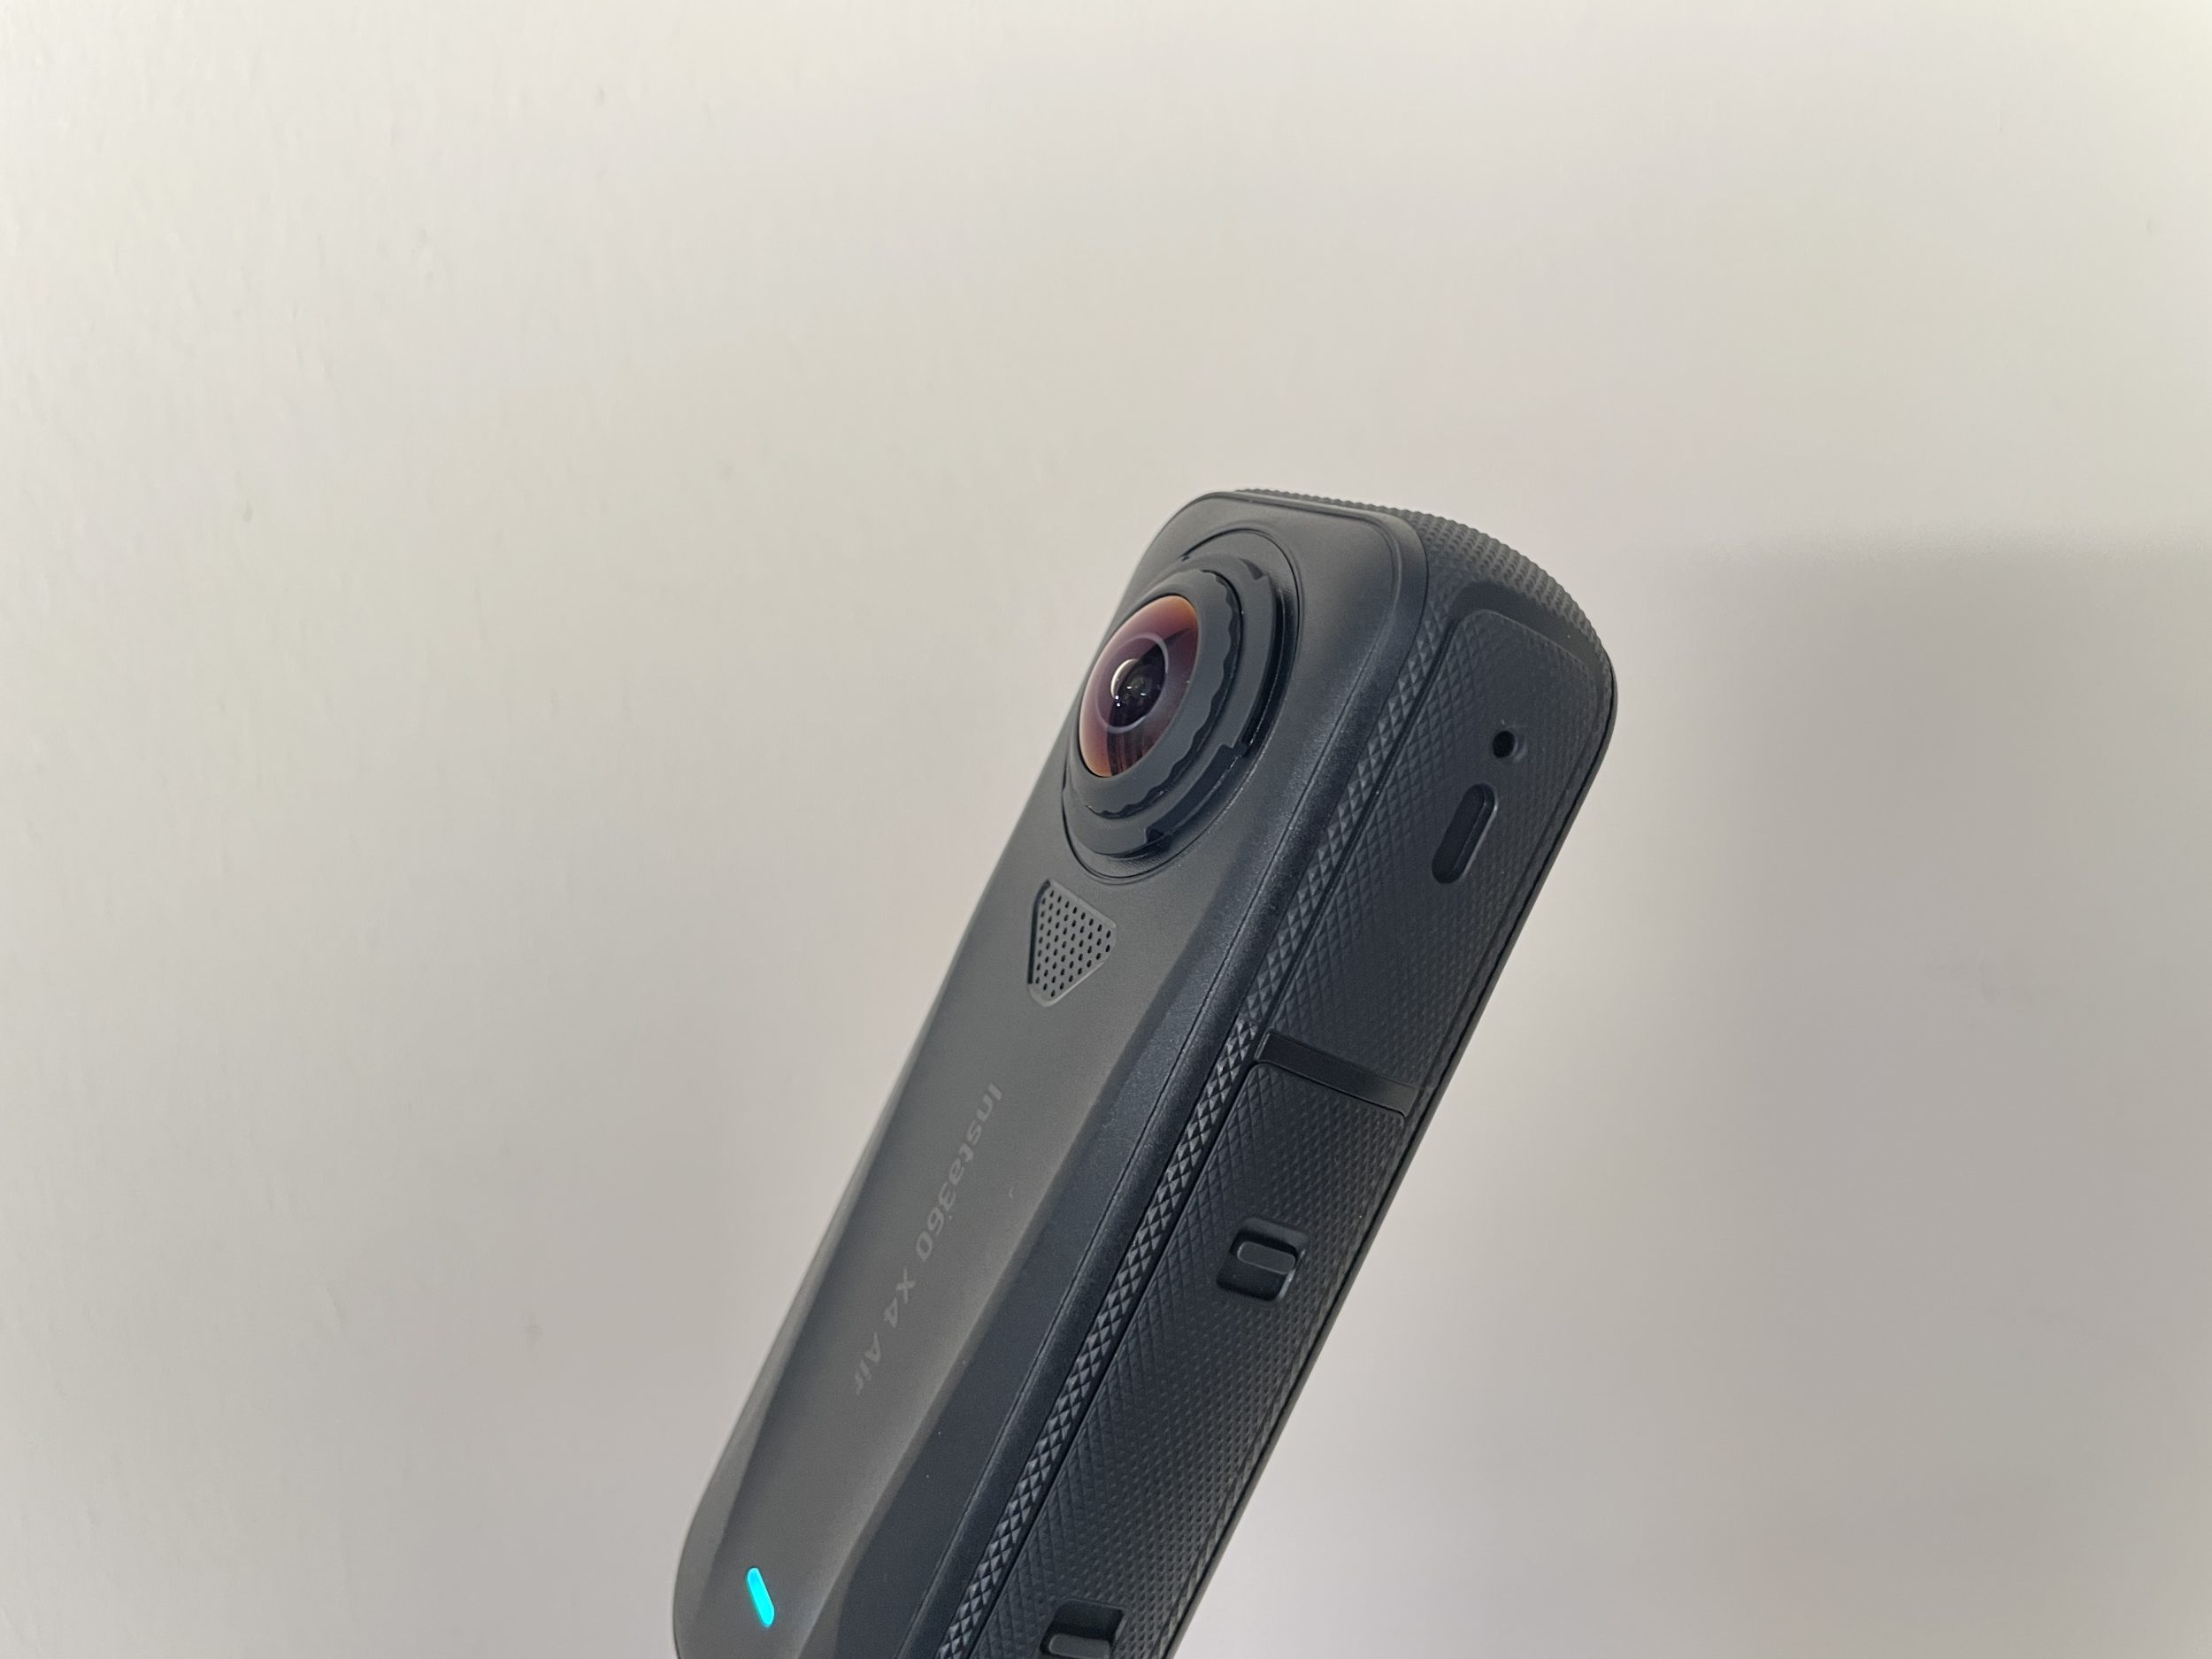
This means our first five problems are instantly solved with such a camera!
(1) With a 360 camera, the person filming/taking photos is inevitably in the video/photo.
(2, 3) You don’t waste time creating content, because you can simply film everything in 360; framing and format (horizontal/vertical) are easily adjusted during editing. A bird flying out of frame? No problem, just change the angle in editing until you see the bird.
(4) You can film and then capture a scene in HD; no need to film and then take a photo; everything is already available.
(5) Moreover, it’s not even manual editing; it’s the AI (built into the Insta360 app) that analyzes everything and picks the best moments and angles for you.
Demonstration
Example: from a single video, you can export to any format you want (vertical, horizontal, square), and change perspective and point of view:
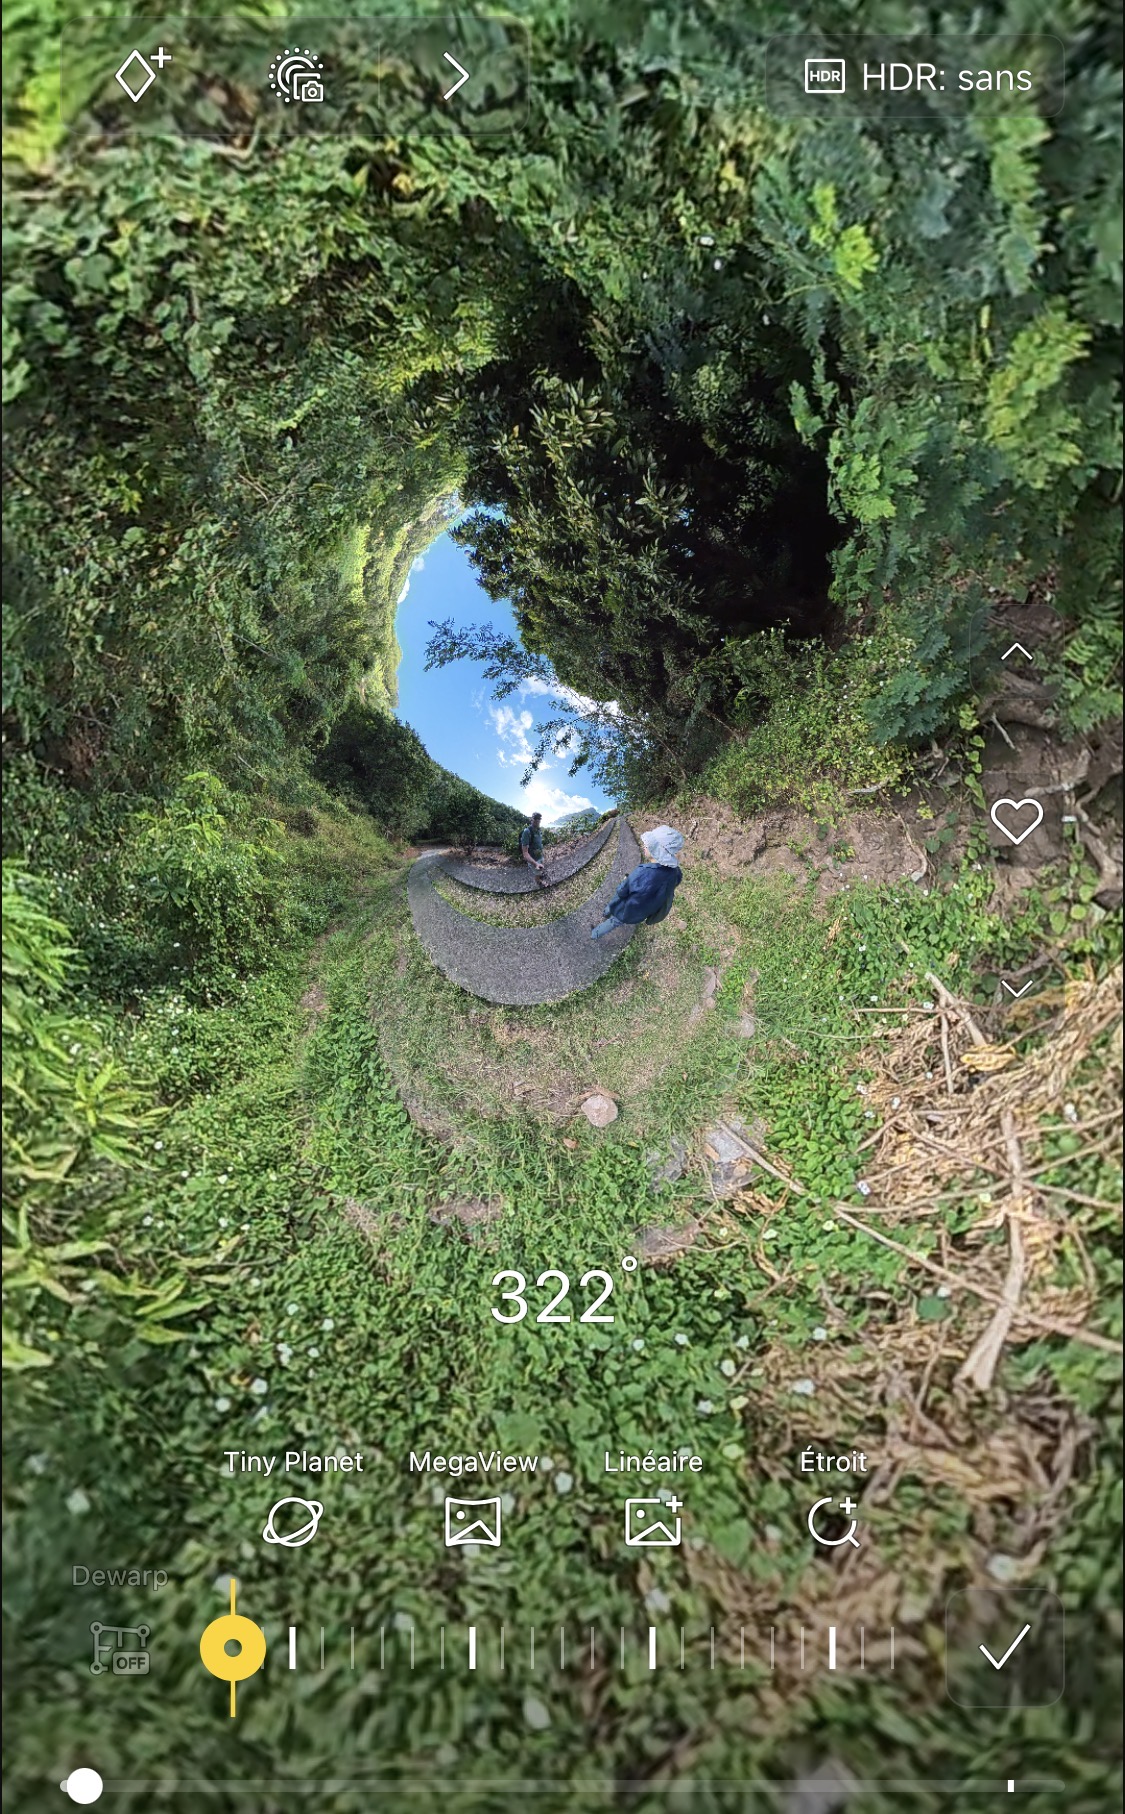
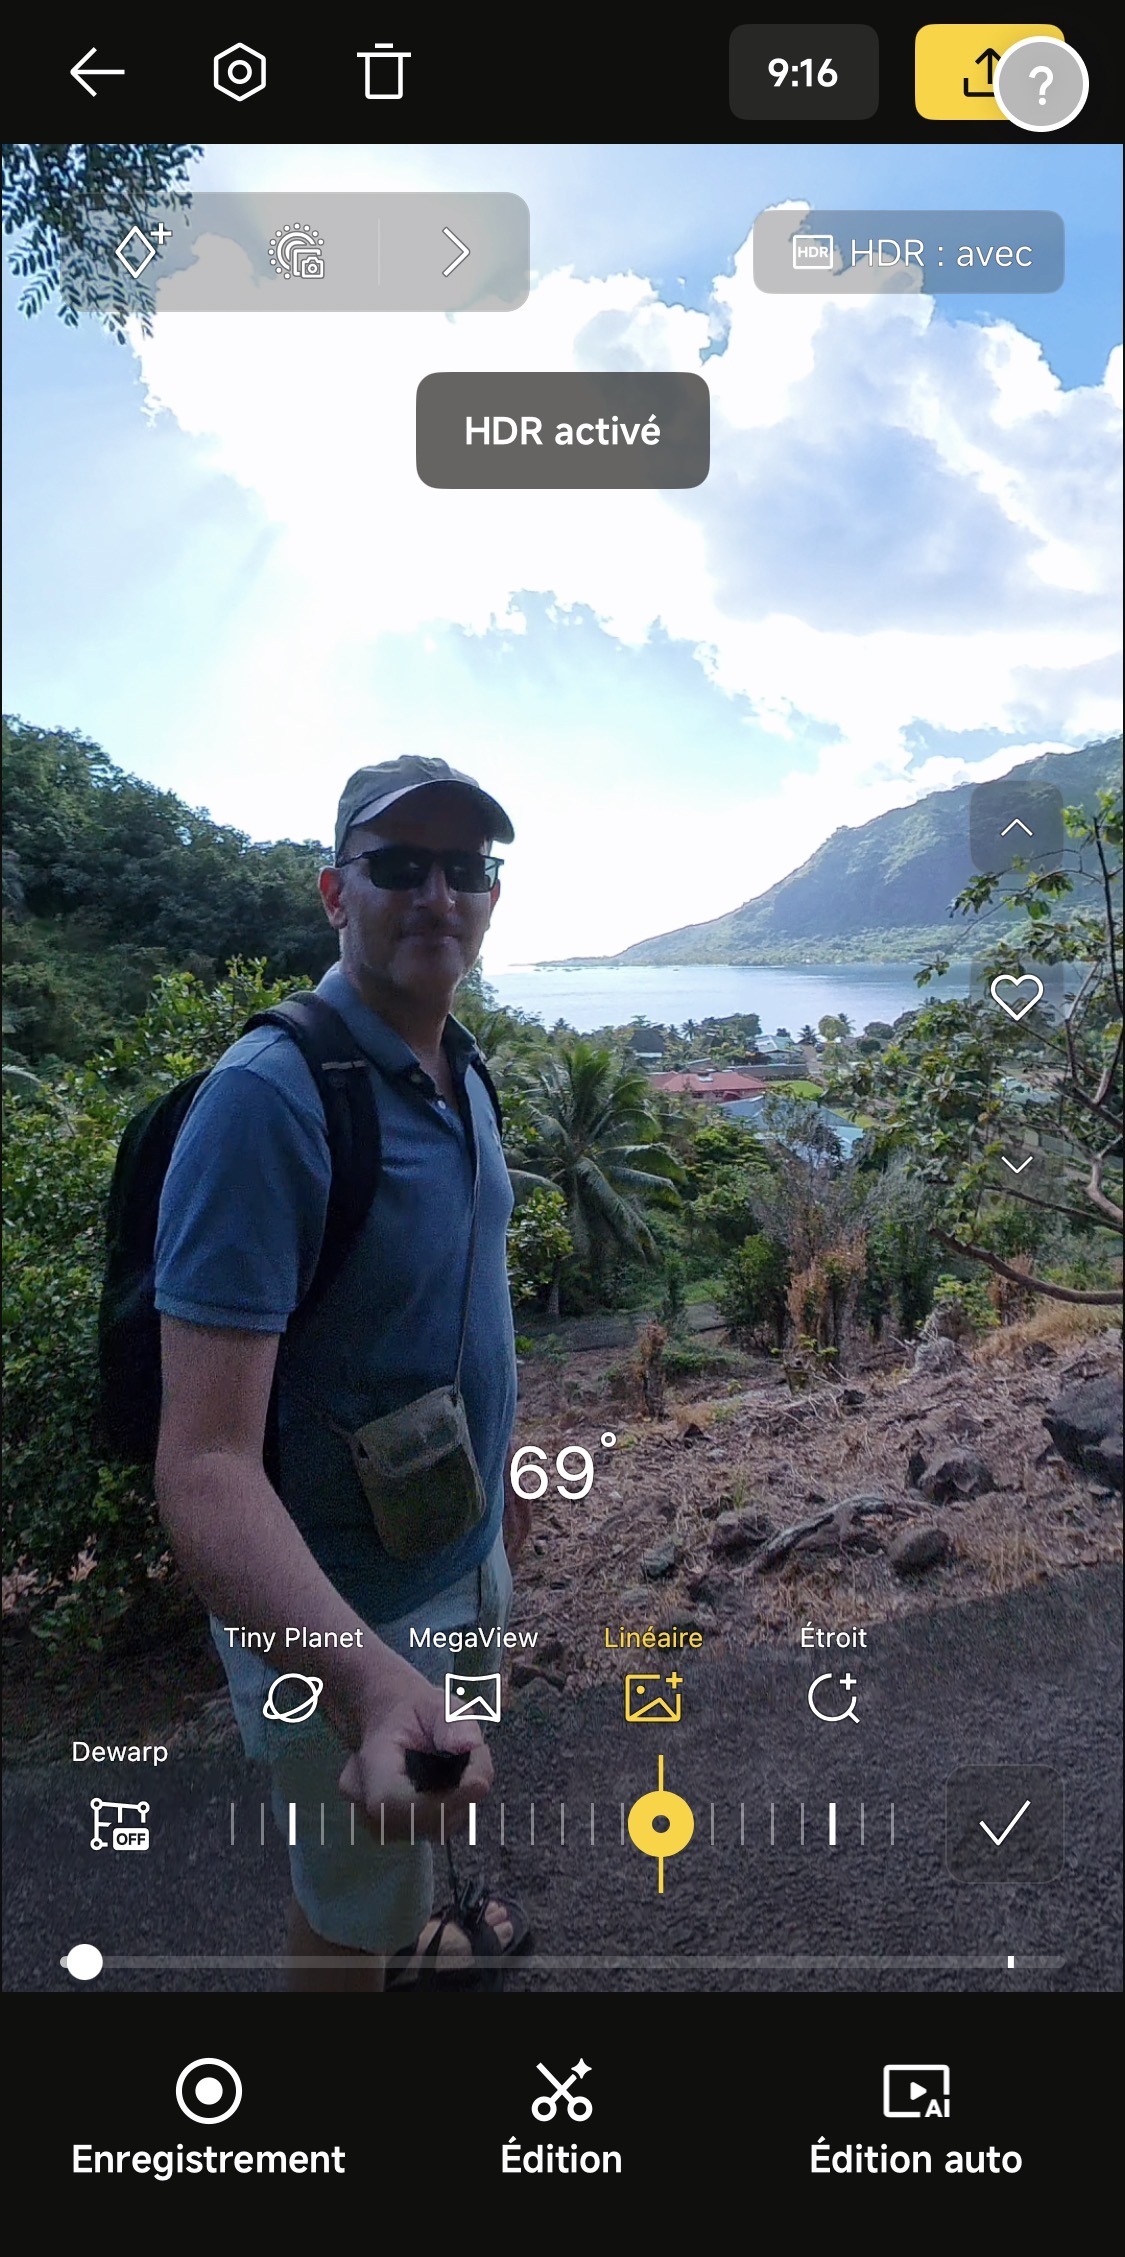
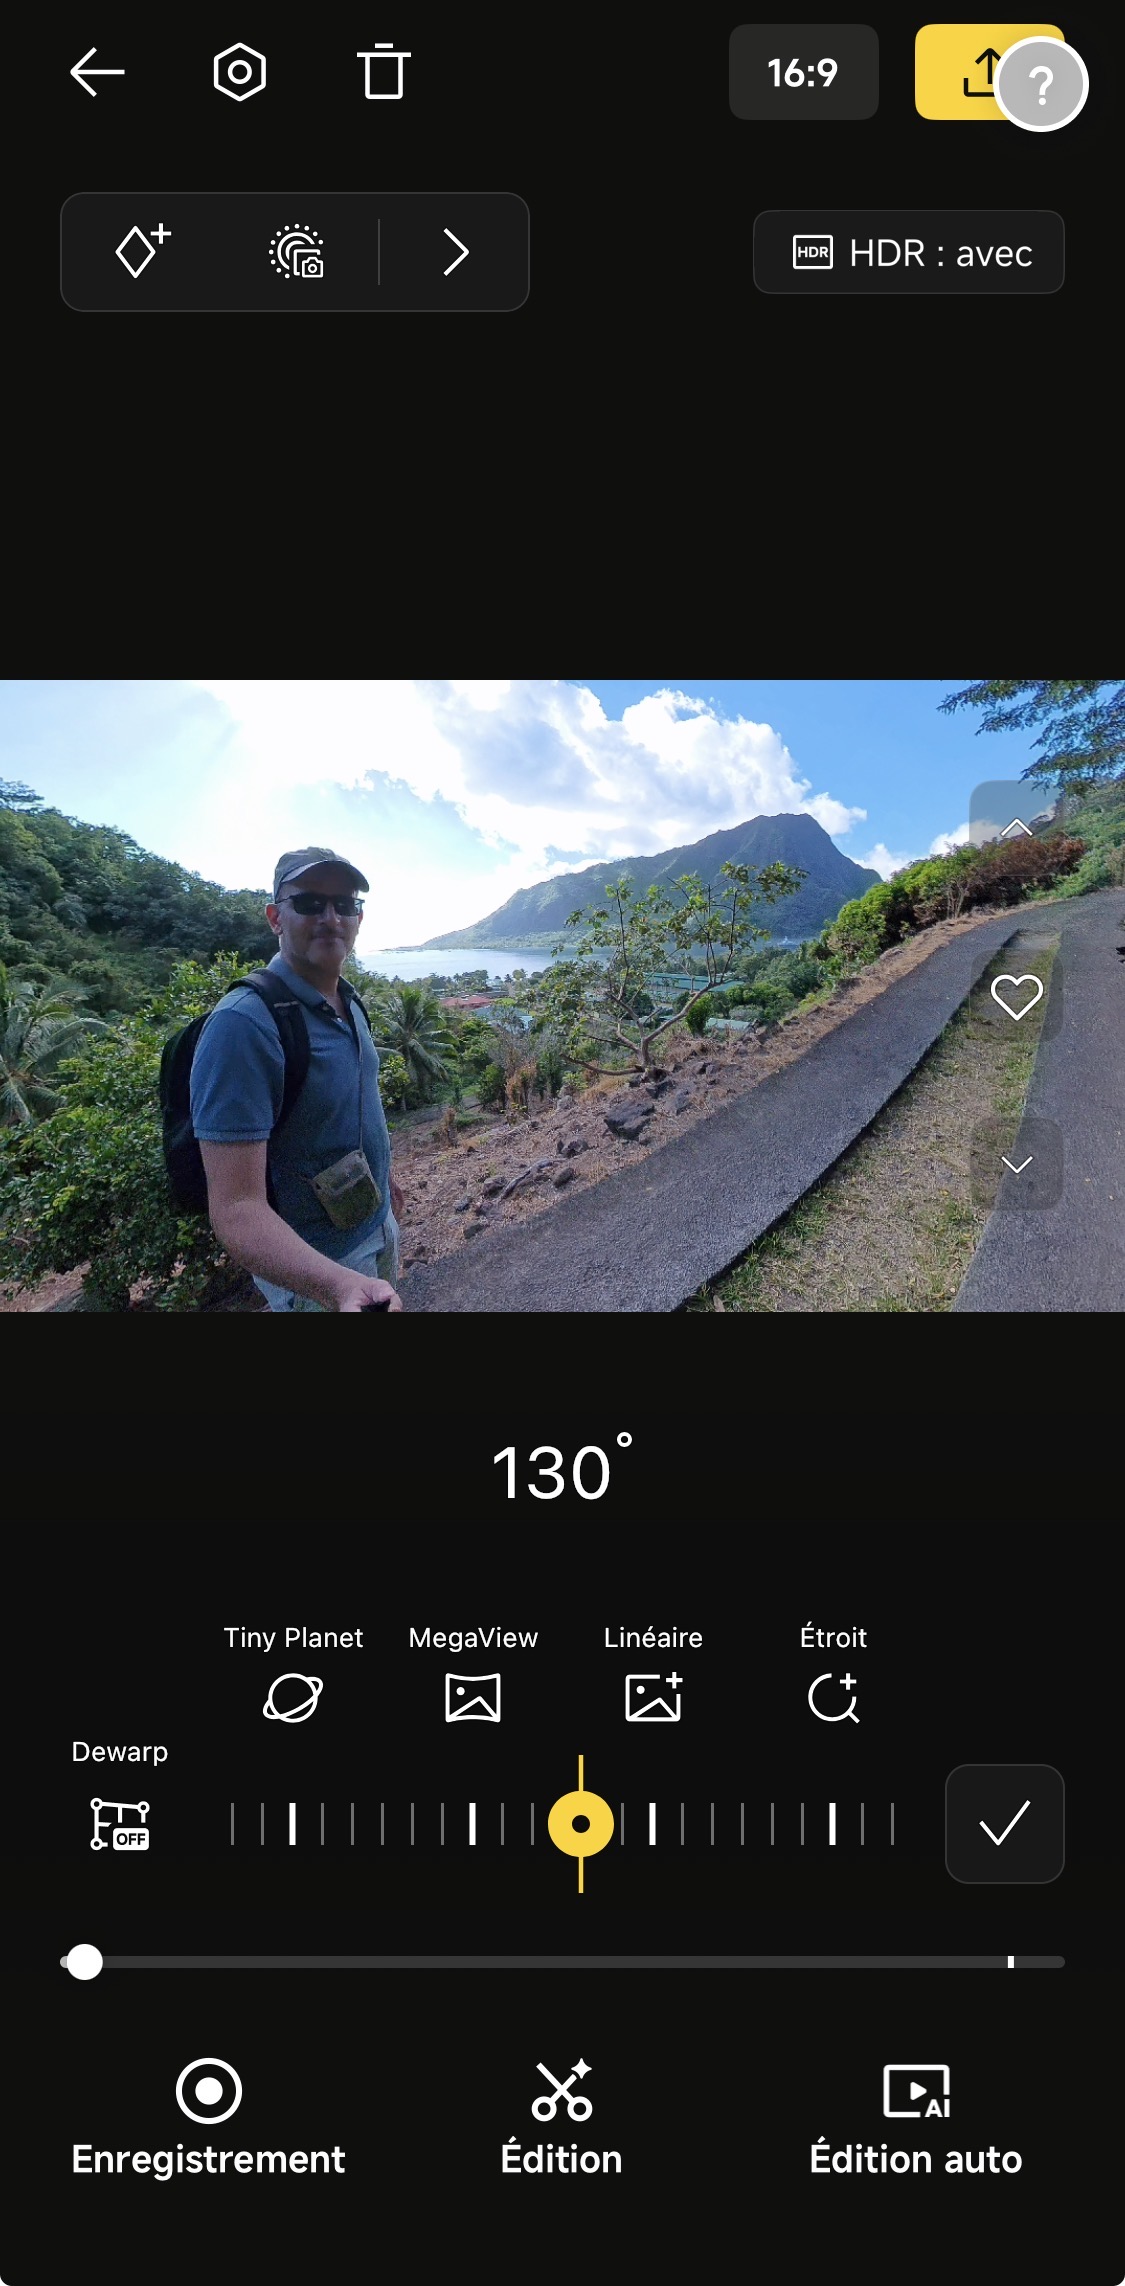
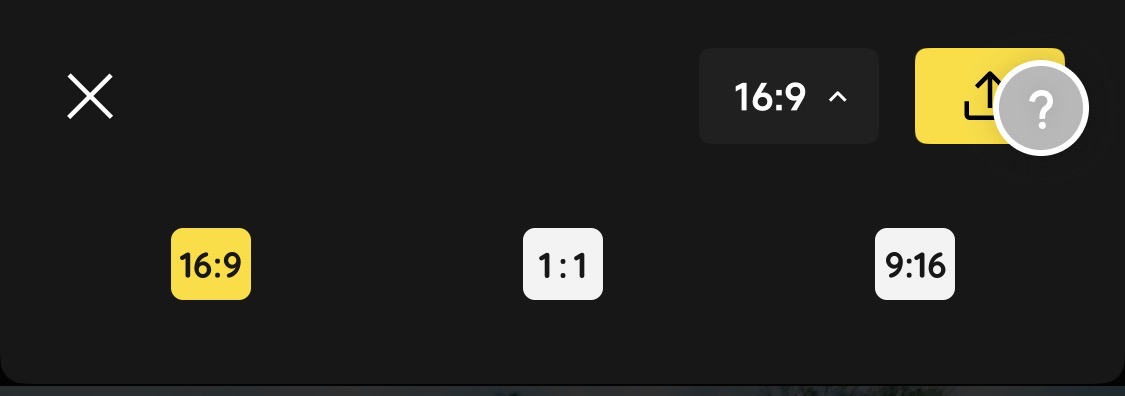
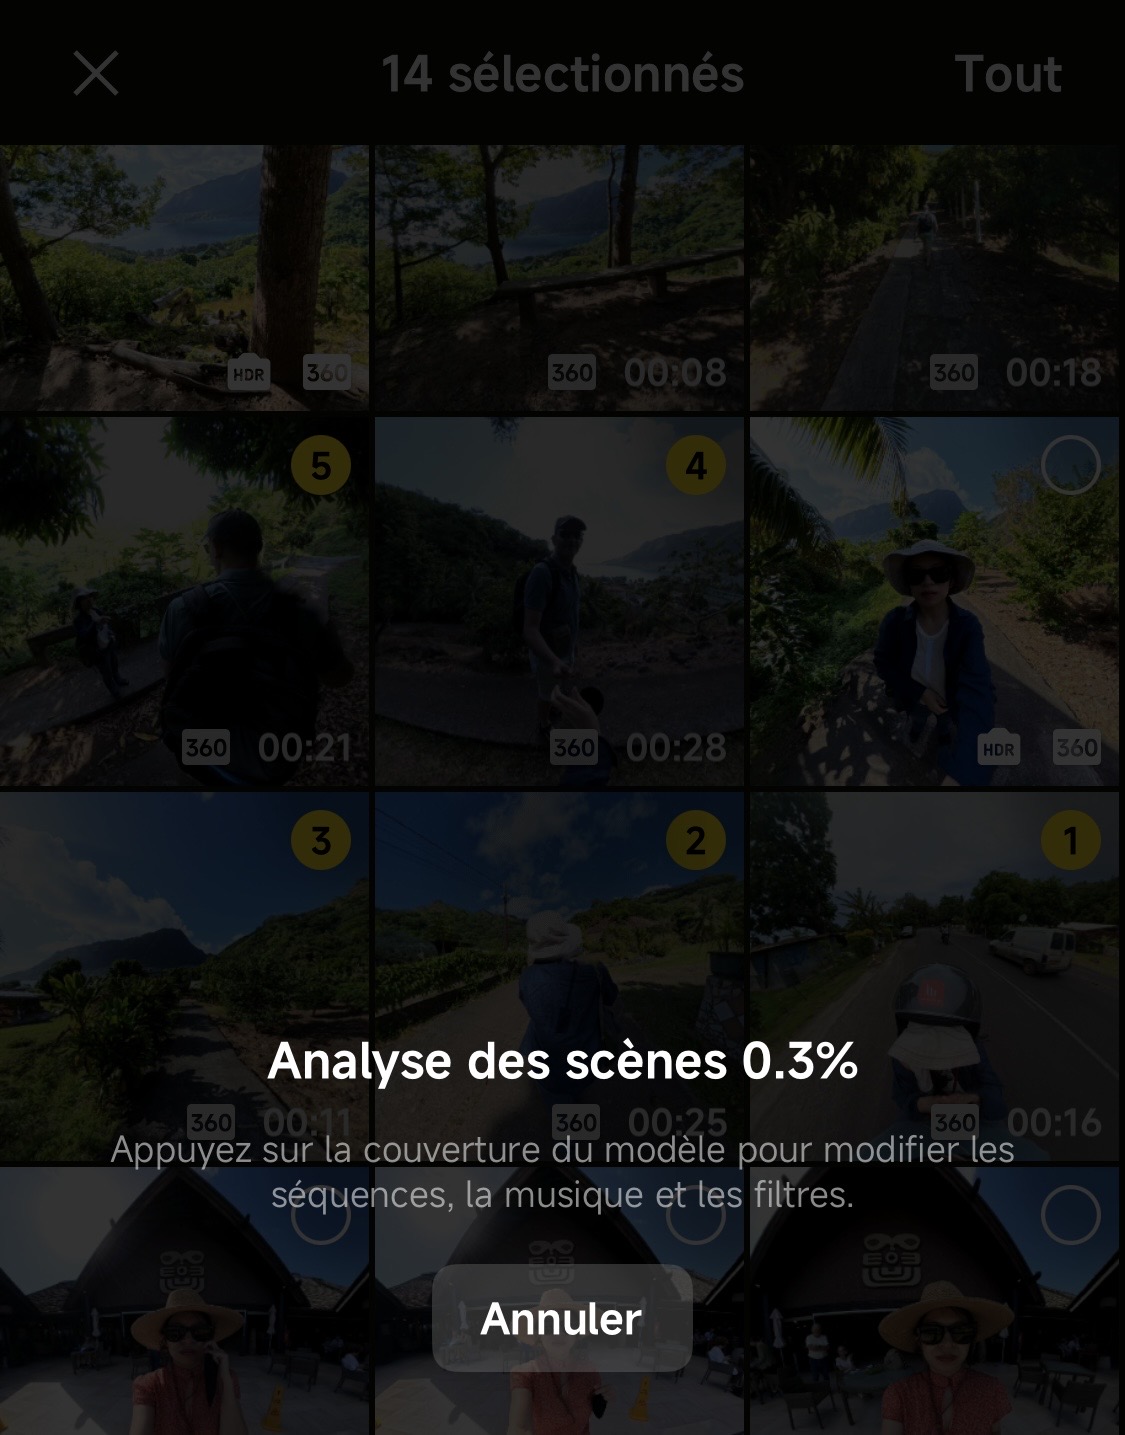
For video editing, you simply select the clips in order and let the AI do the editing (using the AI in the app is free!).
Here’s the video exported in vertical format (for shorts, reels, TikTok)
) and the same video exported in horizontal format (for YouTube). I edited only once (using the AI), and I have two formats. See, it’s handy!
My opinion
I realized all these benefits myself during a short vacation in Moorea. It took me just 30 minutes to understand the various features of my new camera, bearing in mind it’s my first-ever 360 camera. Not only does it have a built-in user guide when you first turn it on, but the Insta360 app is STUNNING, very user-friendly, and doesn’t crash my iPhone (even though it’s an older iPhone 12).
JB often criticizes my movements for being too jerky, too fast, and shaky (my arms aren’t steady) when I pan across a scene, sometimes causing me to completely miss what’s there—I’ve ruined many videos that way. But after showing him the video the X4 Air captured, he was amazed by the smoothness of the motion, because the camera itself detects the horizon and also stabilizes the movement during editing. The videos you saw took me exactly 5 minutes to edit, because everything is done by the AI.
As a result, for the first time, I can produce videos on the very same day as the visits! Unheard of!
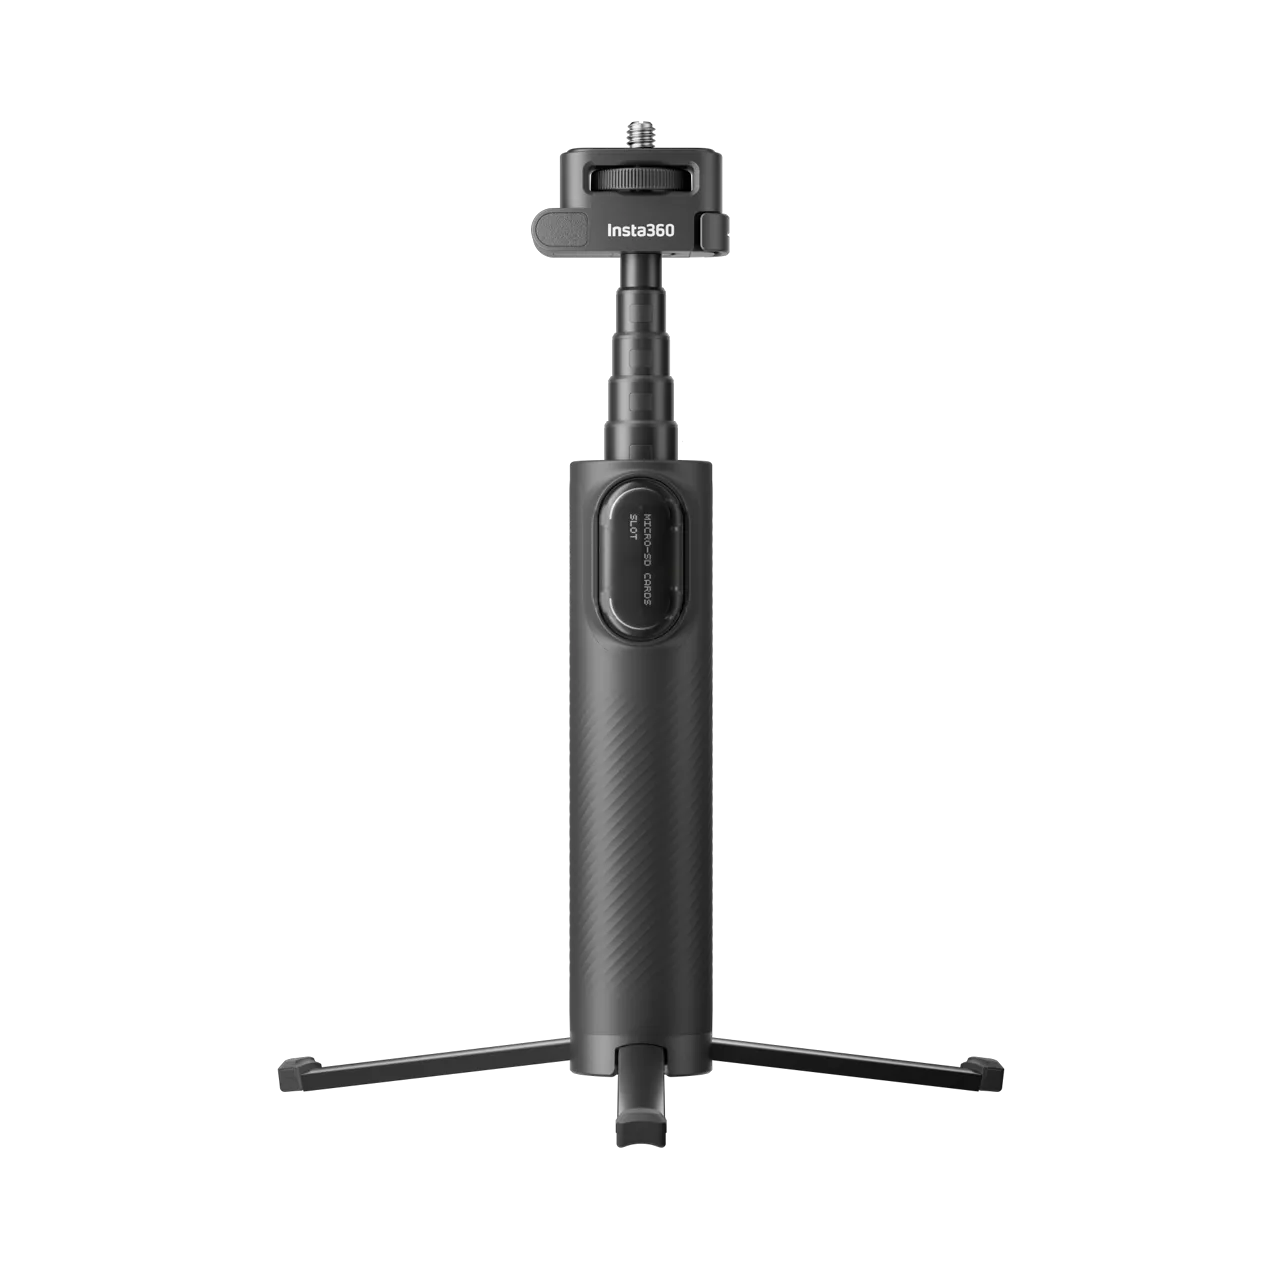
Then, for the drone effect (our sixth problem), 360 cameras allow you to erase the selfie stick/pole during editing. You can use any pole that is thinner than the camera, hold the camera at a certain angle, and it becomes invisible in the edit, but many poles are already included in the basic bundles, so make the most of them! There are different types:
- the folding pole 58cm long (181g), it’s practical because you can put it in your pocket with the camera, but in action, I find it a bit short (purchase link)
- the 105cm pole long (216g) ===> I recommend it (purchase link)
- the XXL pole over 3 meters (365g), and here the drone effect is real (purchase link)
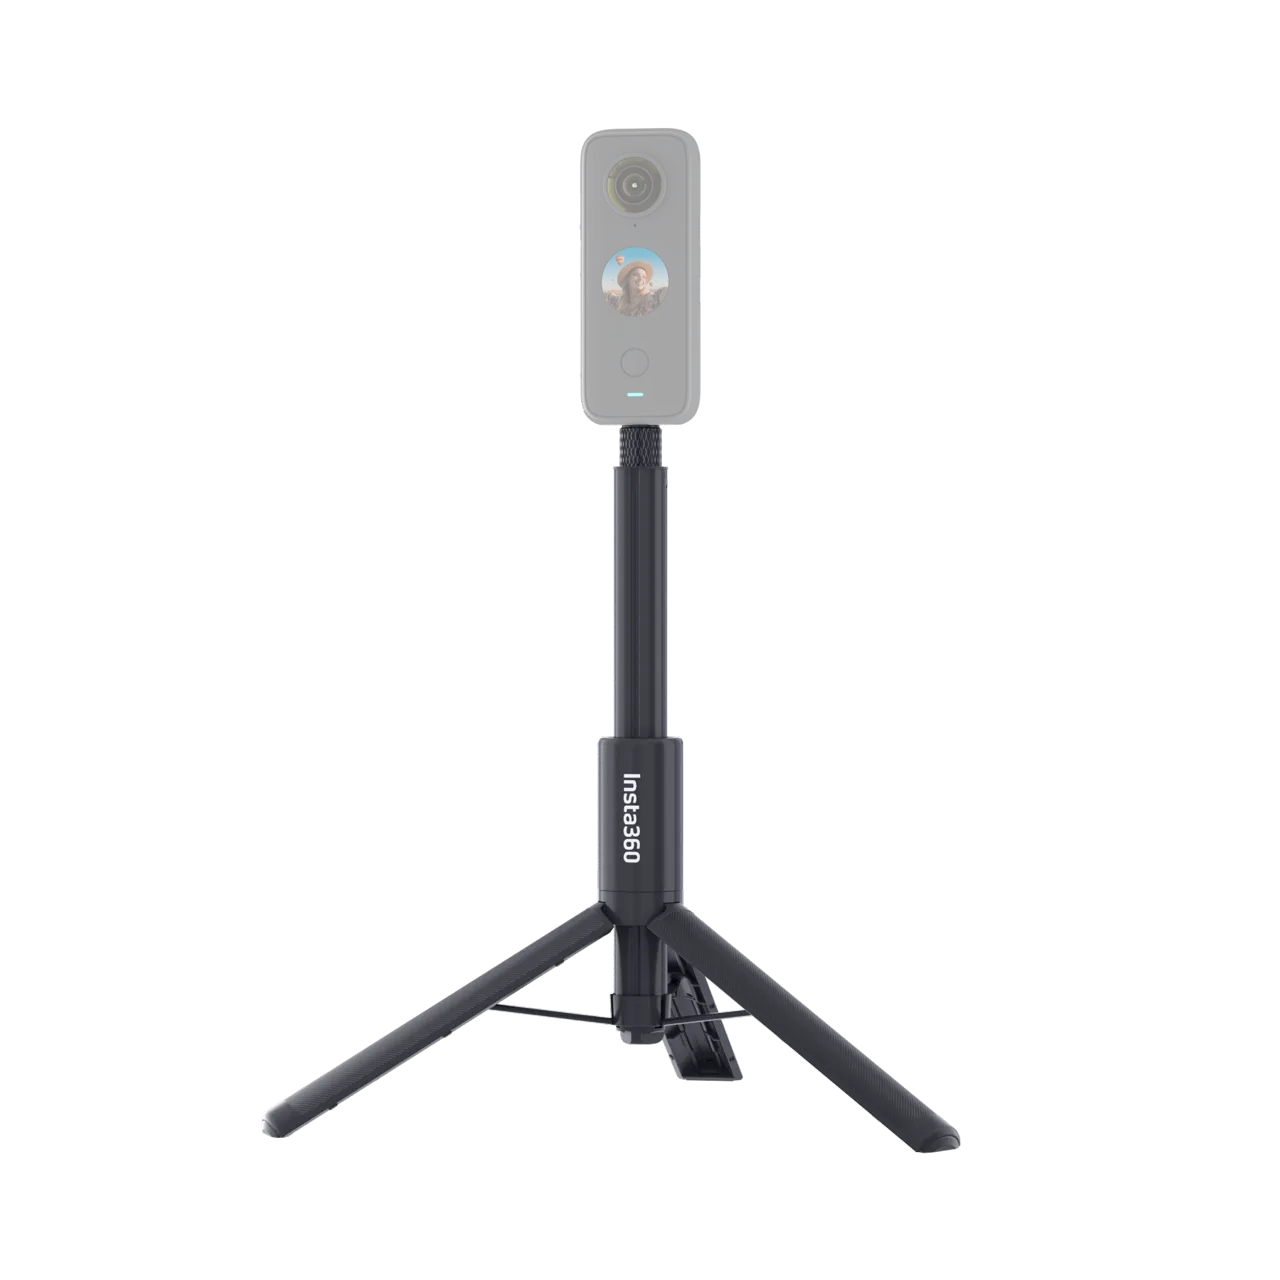
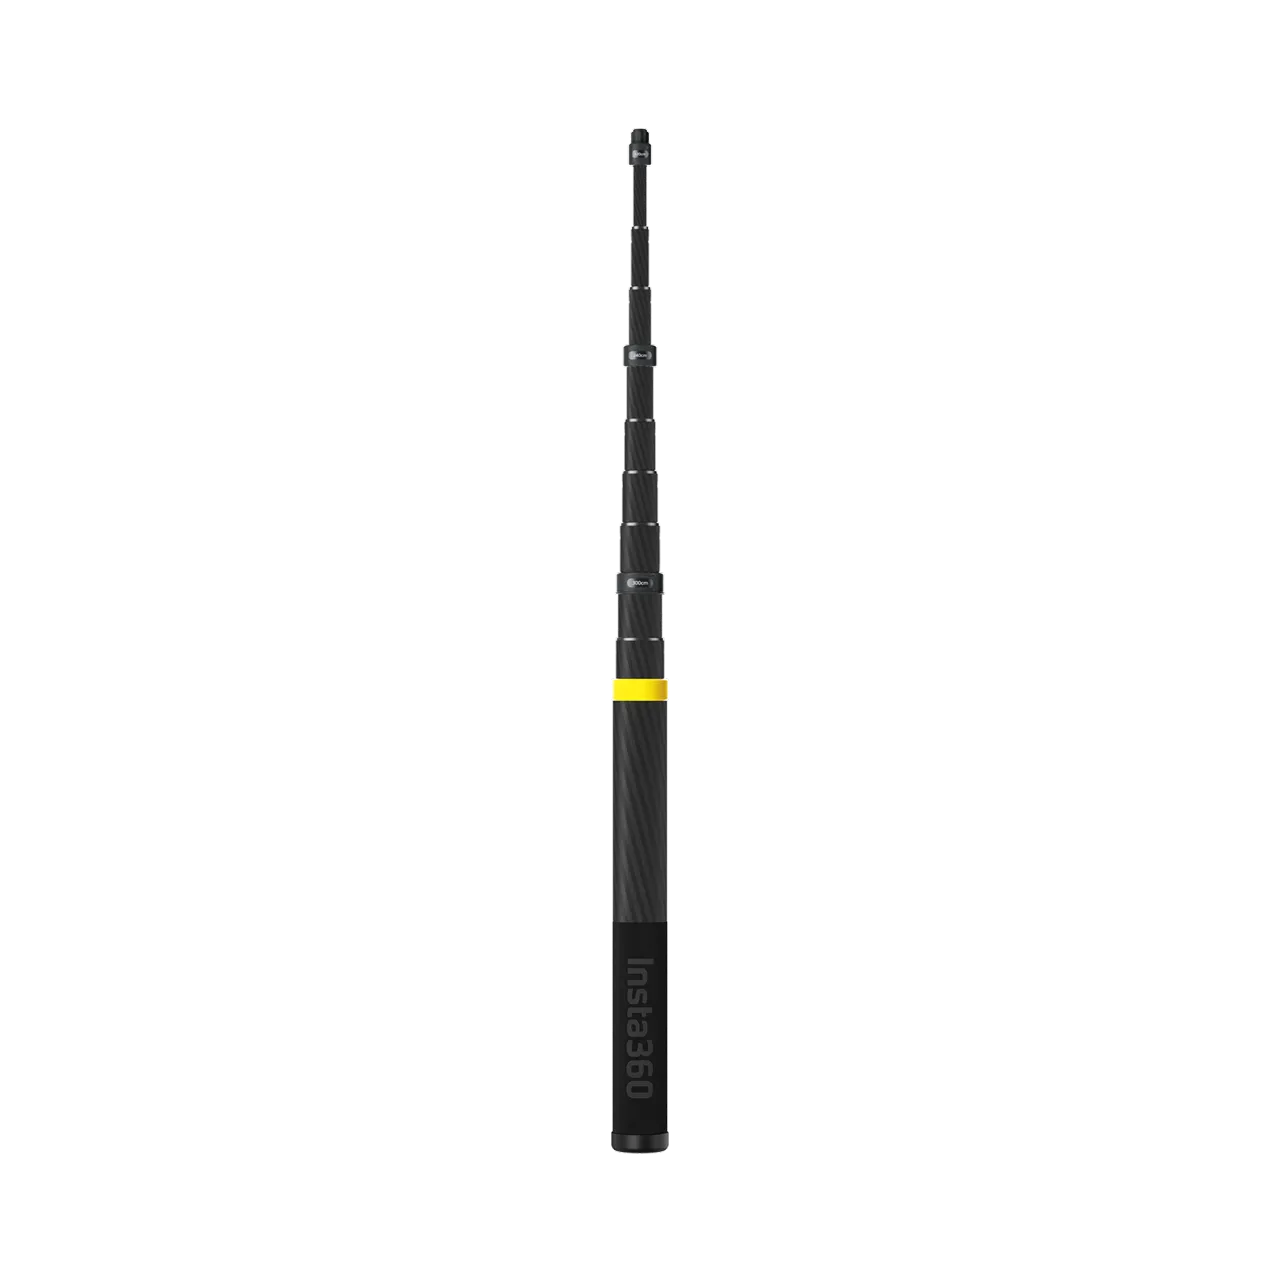
It lets you take photos in front of breathtaking landscapes, like the Magic Mountain in Moorea, you can see JB holding something in his hand but the pole has been erased by the software so only us (and the landscapes) show. And for the first time, I’m in the photo instead of being behind the camera as usual, yayyy!!! Because finally, I don’t need to aim, you capture first, then reframe later. Practical!
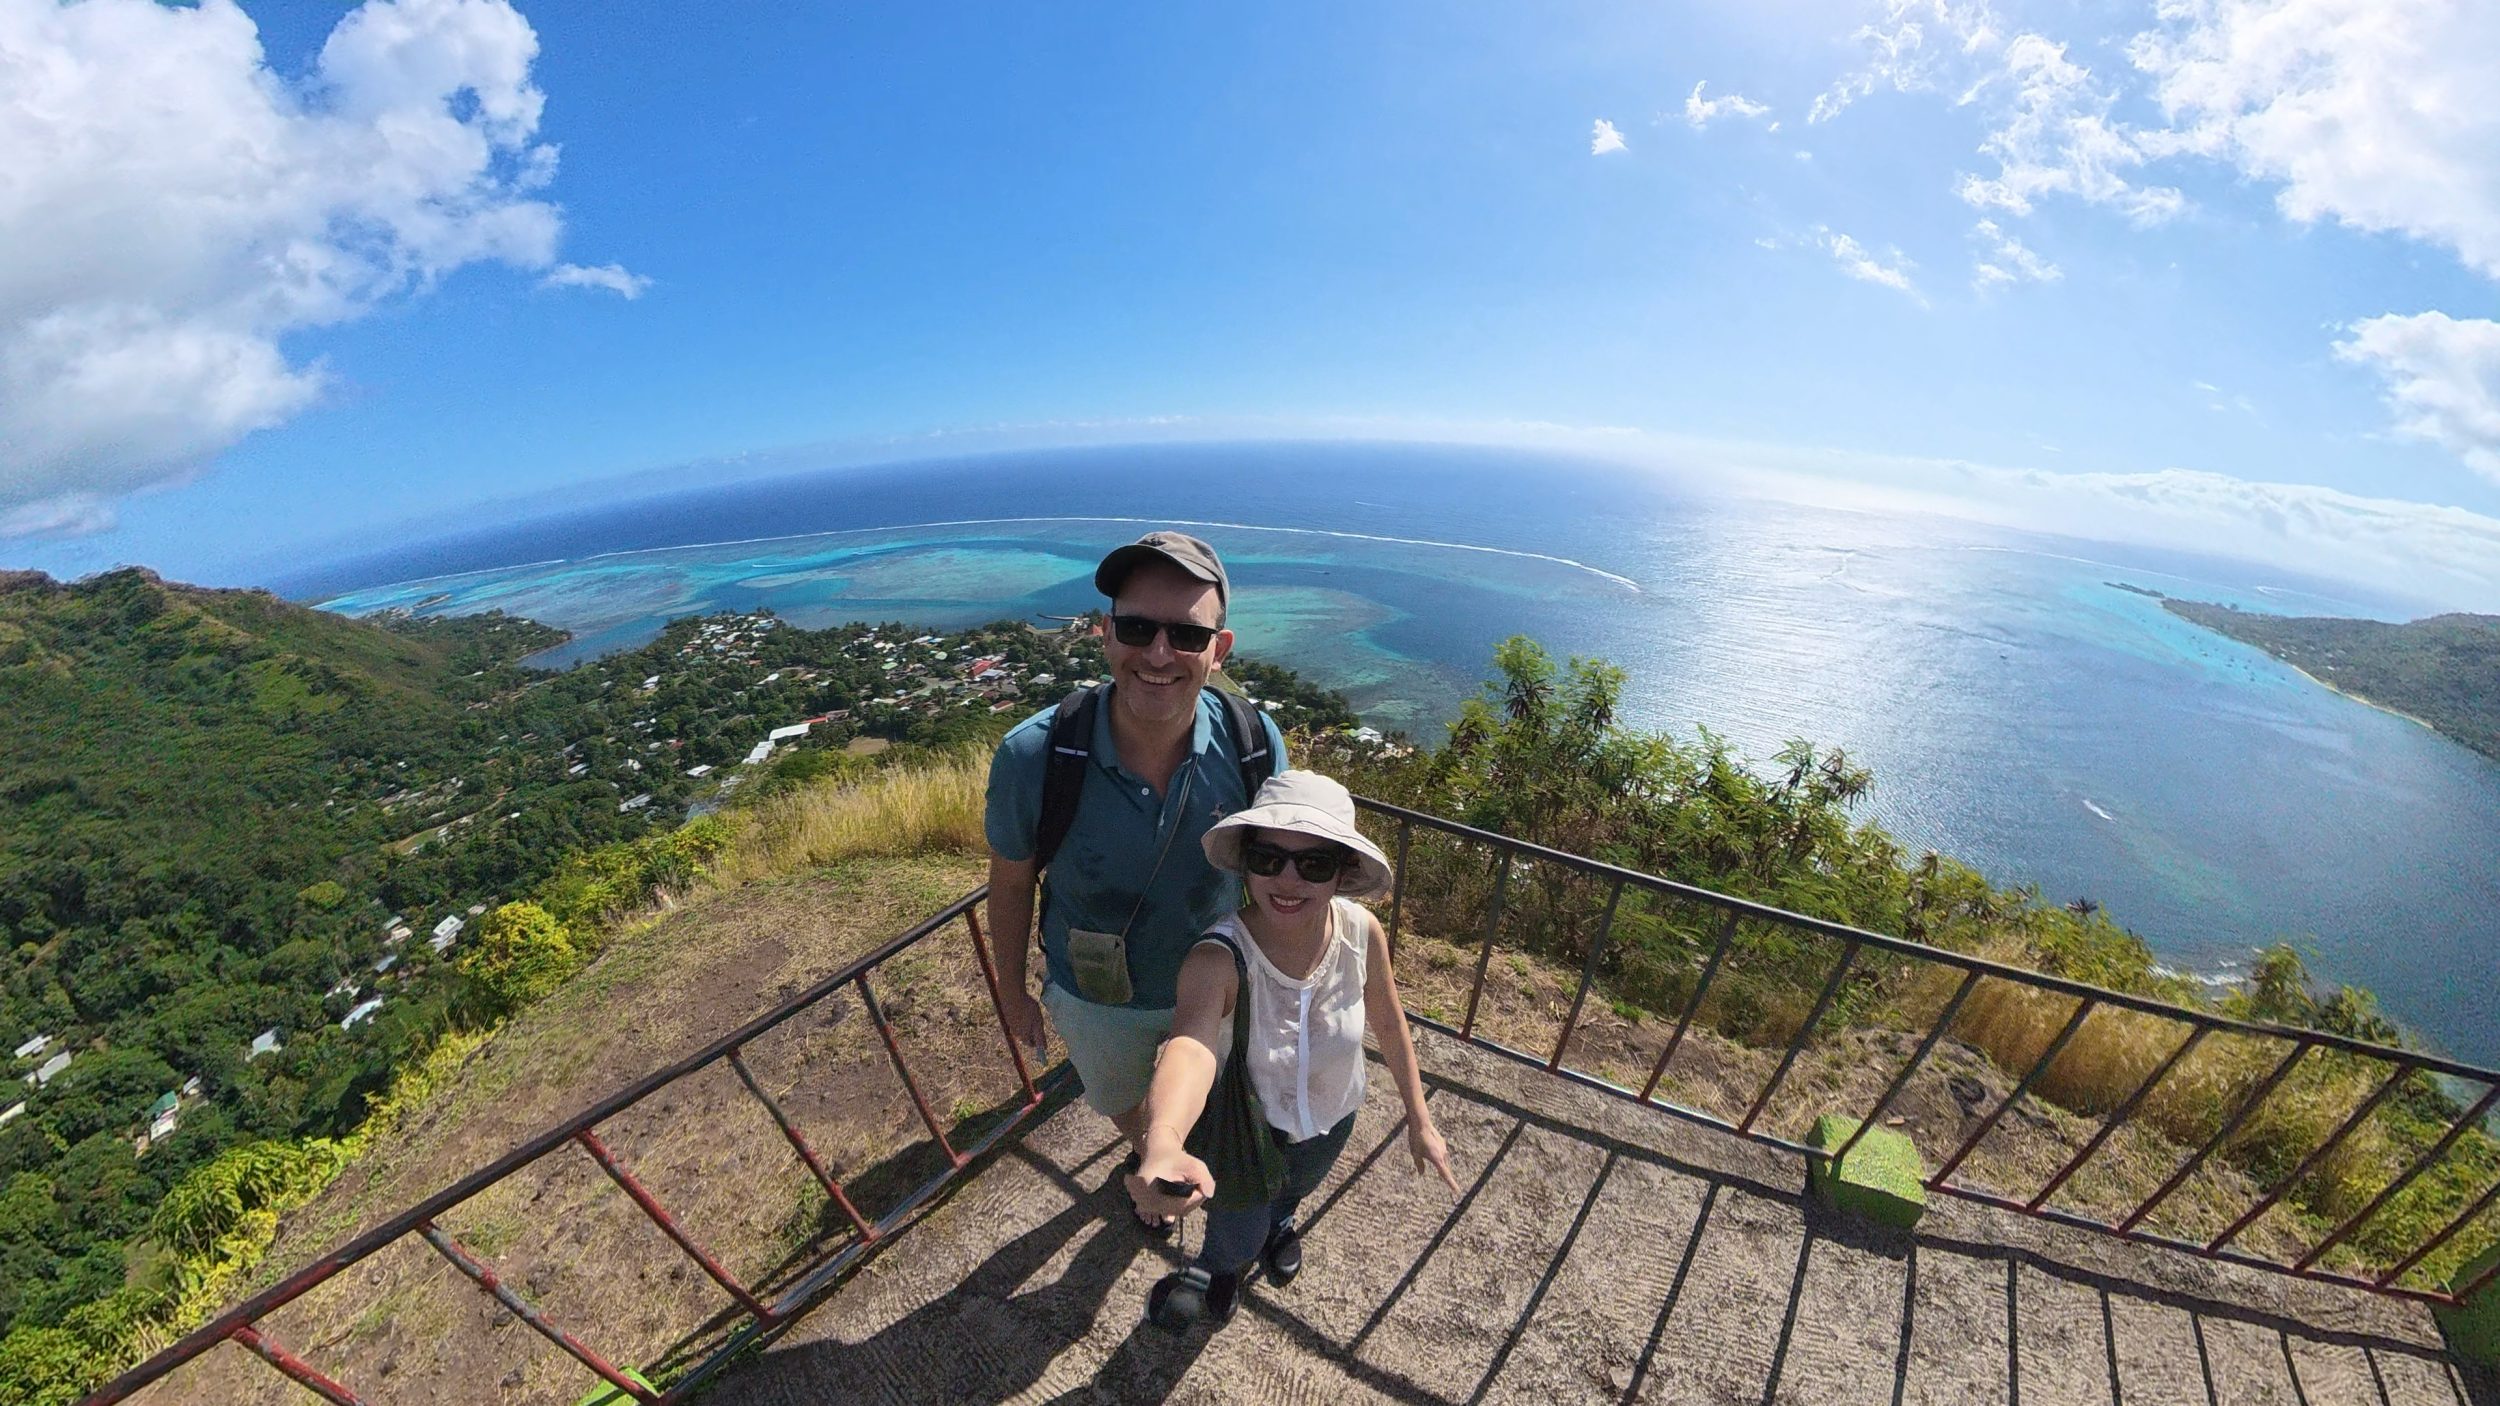
Imagine what that can do with a 3-meter selfie stick! It’s really practical, especially since many countries now ban drones (they even confiscate them at the airport); and more and more places require very complicated permits for just a few minutes of drone.
Recommended accessories
The accessories you can add based on your usage:
- multiple micro SD cards, filming in 360 8K will take about 1GB/minute so remember to take several cards with you, U3 mandatory (purchase link)
- an extra battery if you’re the type to constantly film yourself, personally I find the battery holds extremely well, I’ve never run out of battery at the end of the day but you know your habits best (purchase link)
- a pole suited to your needs. I think 105cm is great (purchase link) but for the drone effect, I strongly recommend the 3-meter version (purchase link).
- If you talk or vlog a lot, think about also getting a Bluetooth microphone (purchase link)
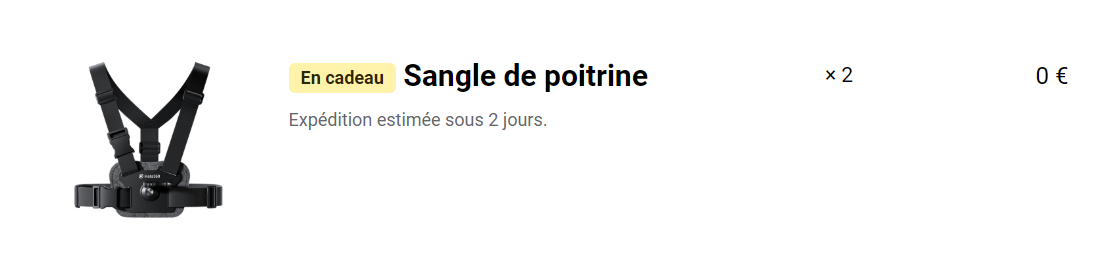
- a chest strap for hiking / cycling / sports – this accessory is free if you buy the camera via our affiliate link
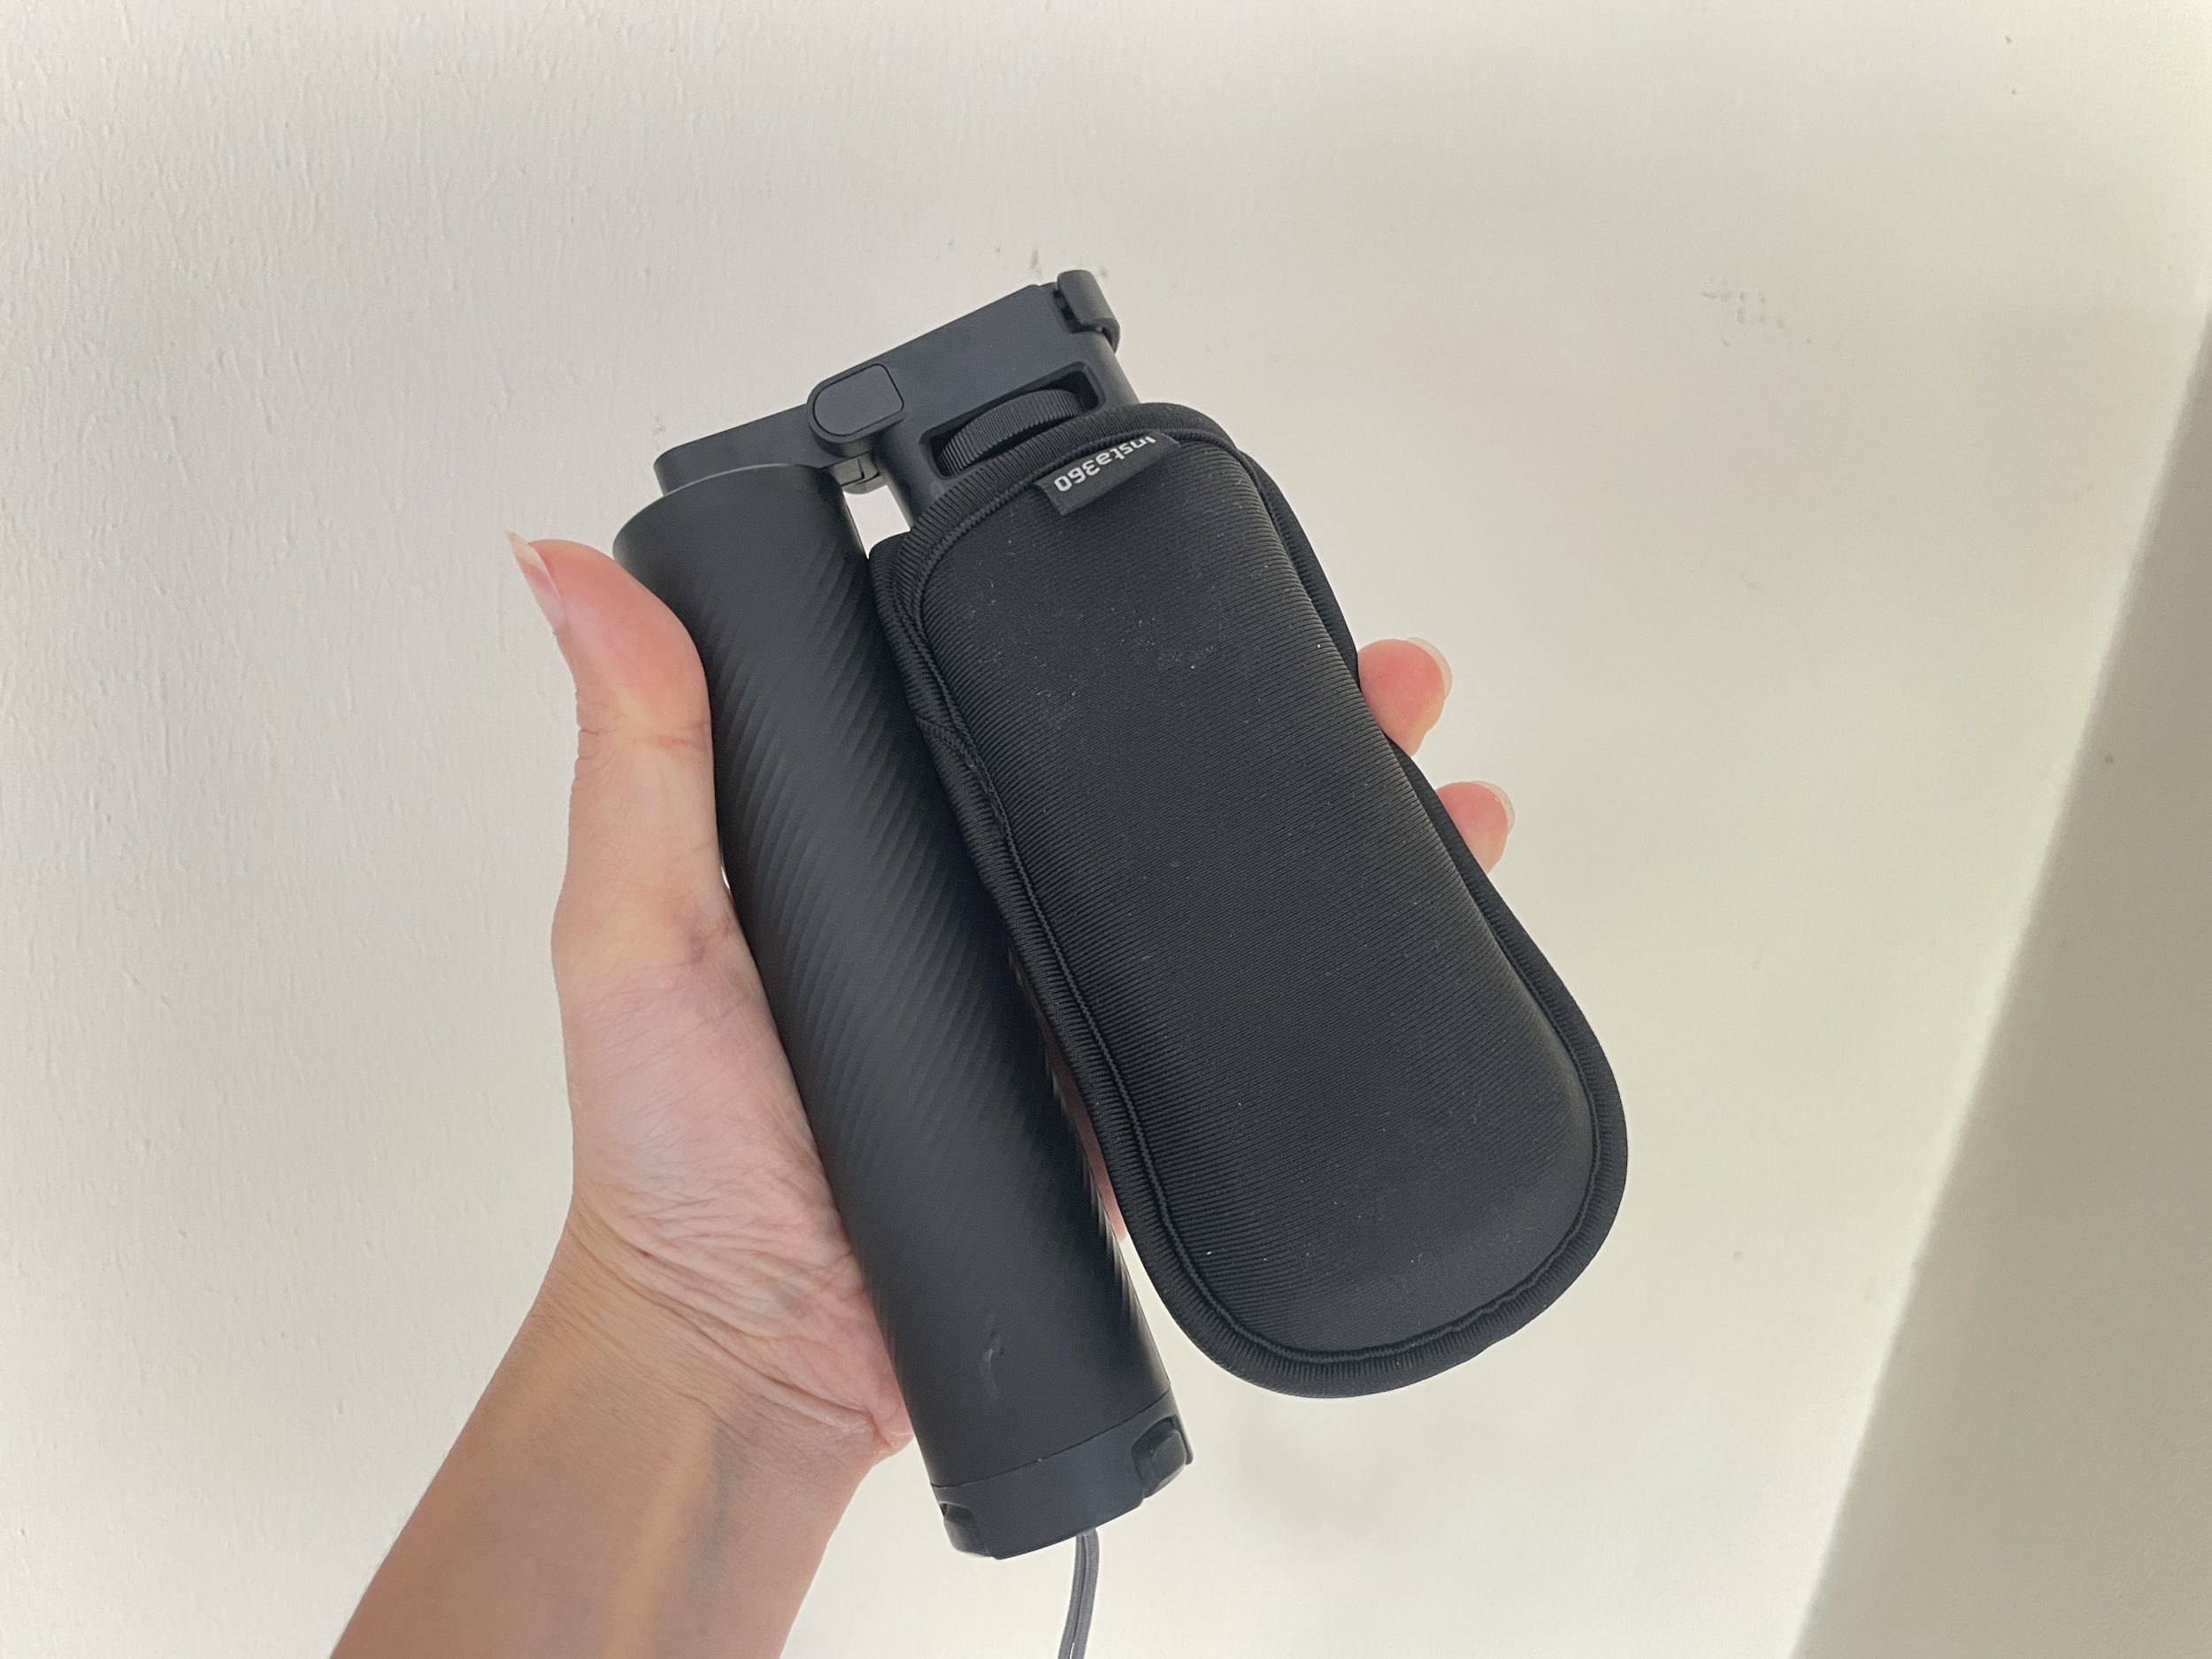
Then, the small pouch included with the camera protects the lenses well as long as you don’t do extreme sports. If that’s the case, buy either spare lenses in advance or lens protectors.
Depending on your needs, choose the packs including the accessories you need (creator pack, essential pack, etc.), it’ll be cheaper for you.
Recommended settings
Always film in 360, 8K, so you don’t miss anything. Don’t bother too much about framing. The point of filming in 360 is precisely to be able to reframe later, so filming while traveling becomes a one-click matter, leaving time to enjoy your trip.
Where to buy the X4 Air and accessories?
If this article convinced you, know that the brand kindly offers our readers an extra chest strap for any purchase of an X4 Air on the official website. Just click this link to take advantage of it. The offer also applies if you buy a bundle that includes the X4 Air.
Right now and until July 7, 2026, there are loads of deals on the official website (up to -200€) I really recommend you check it out.
Conclusion
Anyway, I’m super happy and relieved to have such a versatile camera. I feel like I’m enjoying the trip much more because the time usually spent filming/taking photos is now reduced to “I turn on the camera, I film, I don’t aim at anything, the app handles it“. I think you may have seen on my Instagram account that I was able to produce much more content than usual in record time. Even though I went on vacation without my computer. All the editing was done solely through the Insta360 app.

