

How to create an SVG file for Cricut with reMarkable
The reMarkable tablet/e-reader may seem simple and feature-poor, but when you know how to use it, it’s a huge help for artists.
Today, I’m going to show you how to create an SVG file for Cricut with the reMarkable.
Recently, while taking a course on Domestika, I received scanned templates that weren’t compatible with Cricut. To fix this, I decided to trace the templates using my reMarkable and export them to Cricut.
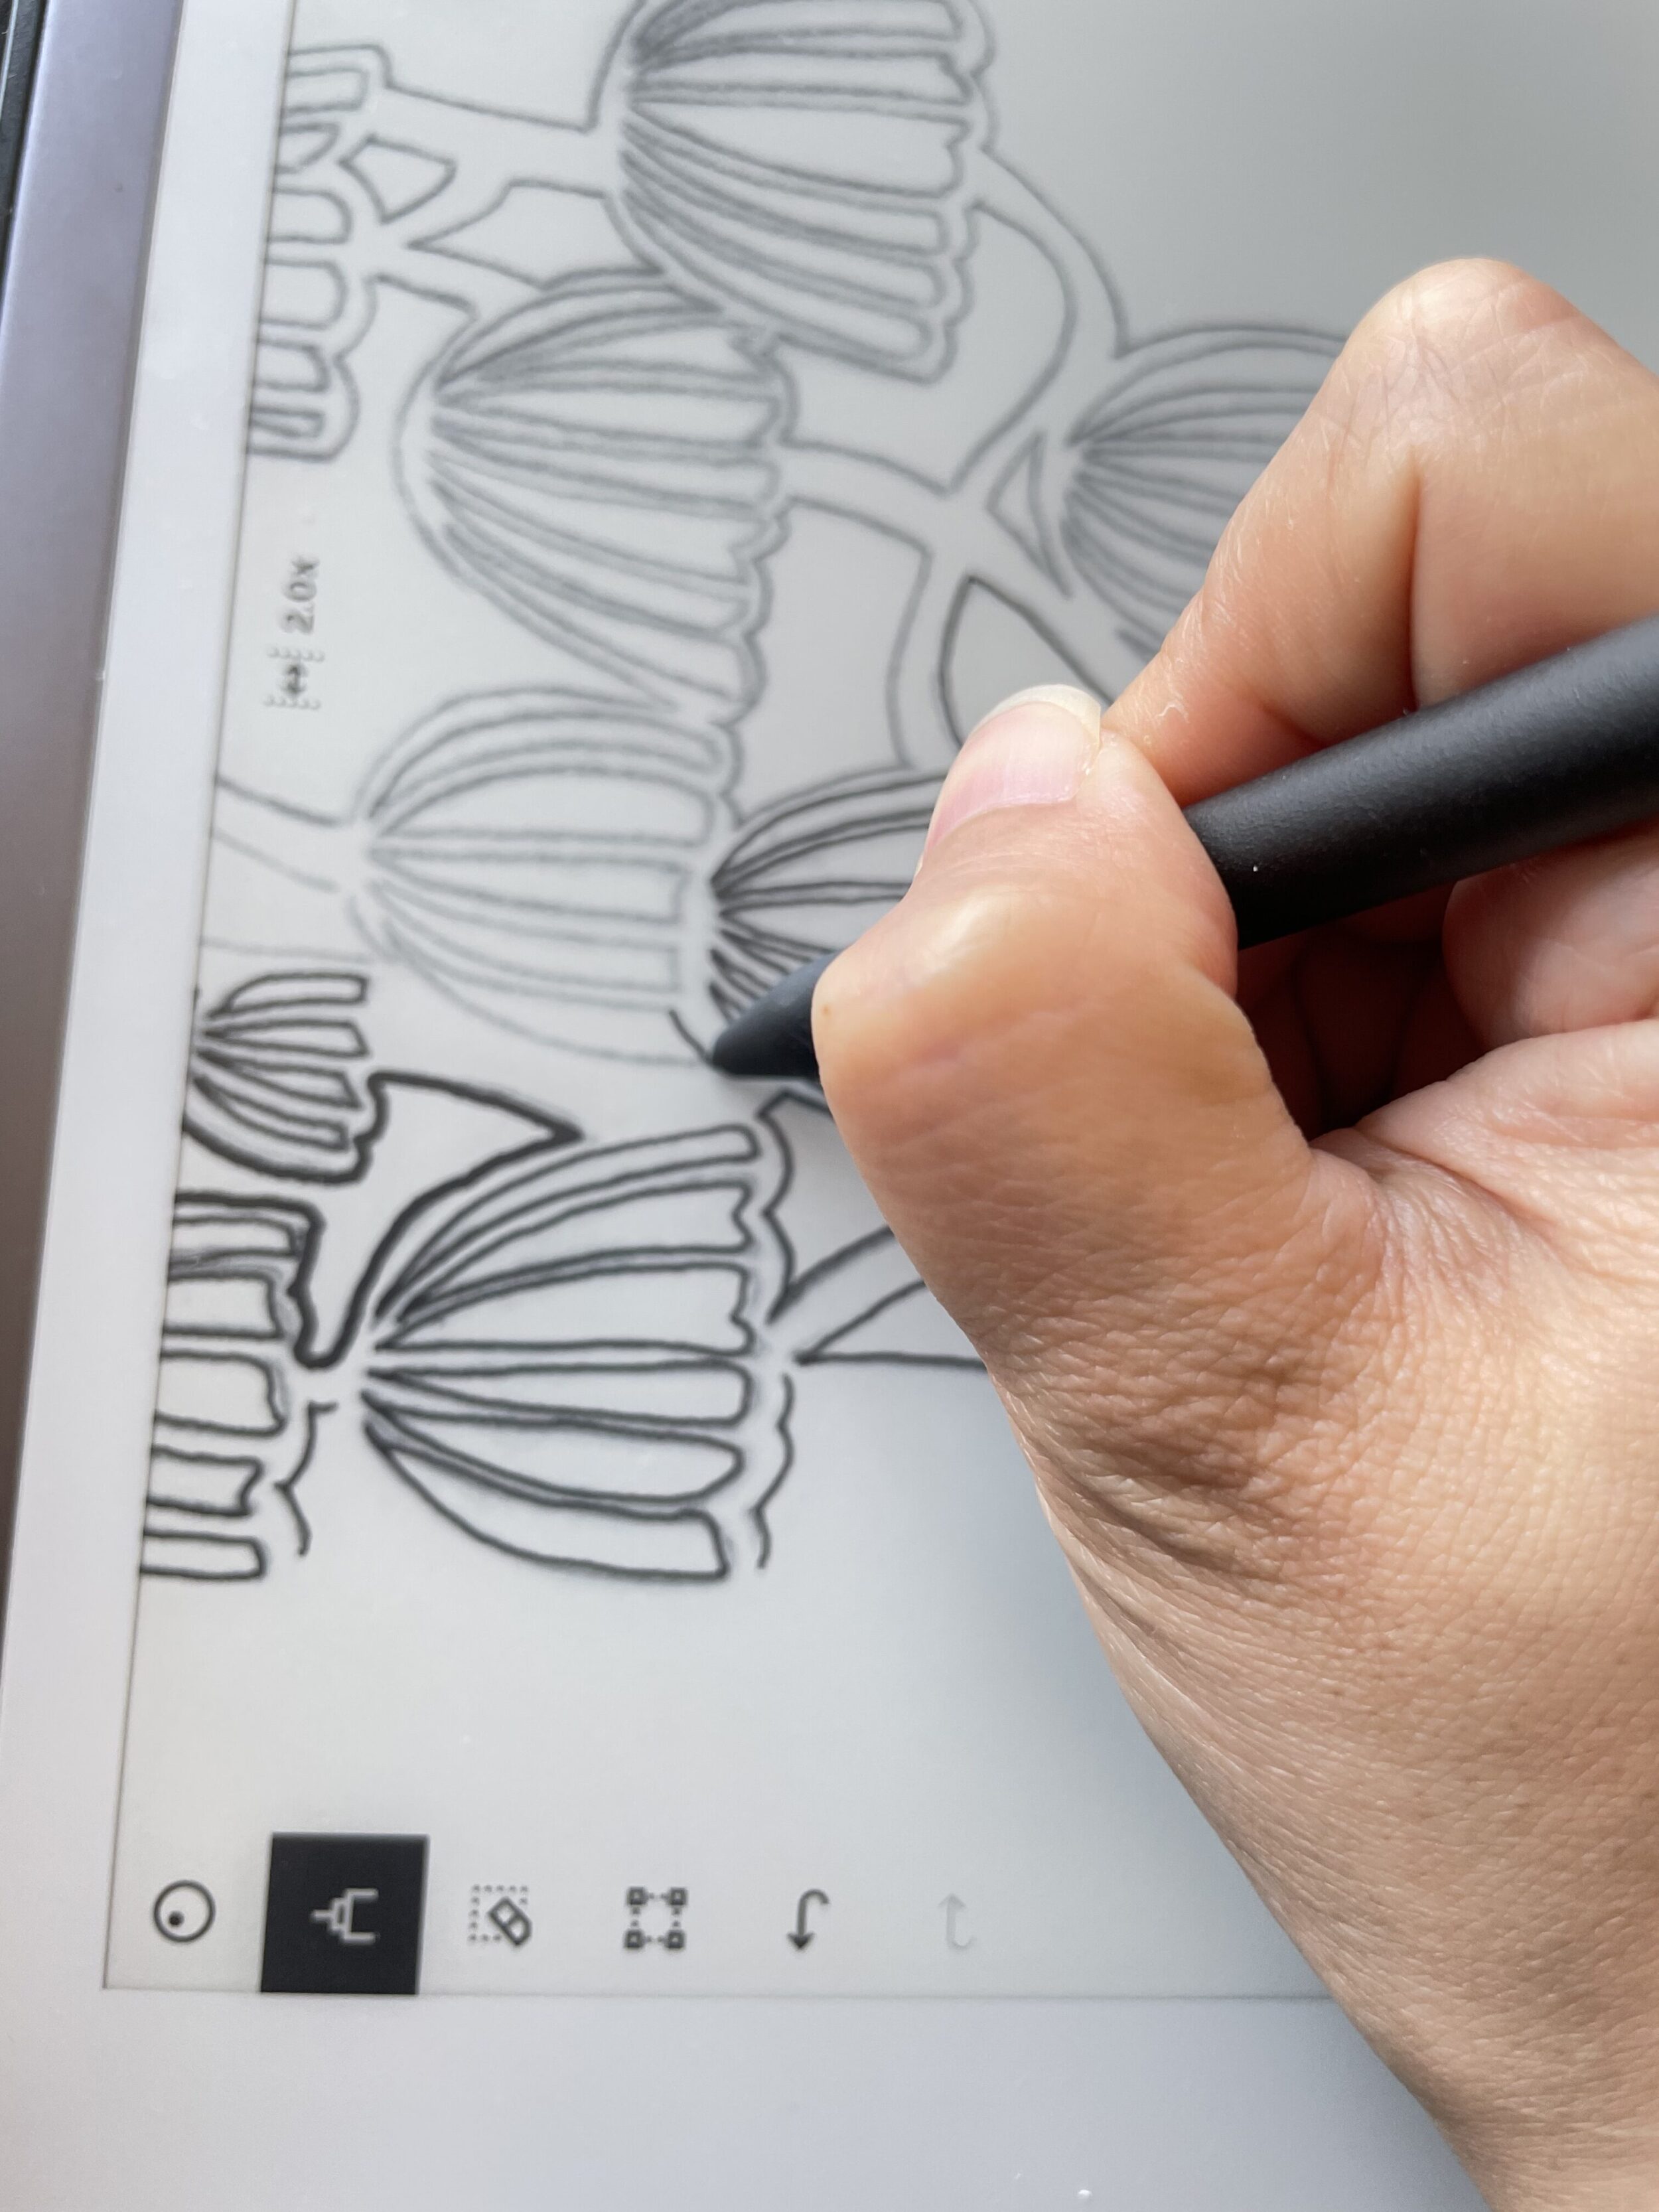
To do this, simply draw on the reMarkable, or import a PDF and trace over it.
Every stroke you make is interpreted as a vector stroke, so try to keep your strokes as long as possible, rather than making small strokes; this will help with cutting later. Be careful to only use the digital eraser from the menu (not the reMarkable pen’s eraser). What I often use is the “undo” button.
Once the drawing is complete, you need to hide the first layer, Background, by clicking on the eye (so we have a transparent background).
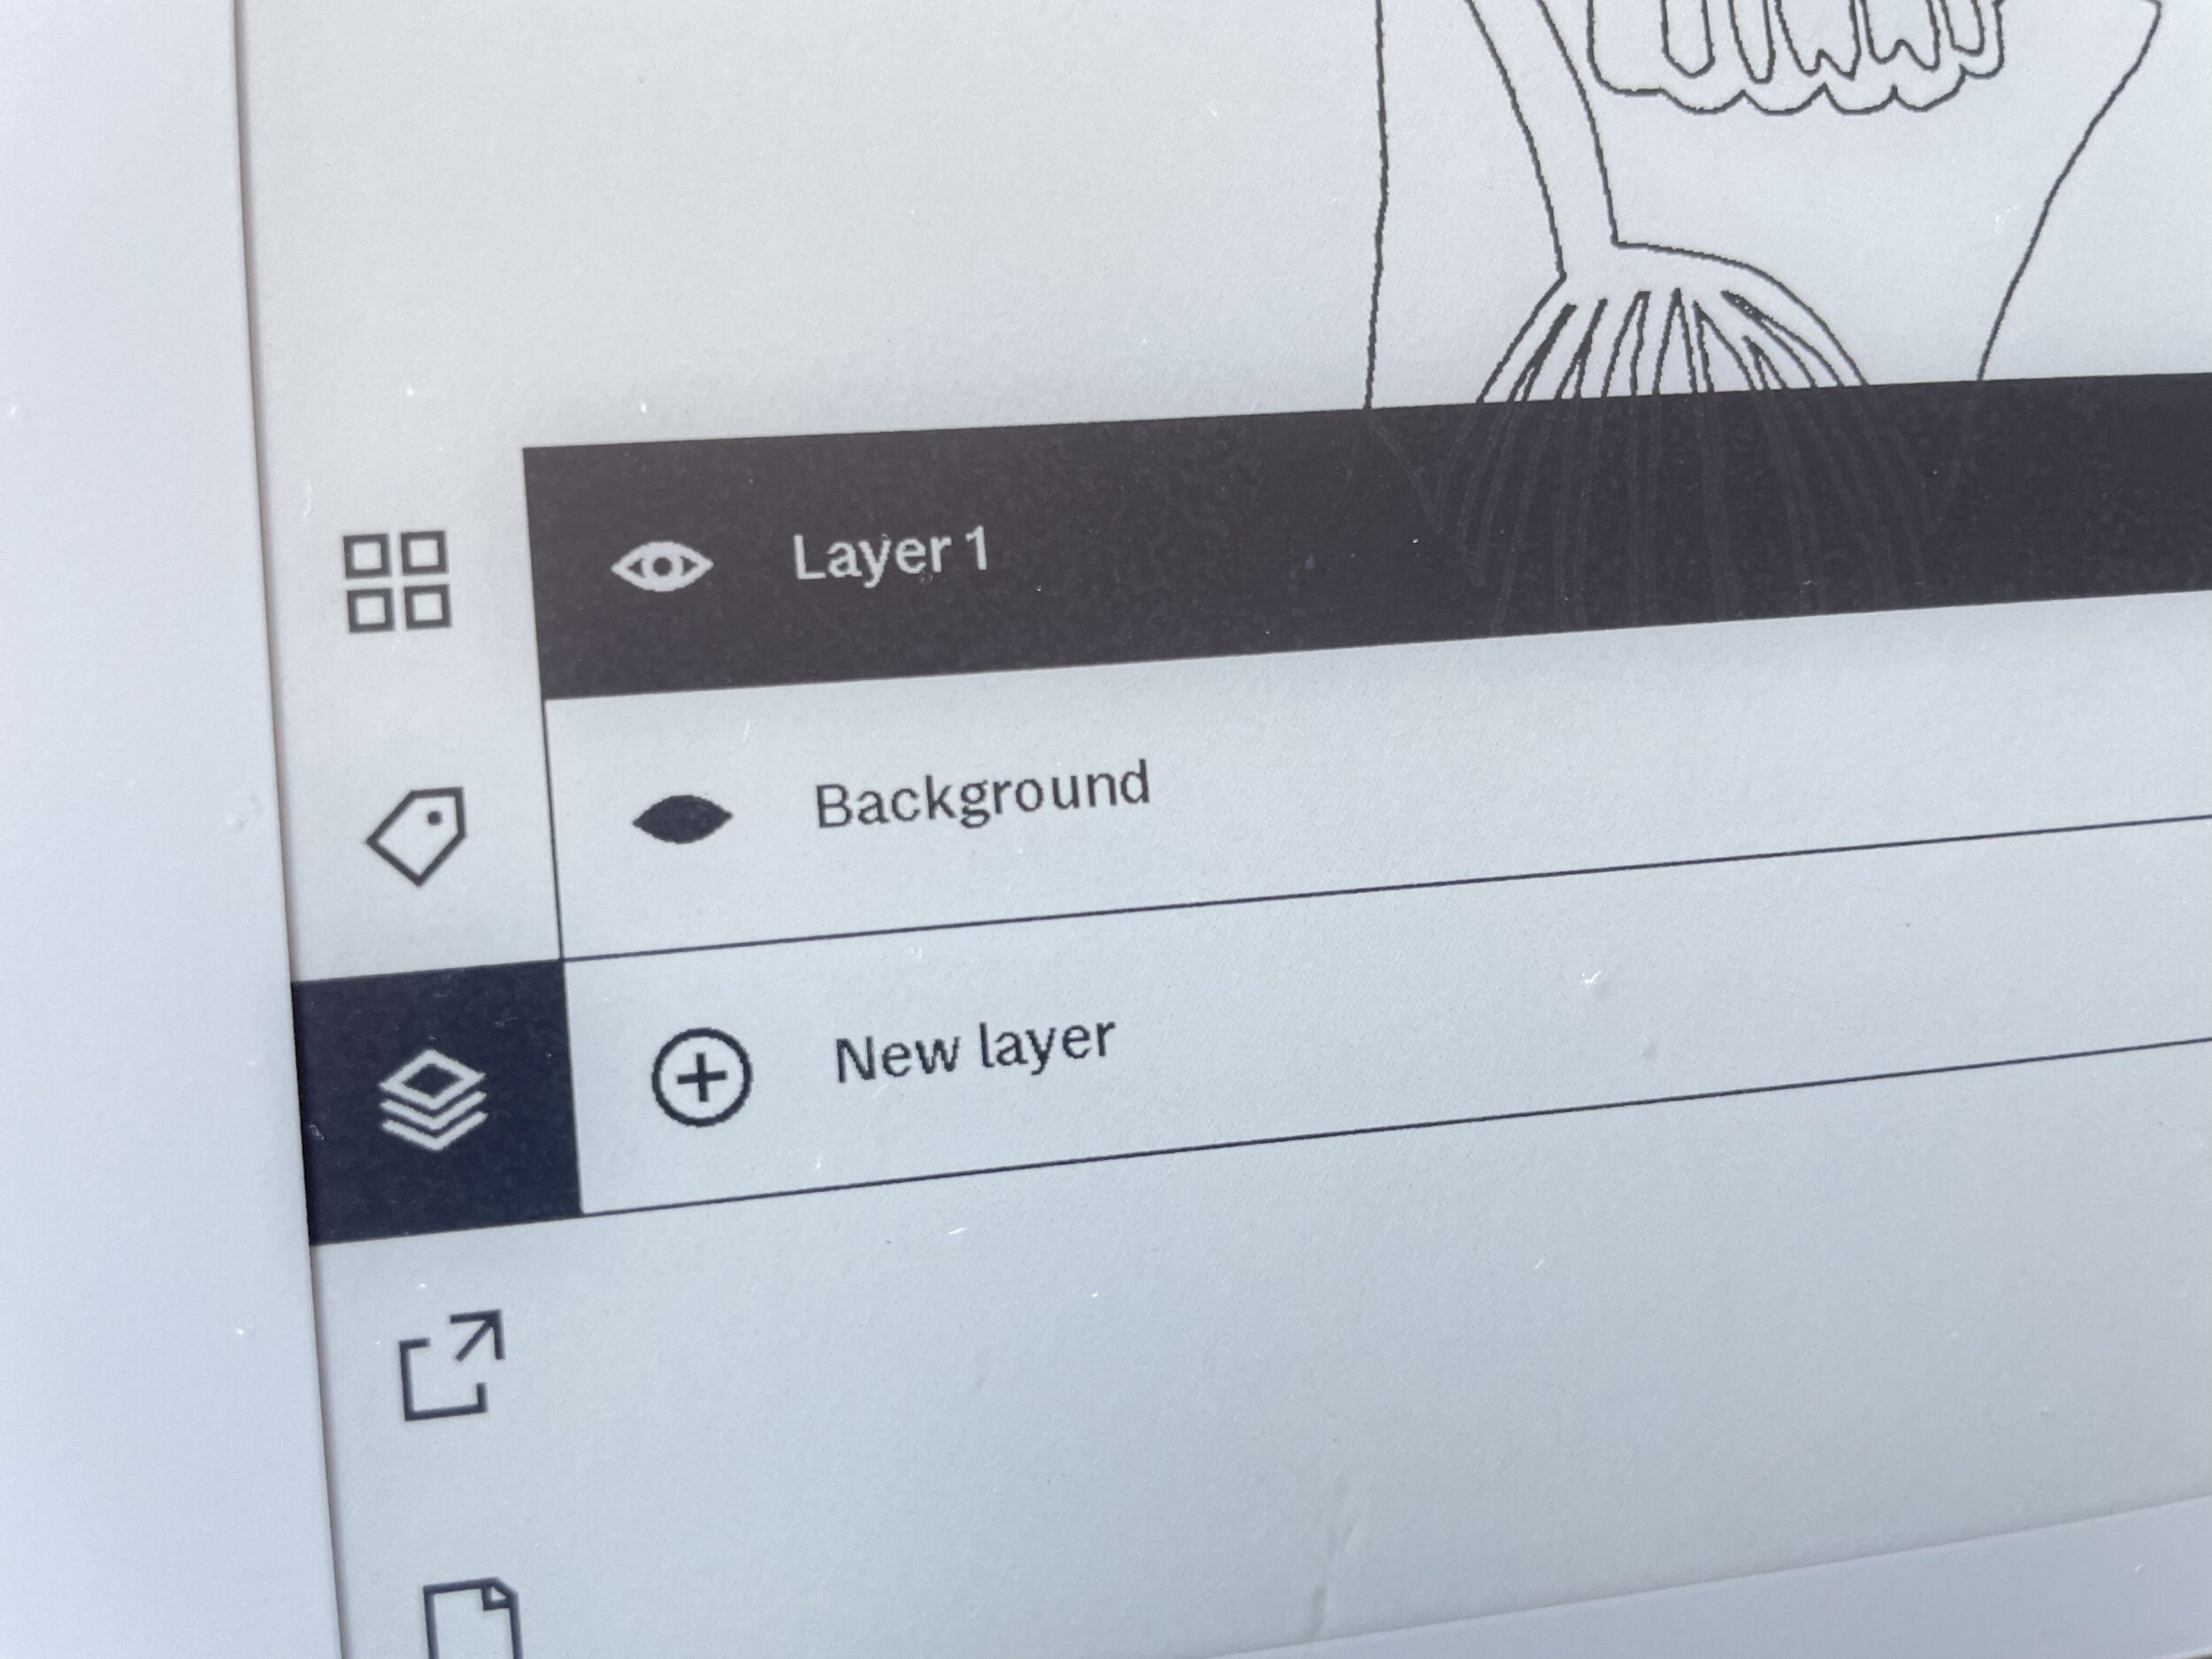
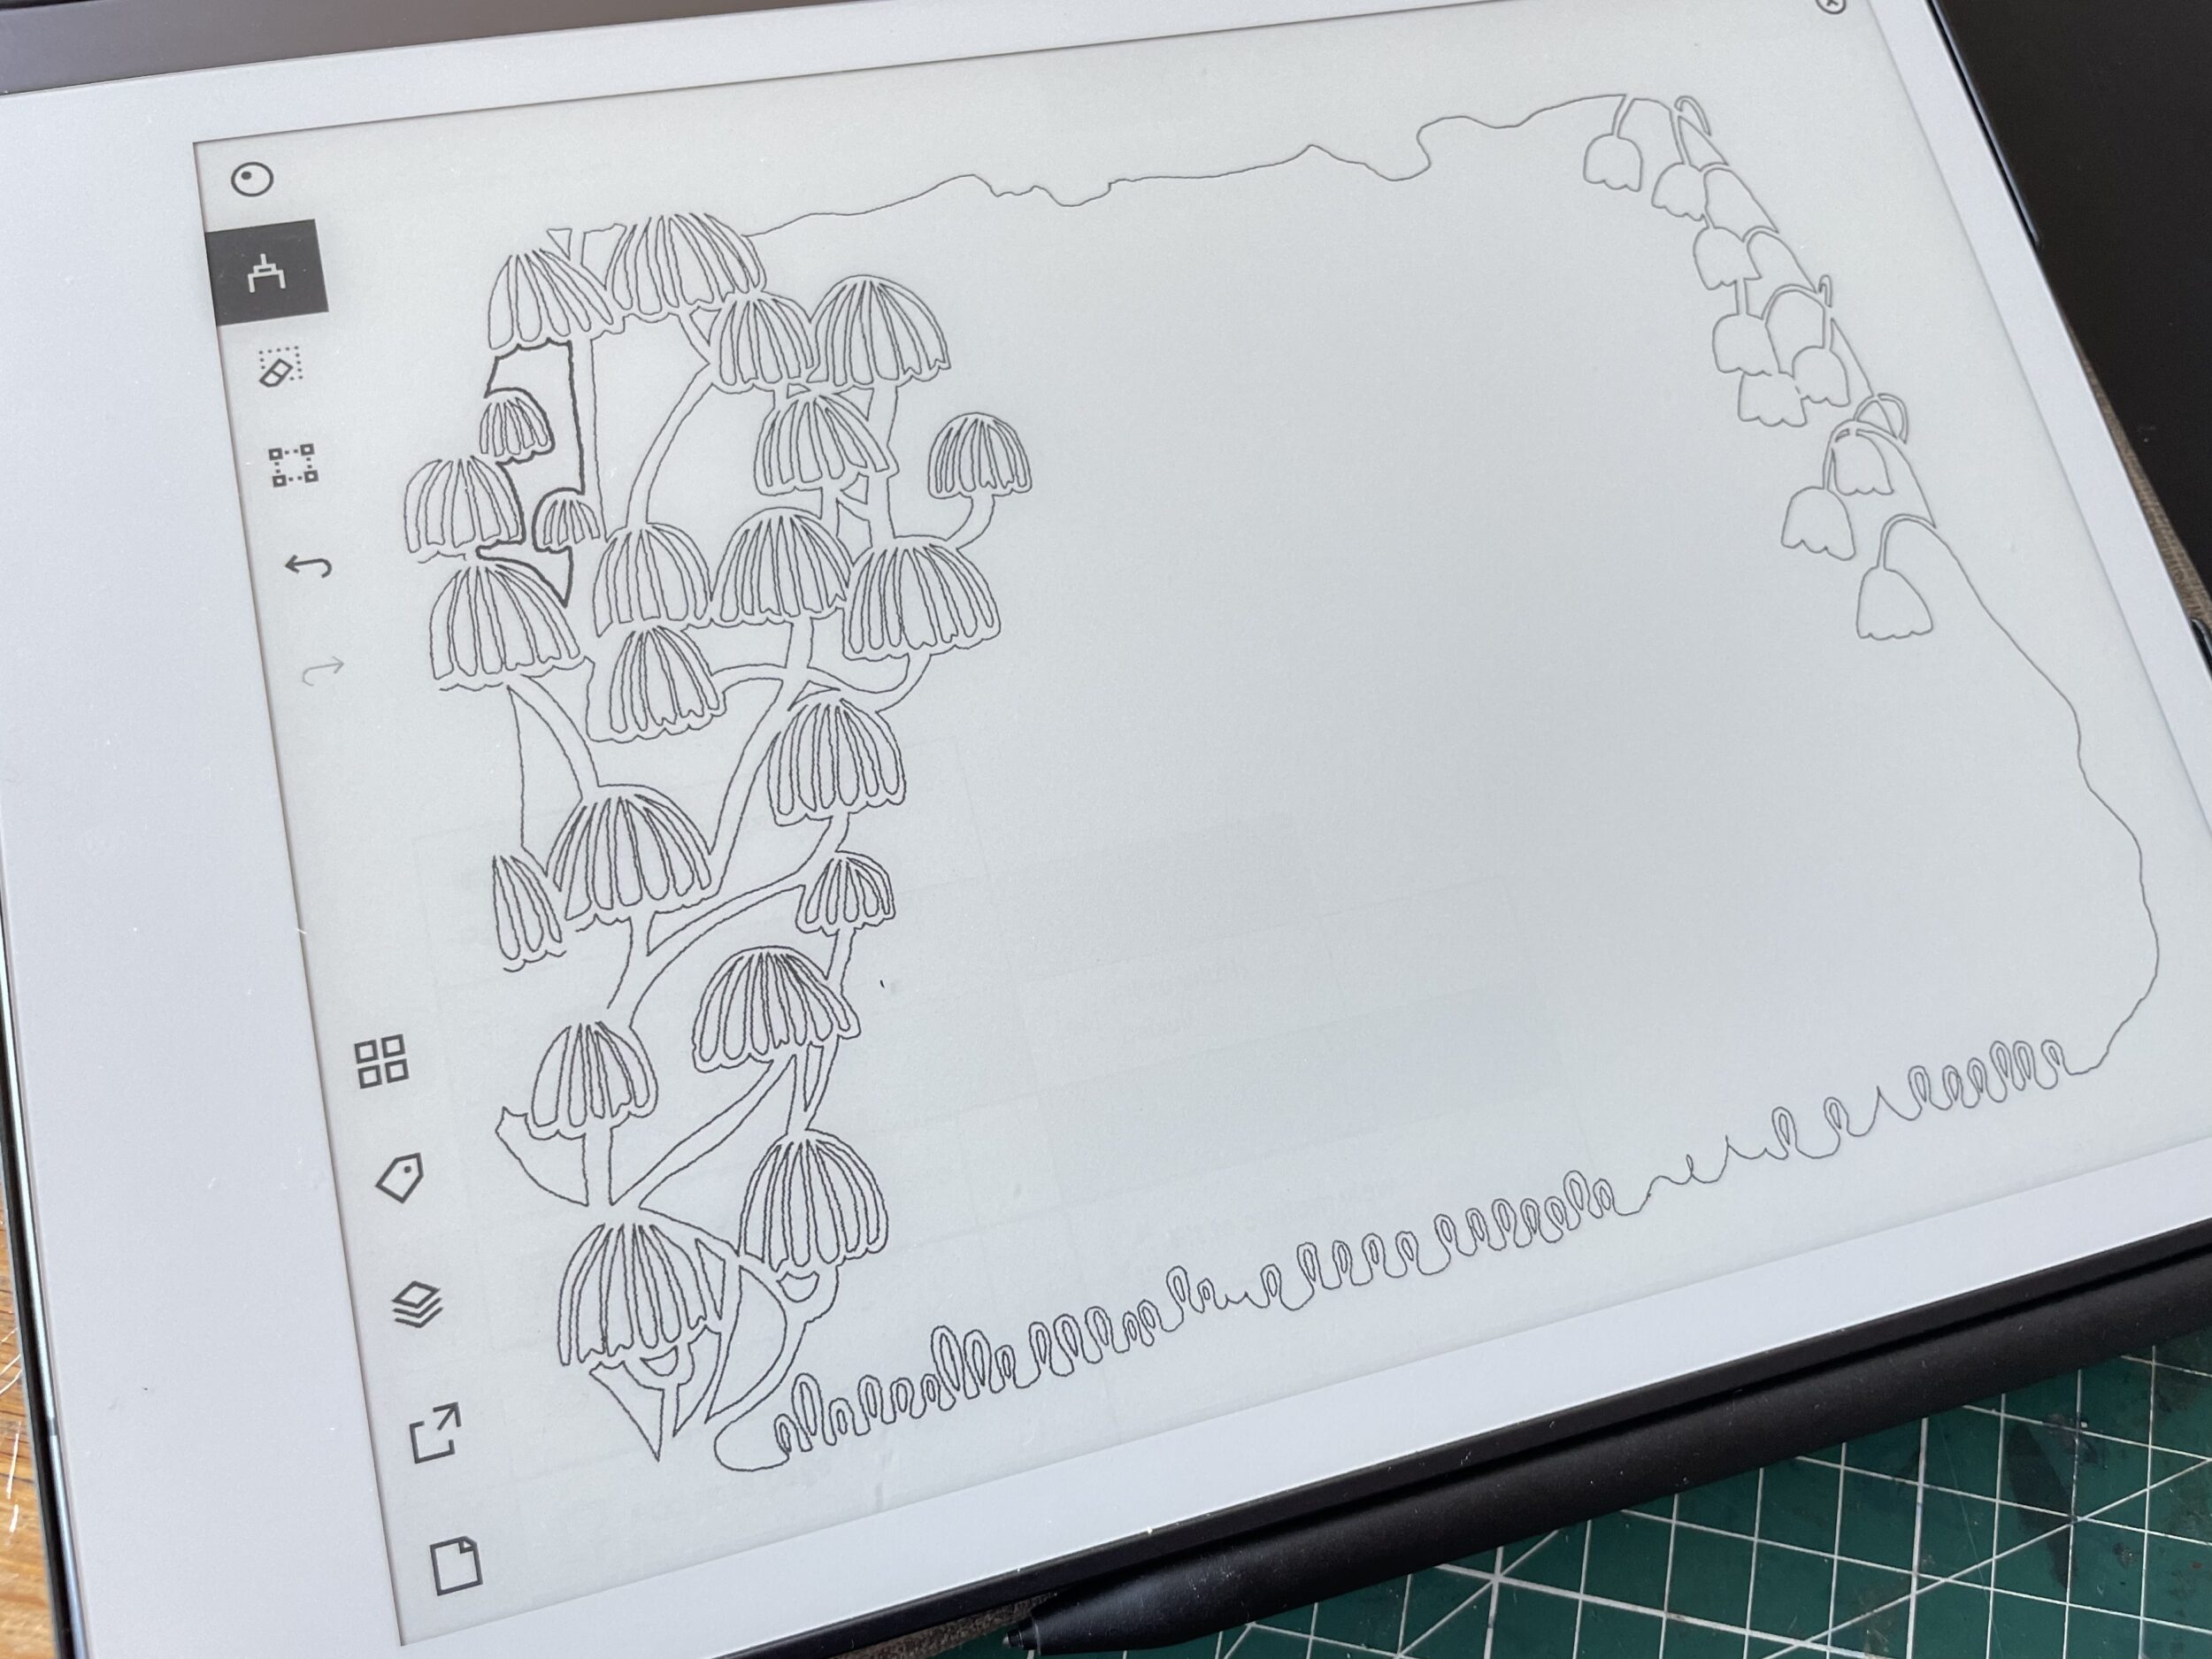
You can now see that the background disappears and you only see my drawing:
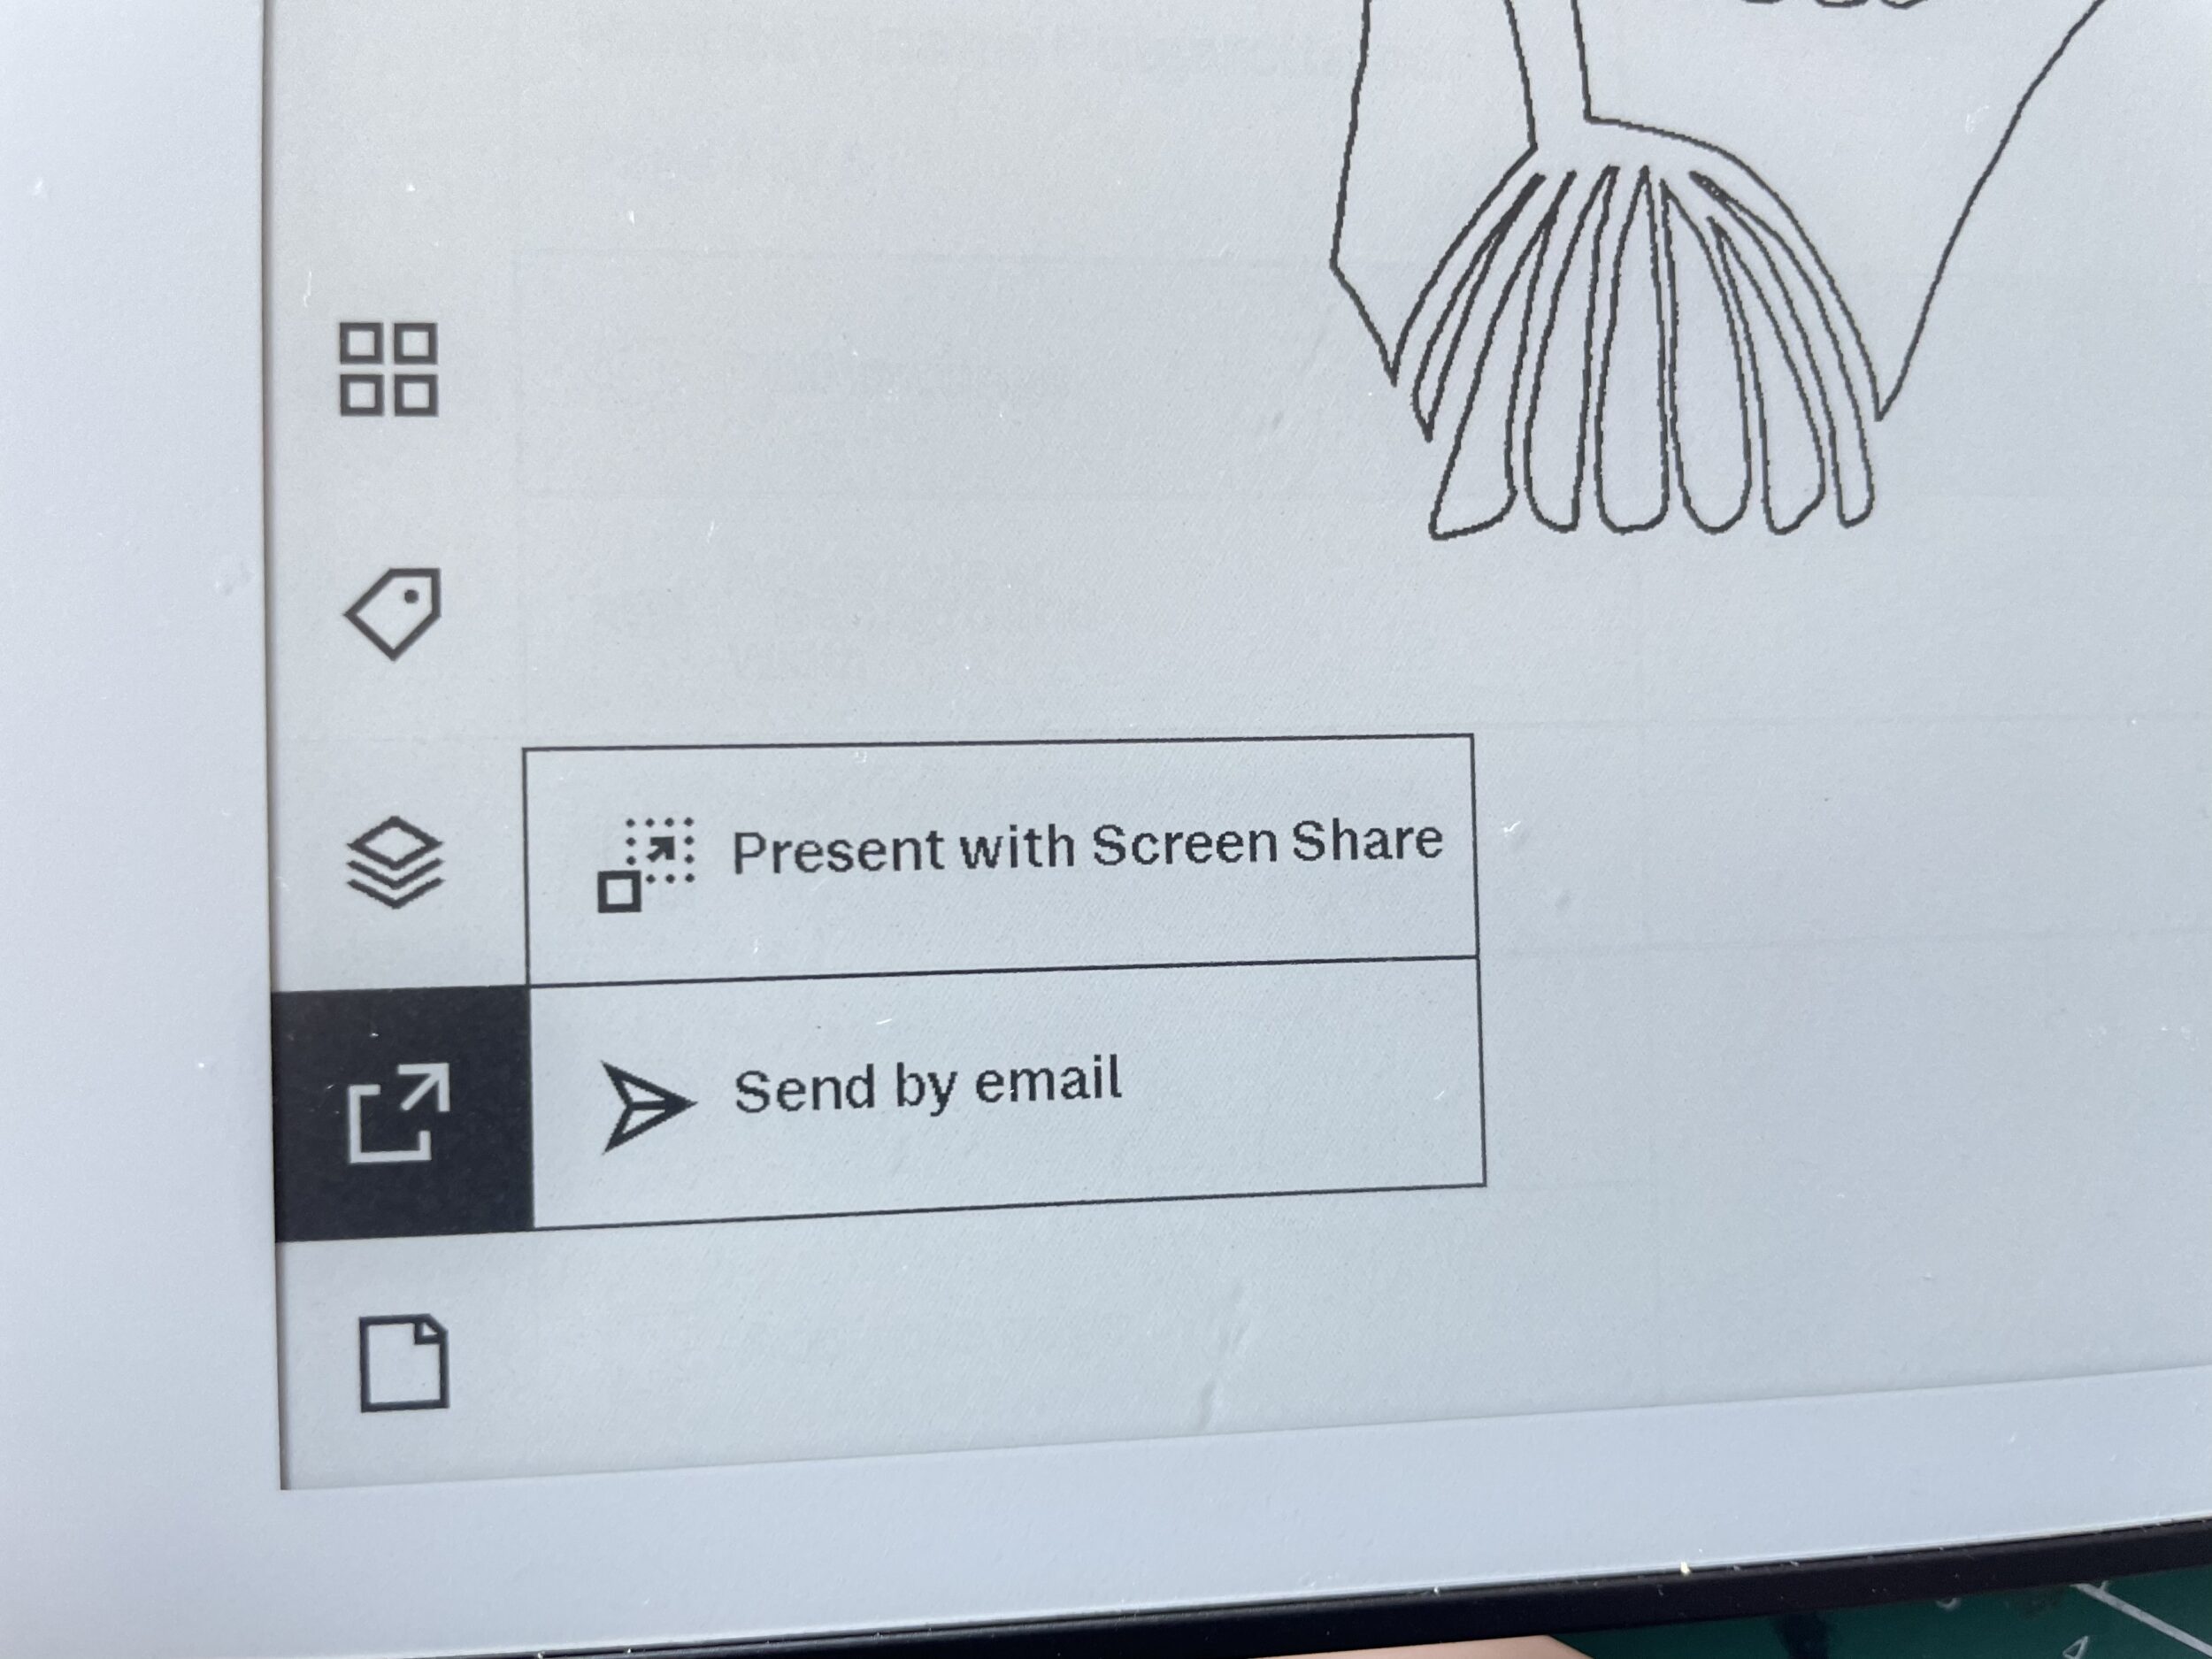
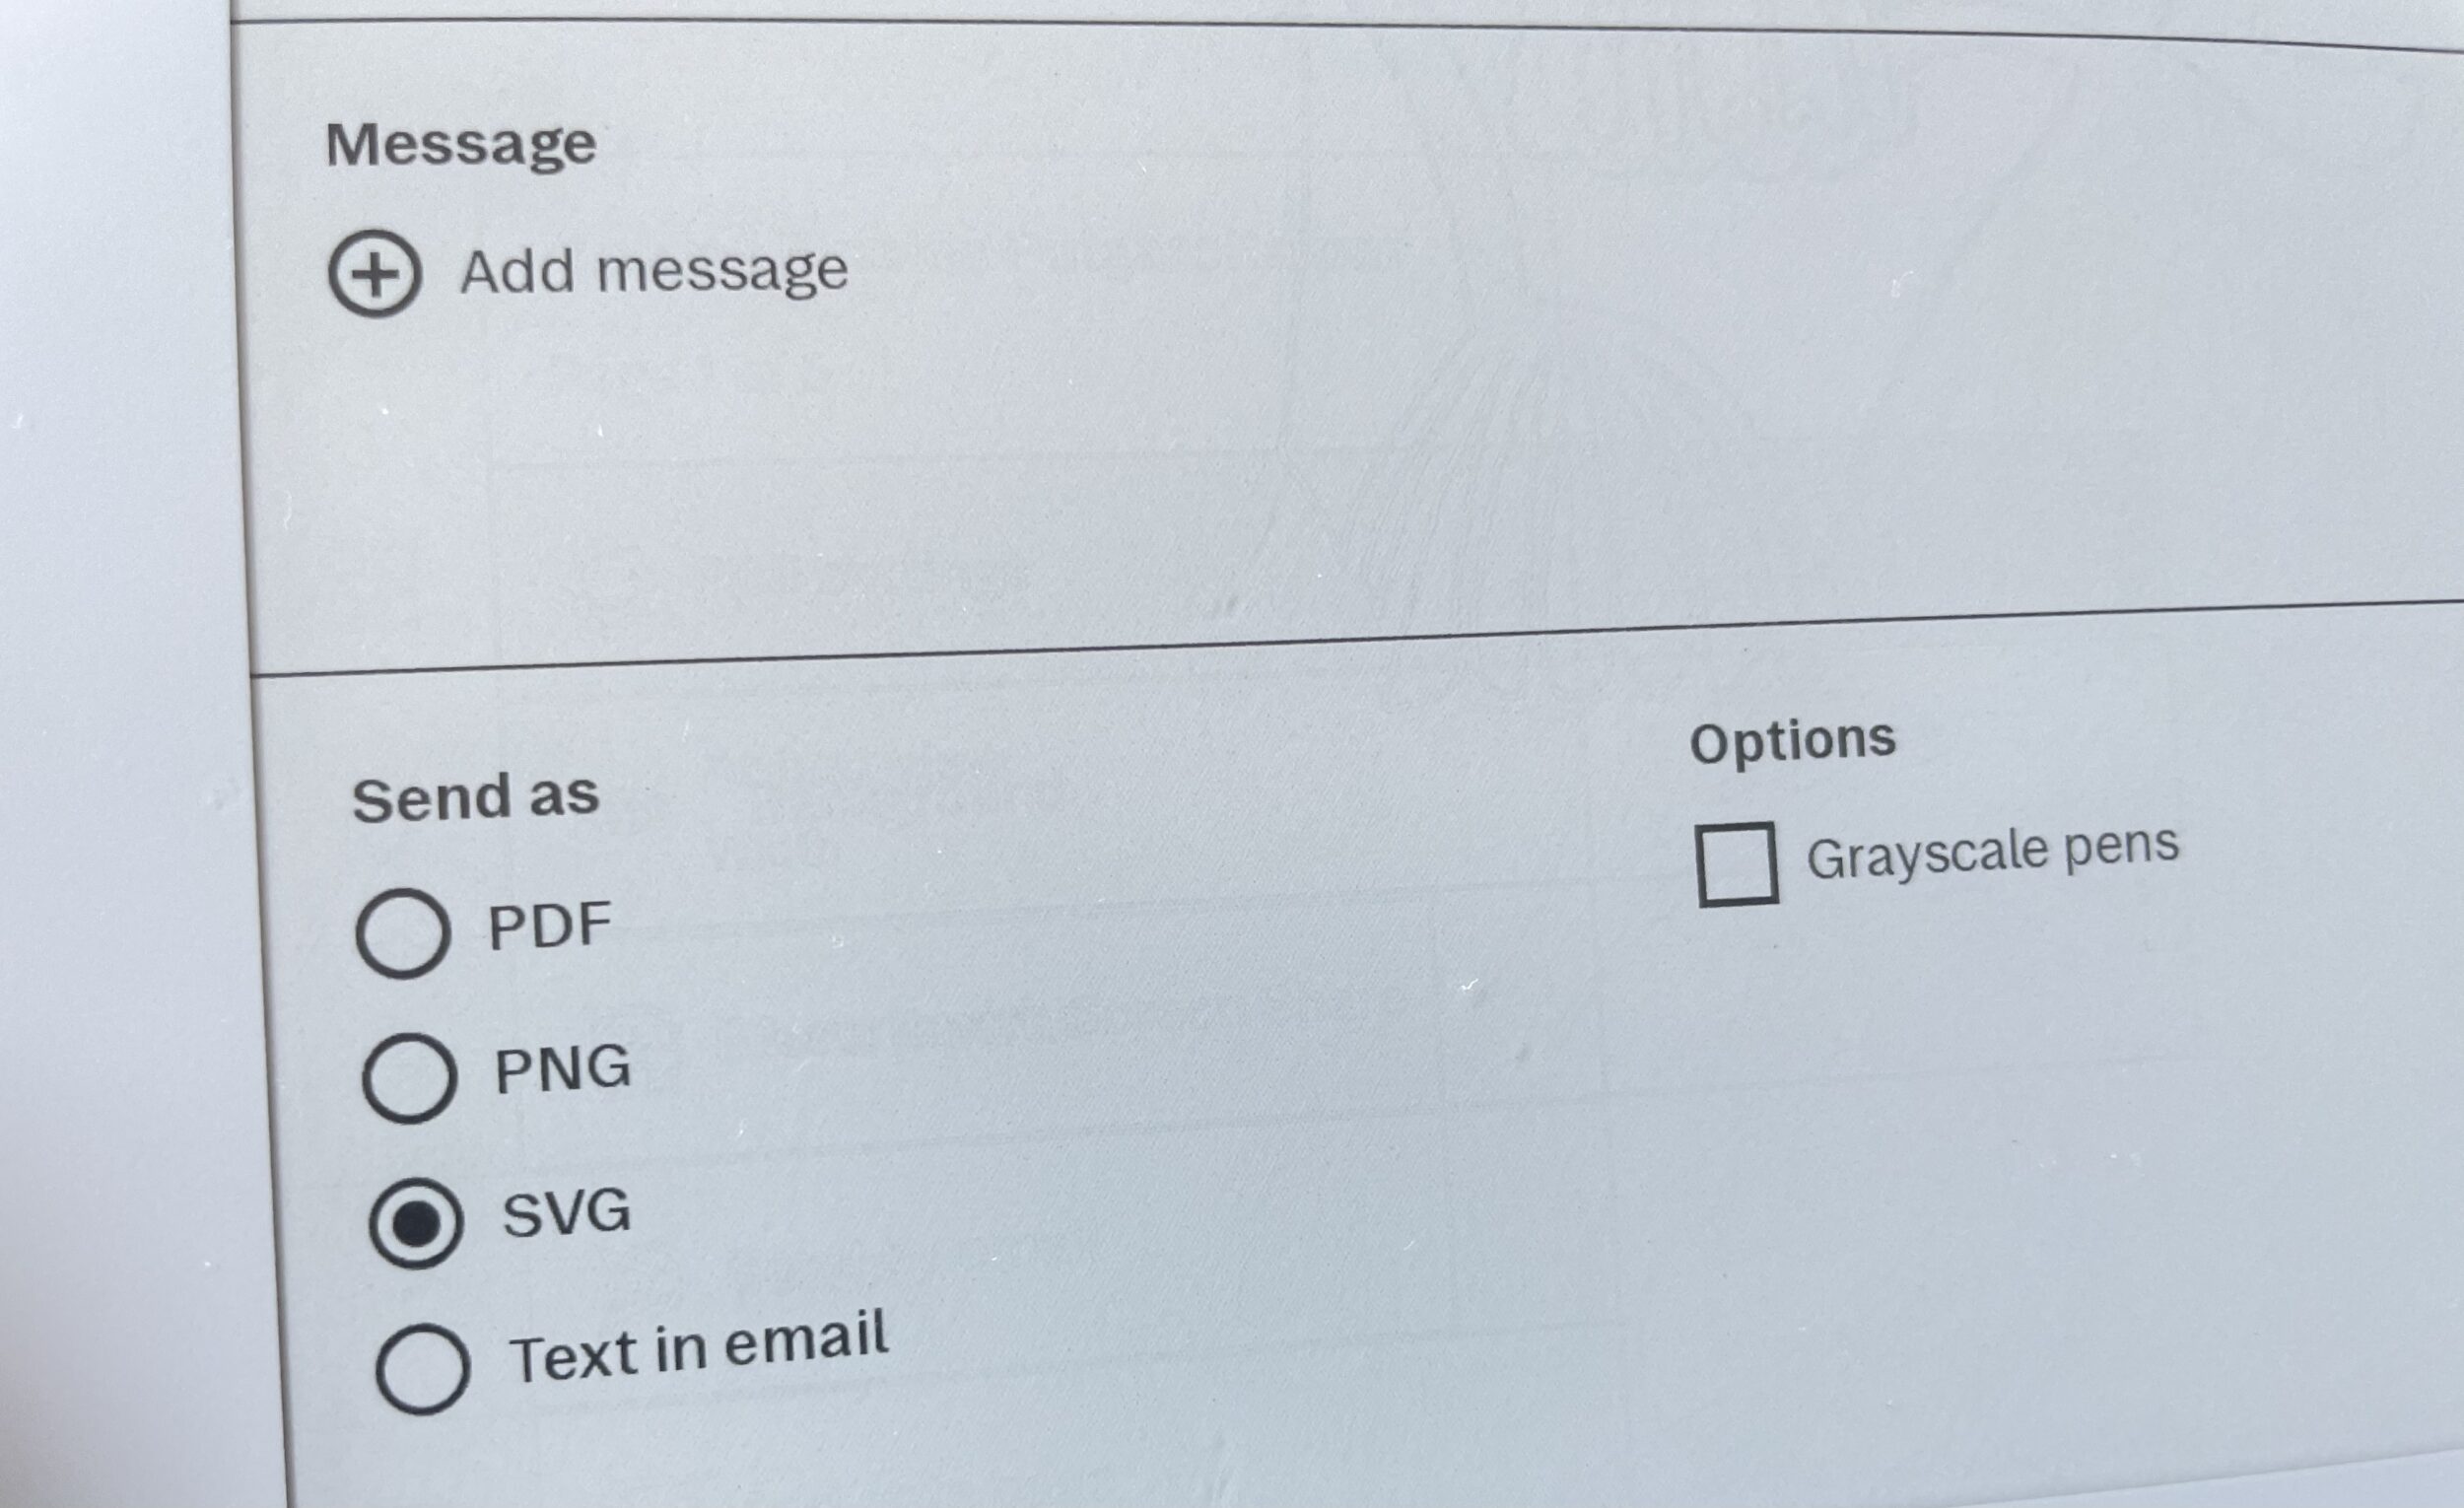
Next, send the SVG file via email.
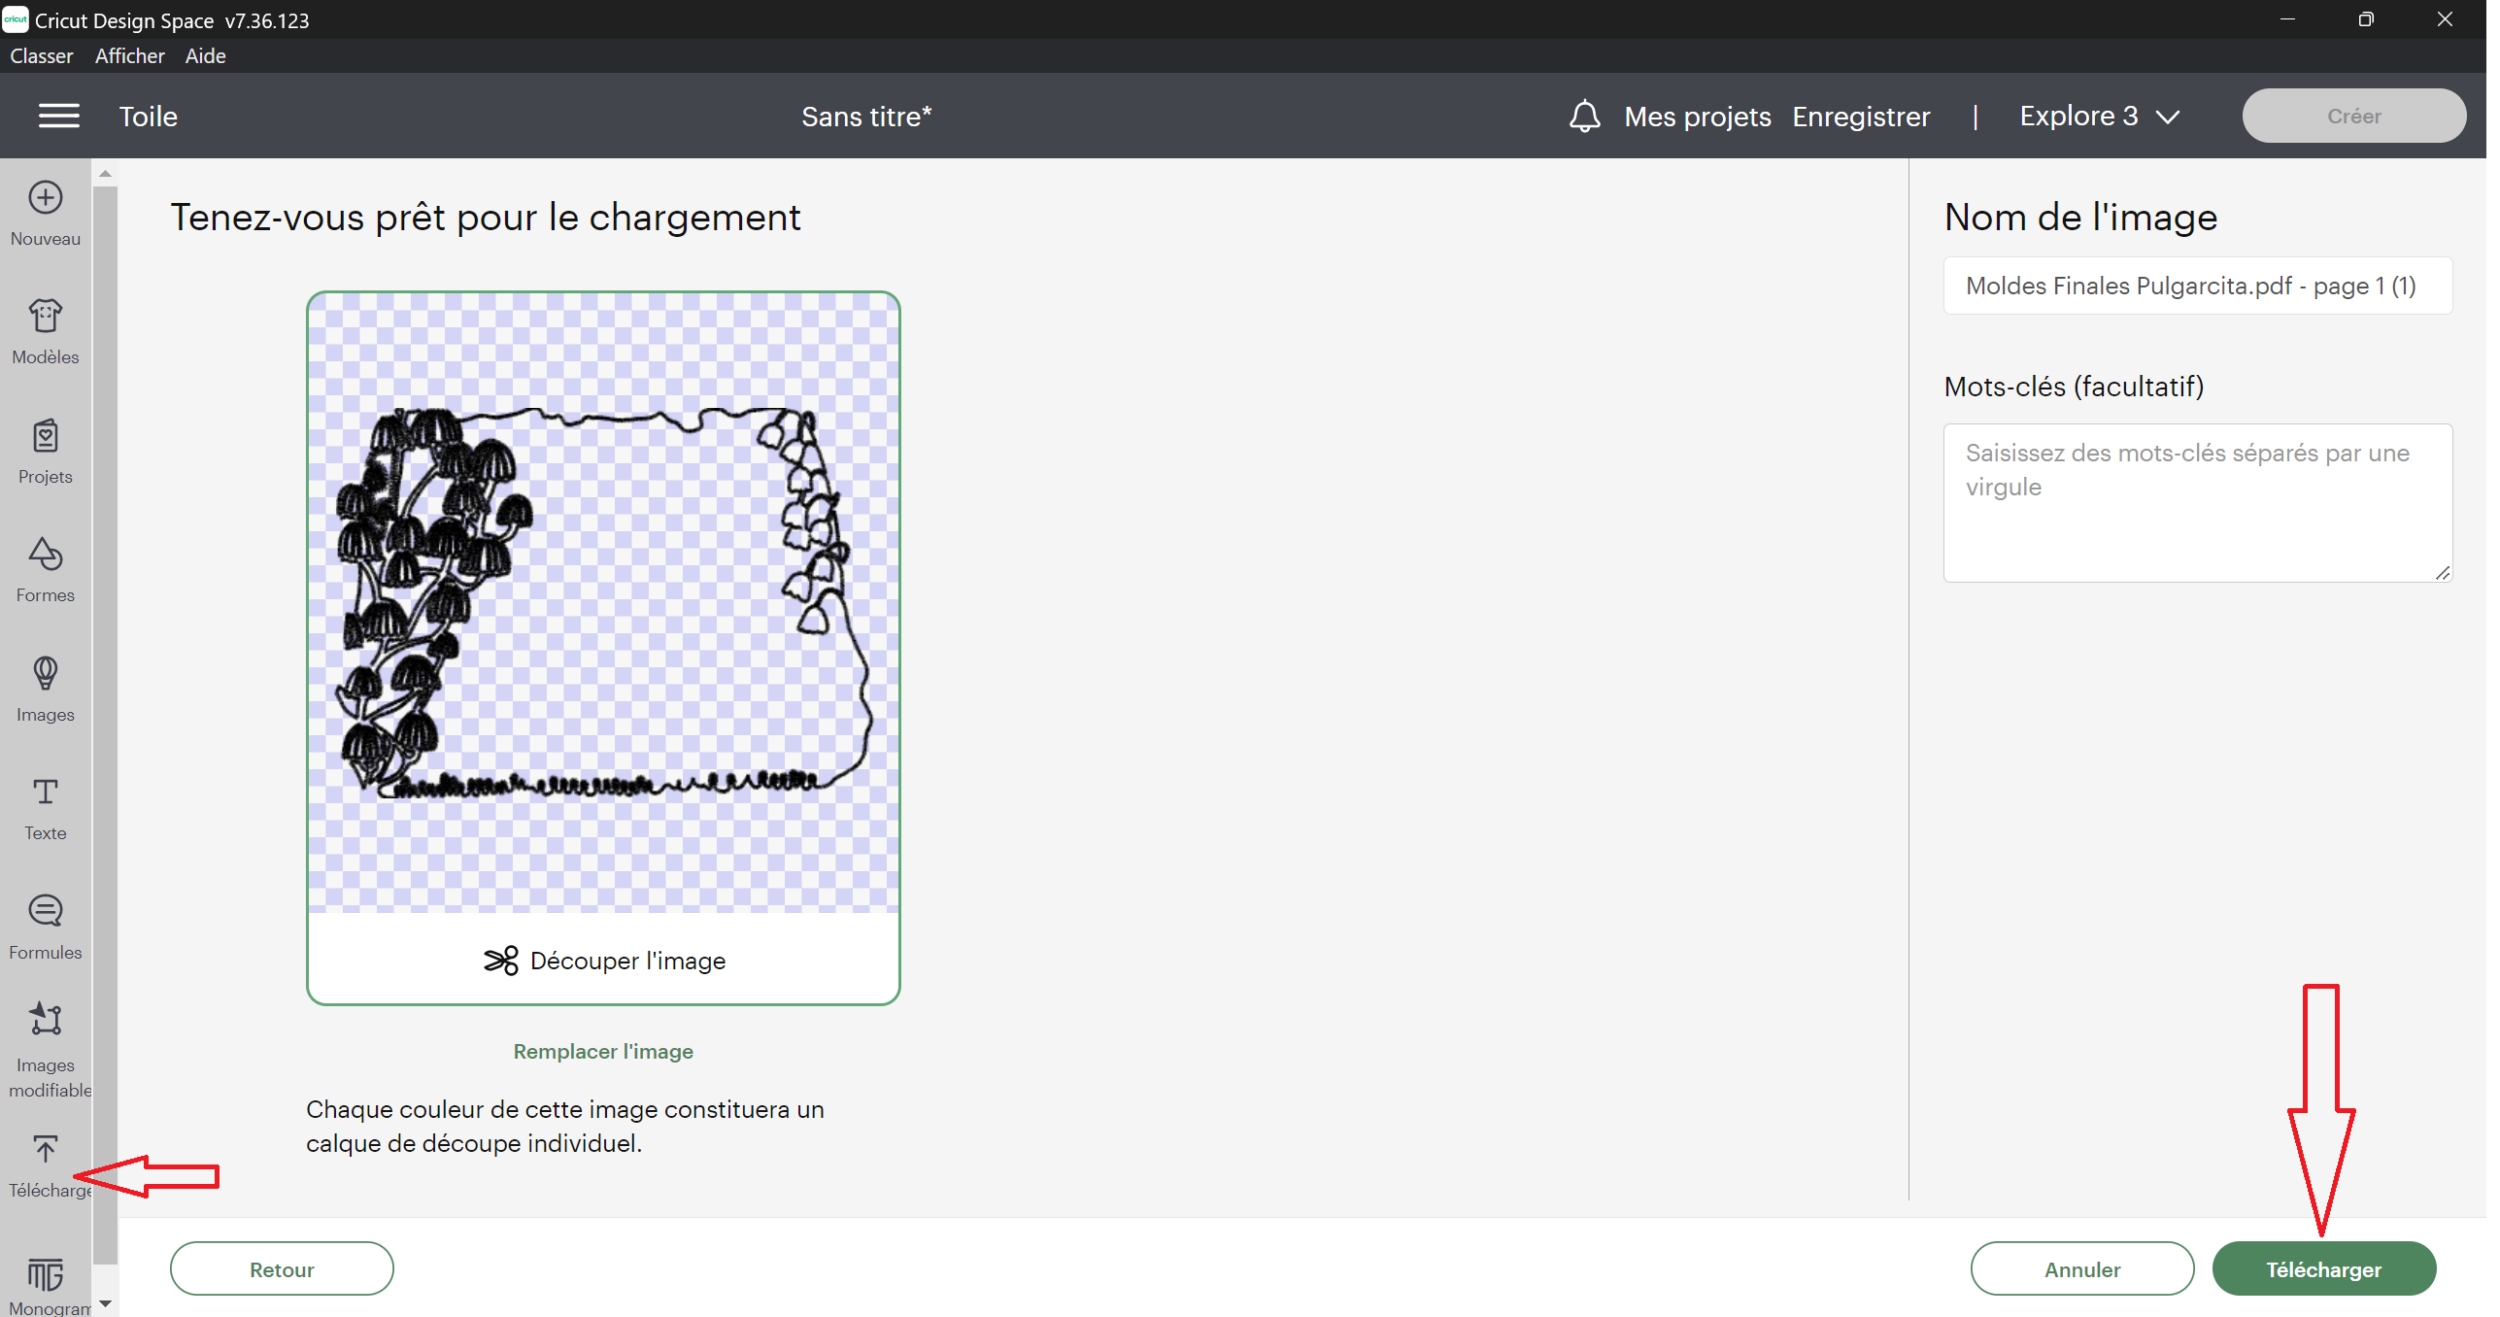
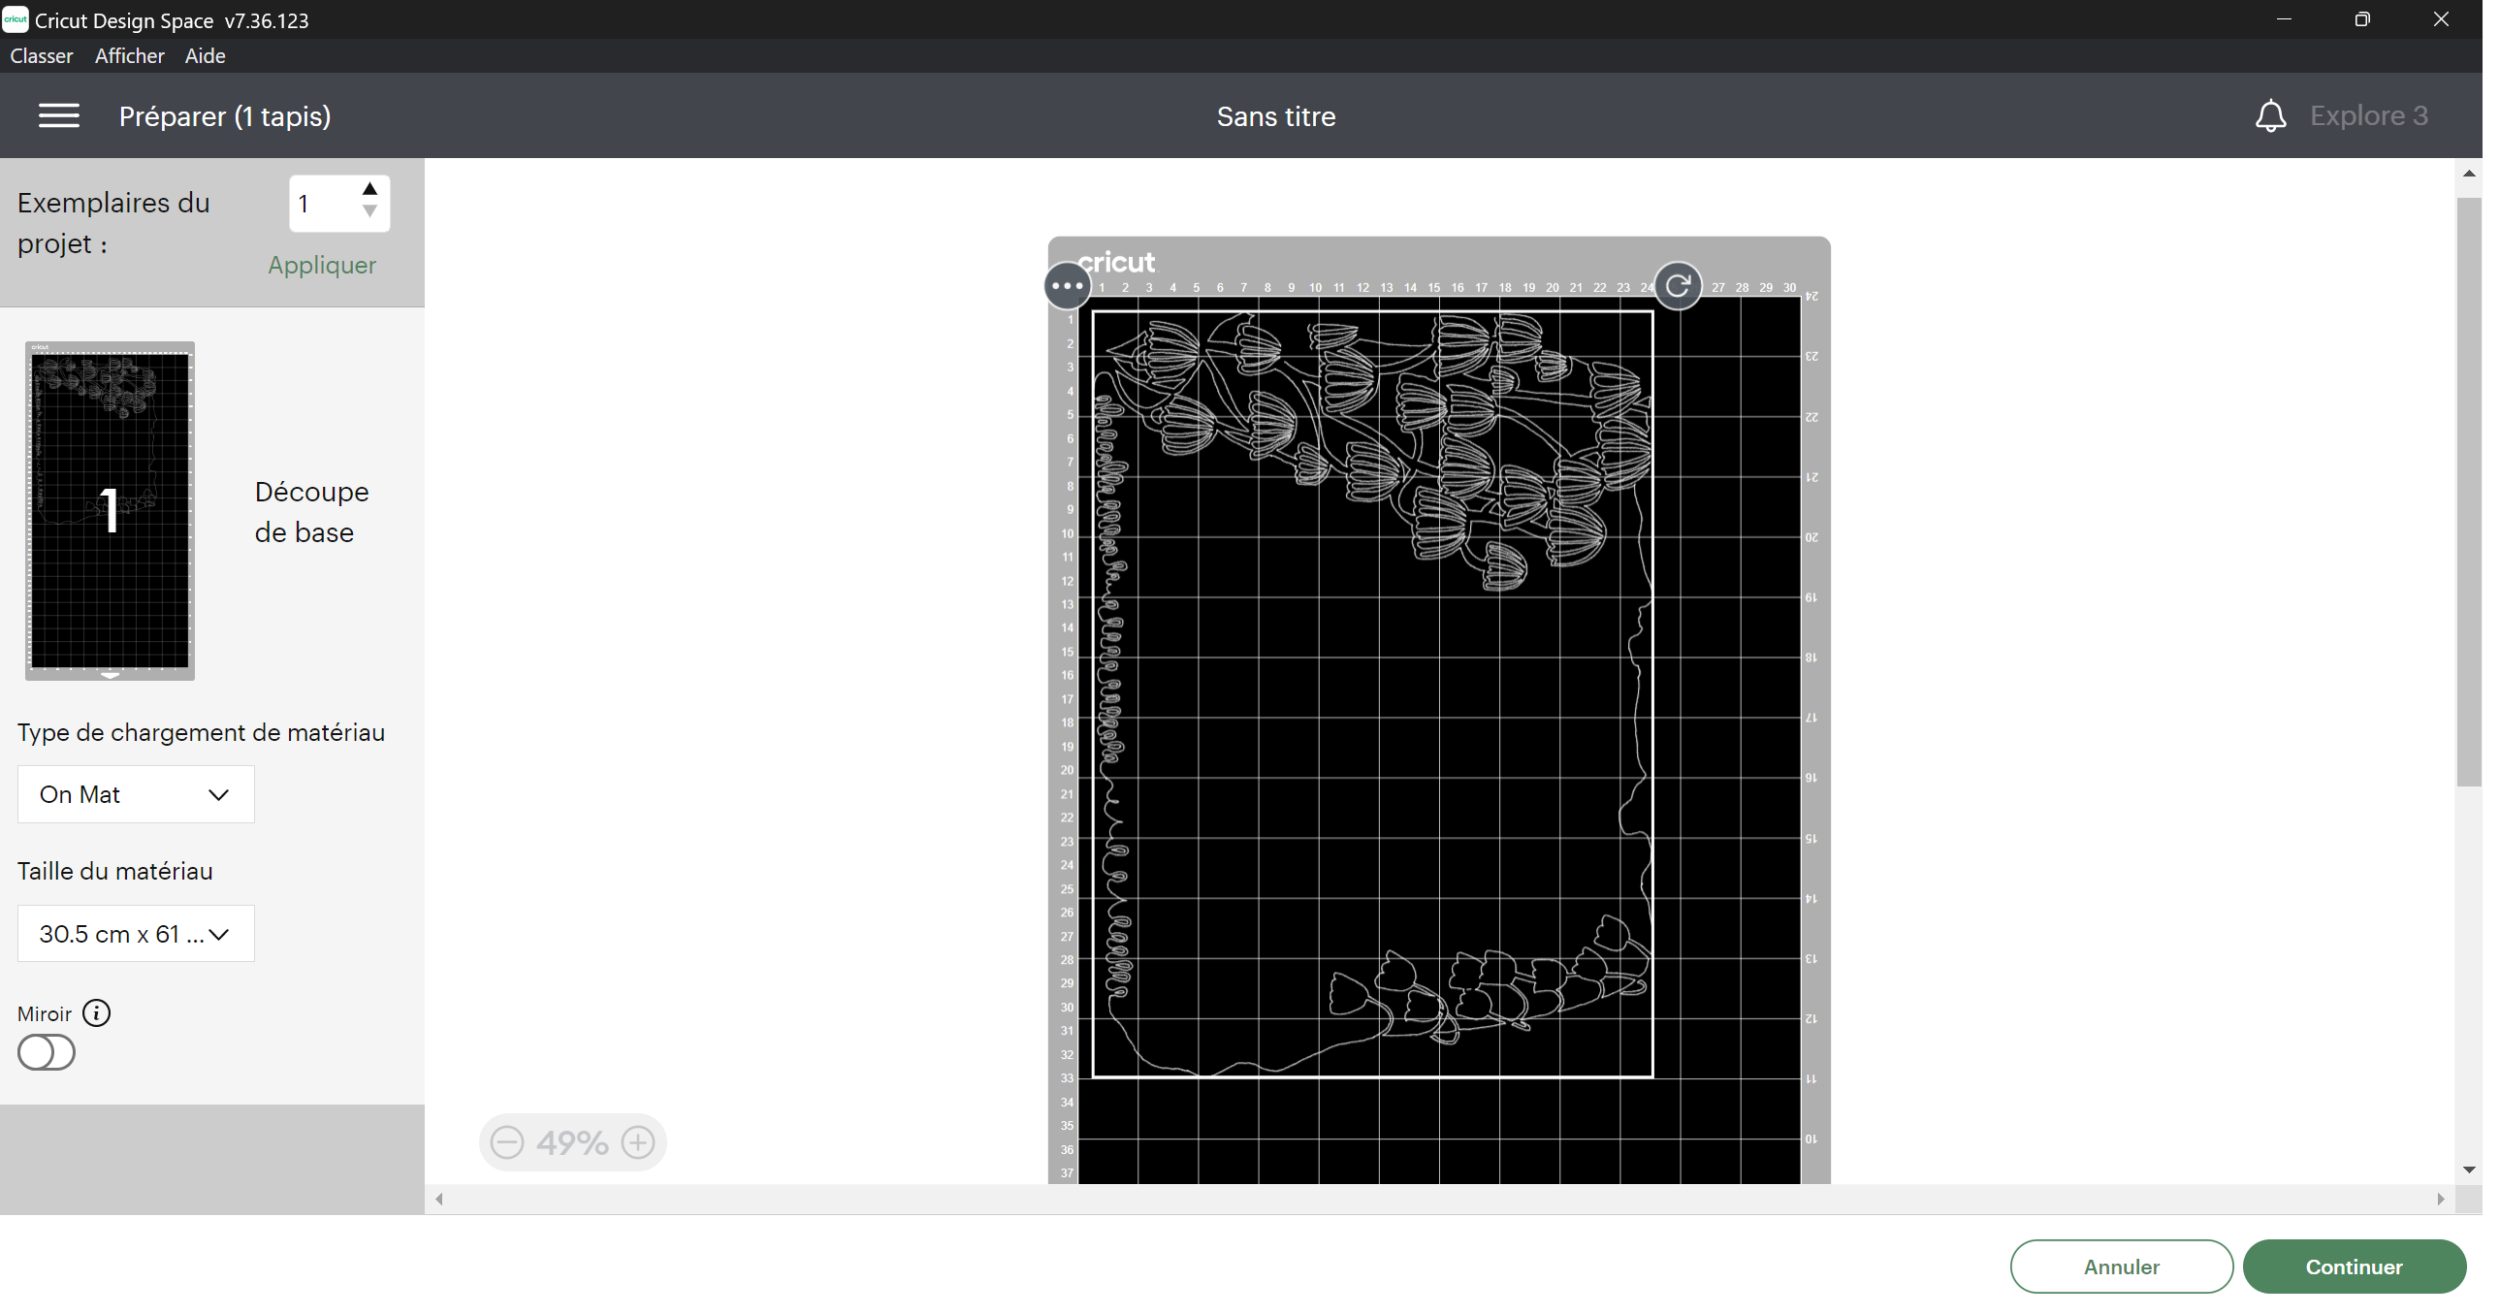
Open Design Space and import this SVG into the software.
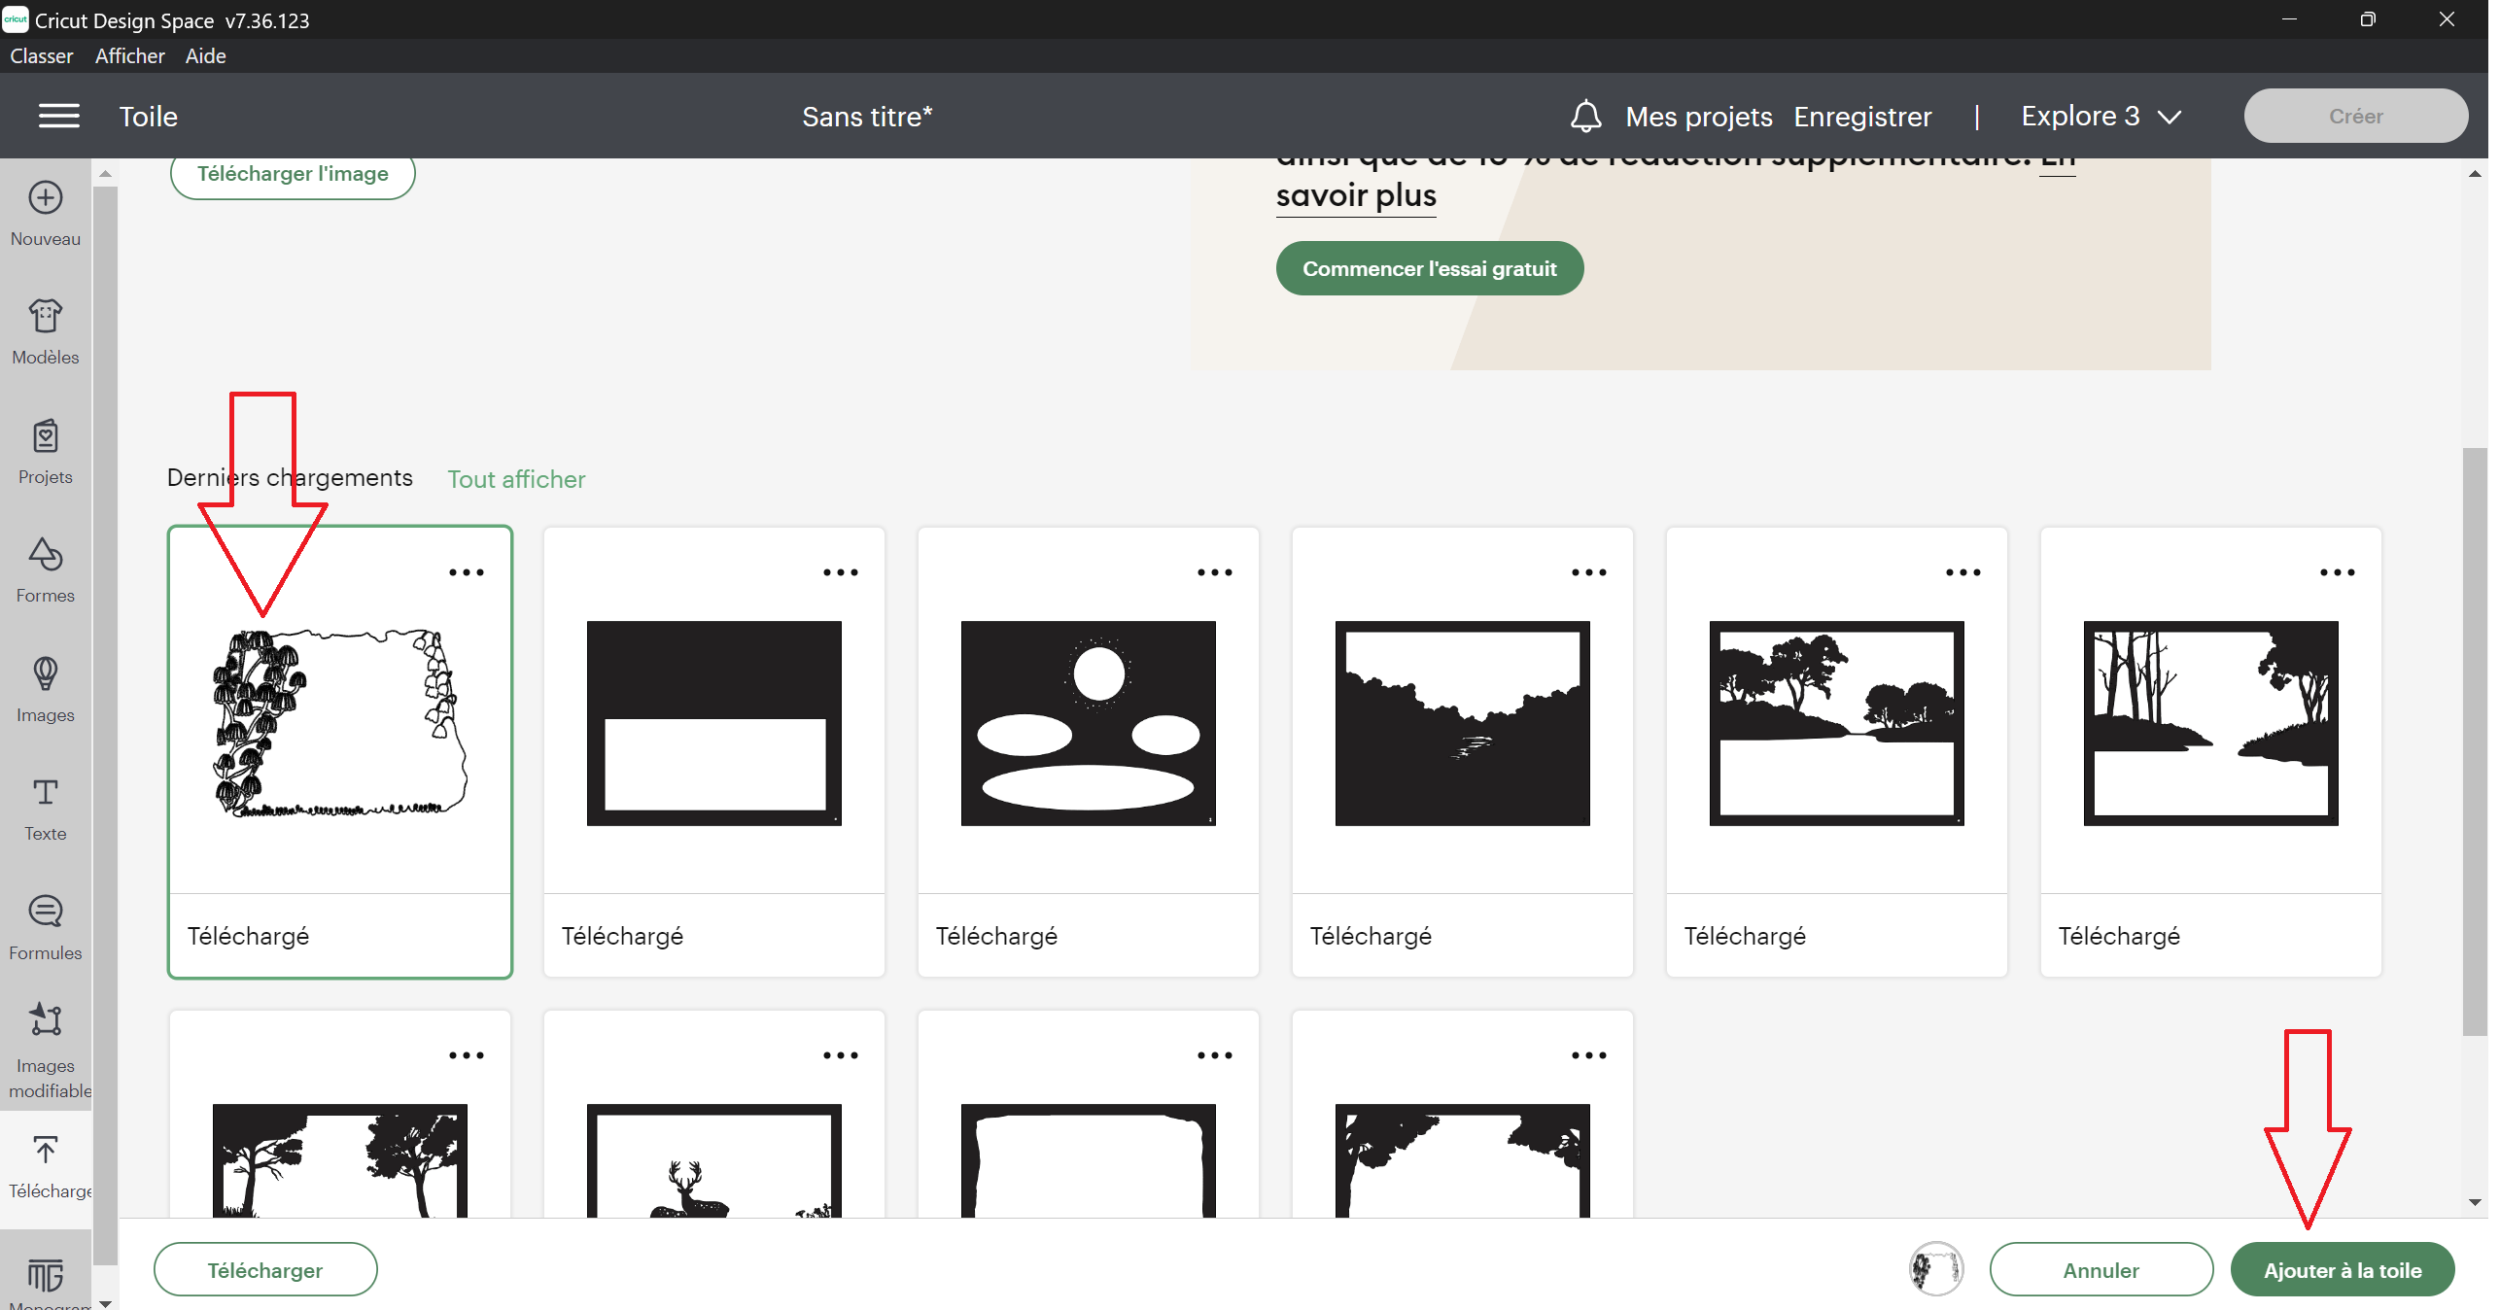
Then use the design in your project.
You’ll see that each stroke is treated as a layer. To group them, click on the group name at the top and click “Attach.”
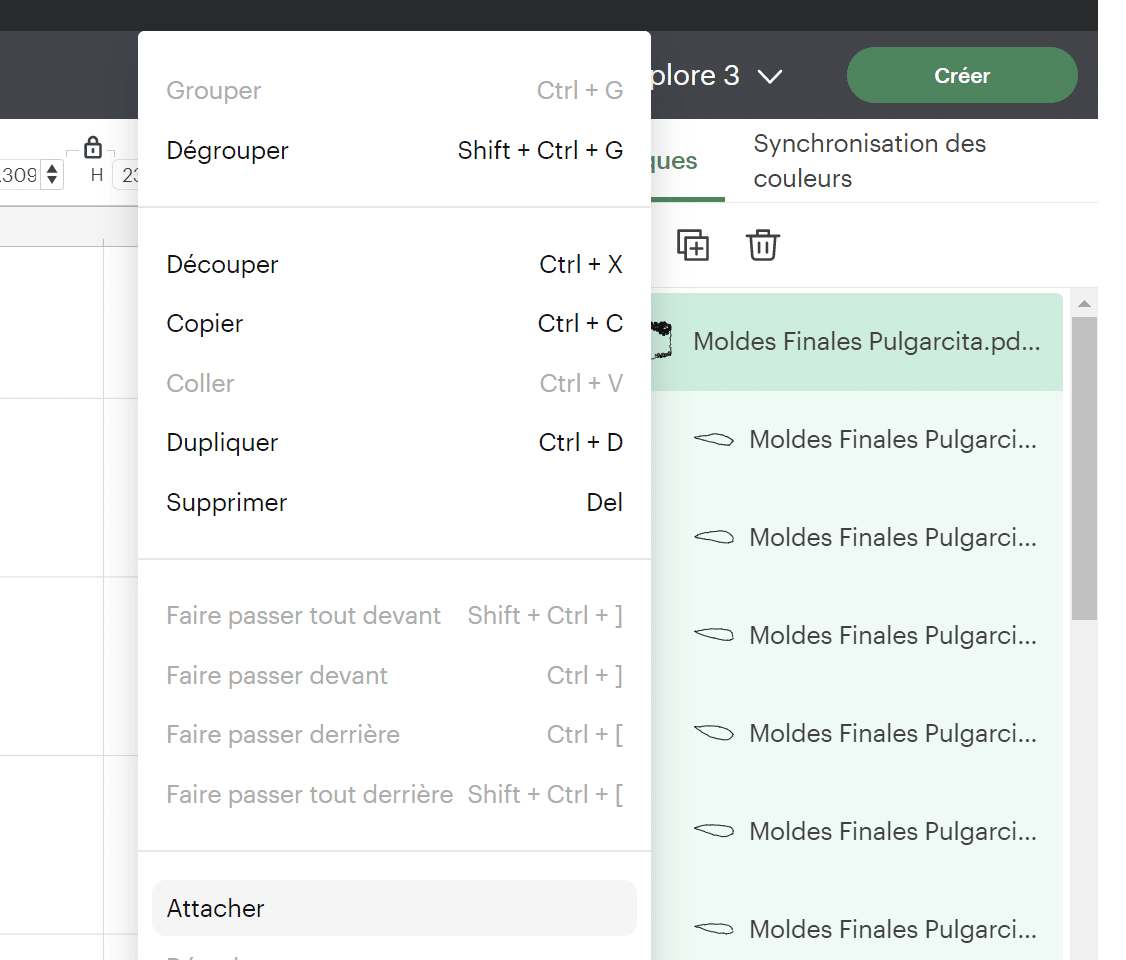
Cricut will now know that all these strokes are part of the same drawing. There you go!
If you’re new to reMarkable, feel free to check out my article on the
- Top reMarkable Features
- as well as the user manual translated into French
- and the reMarkable accessories that can be found for cheaper

